Appearance
User Manual for Newline Signage Pro
1. Account Registration
INFO
Create an organizational administrator account in the Newline Signage Pro web console to get started!
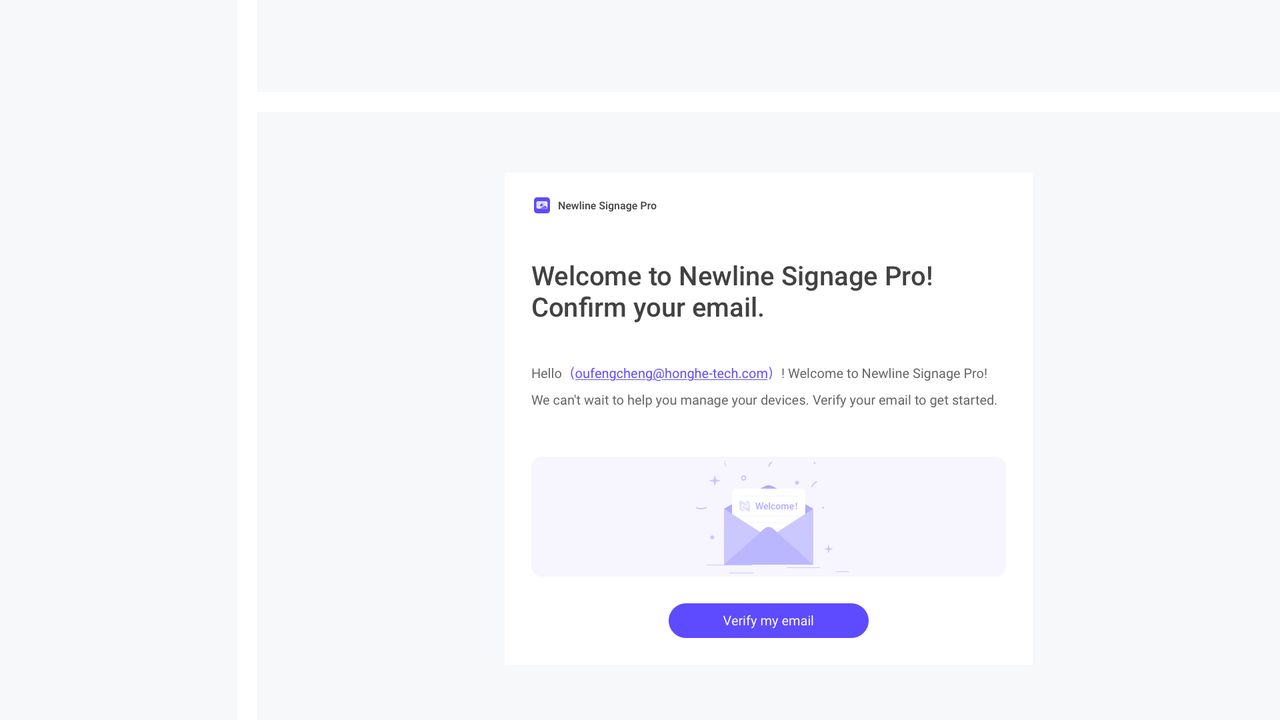
1.1. Create an account with your email
Step1. Enter your work email address (must be from your company or organization domain). Do not use personal email accounts such as Gmail, Yahoo, or Outlook.
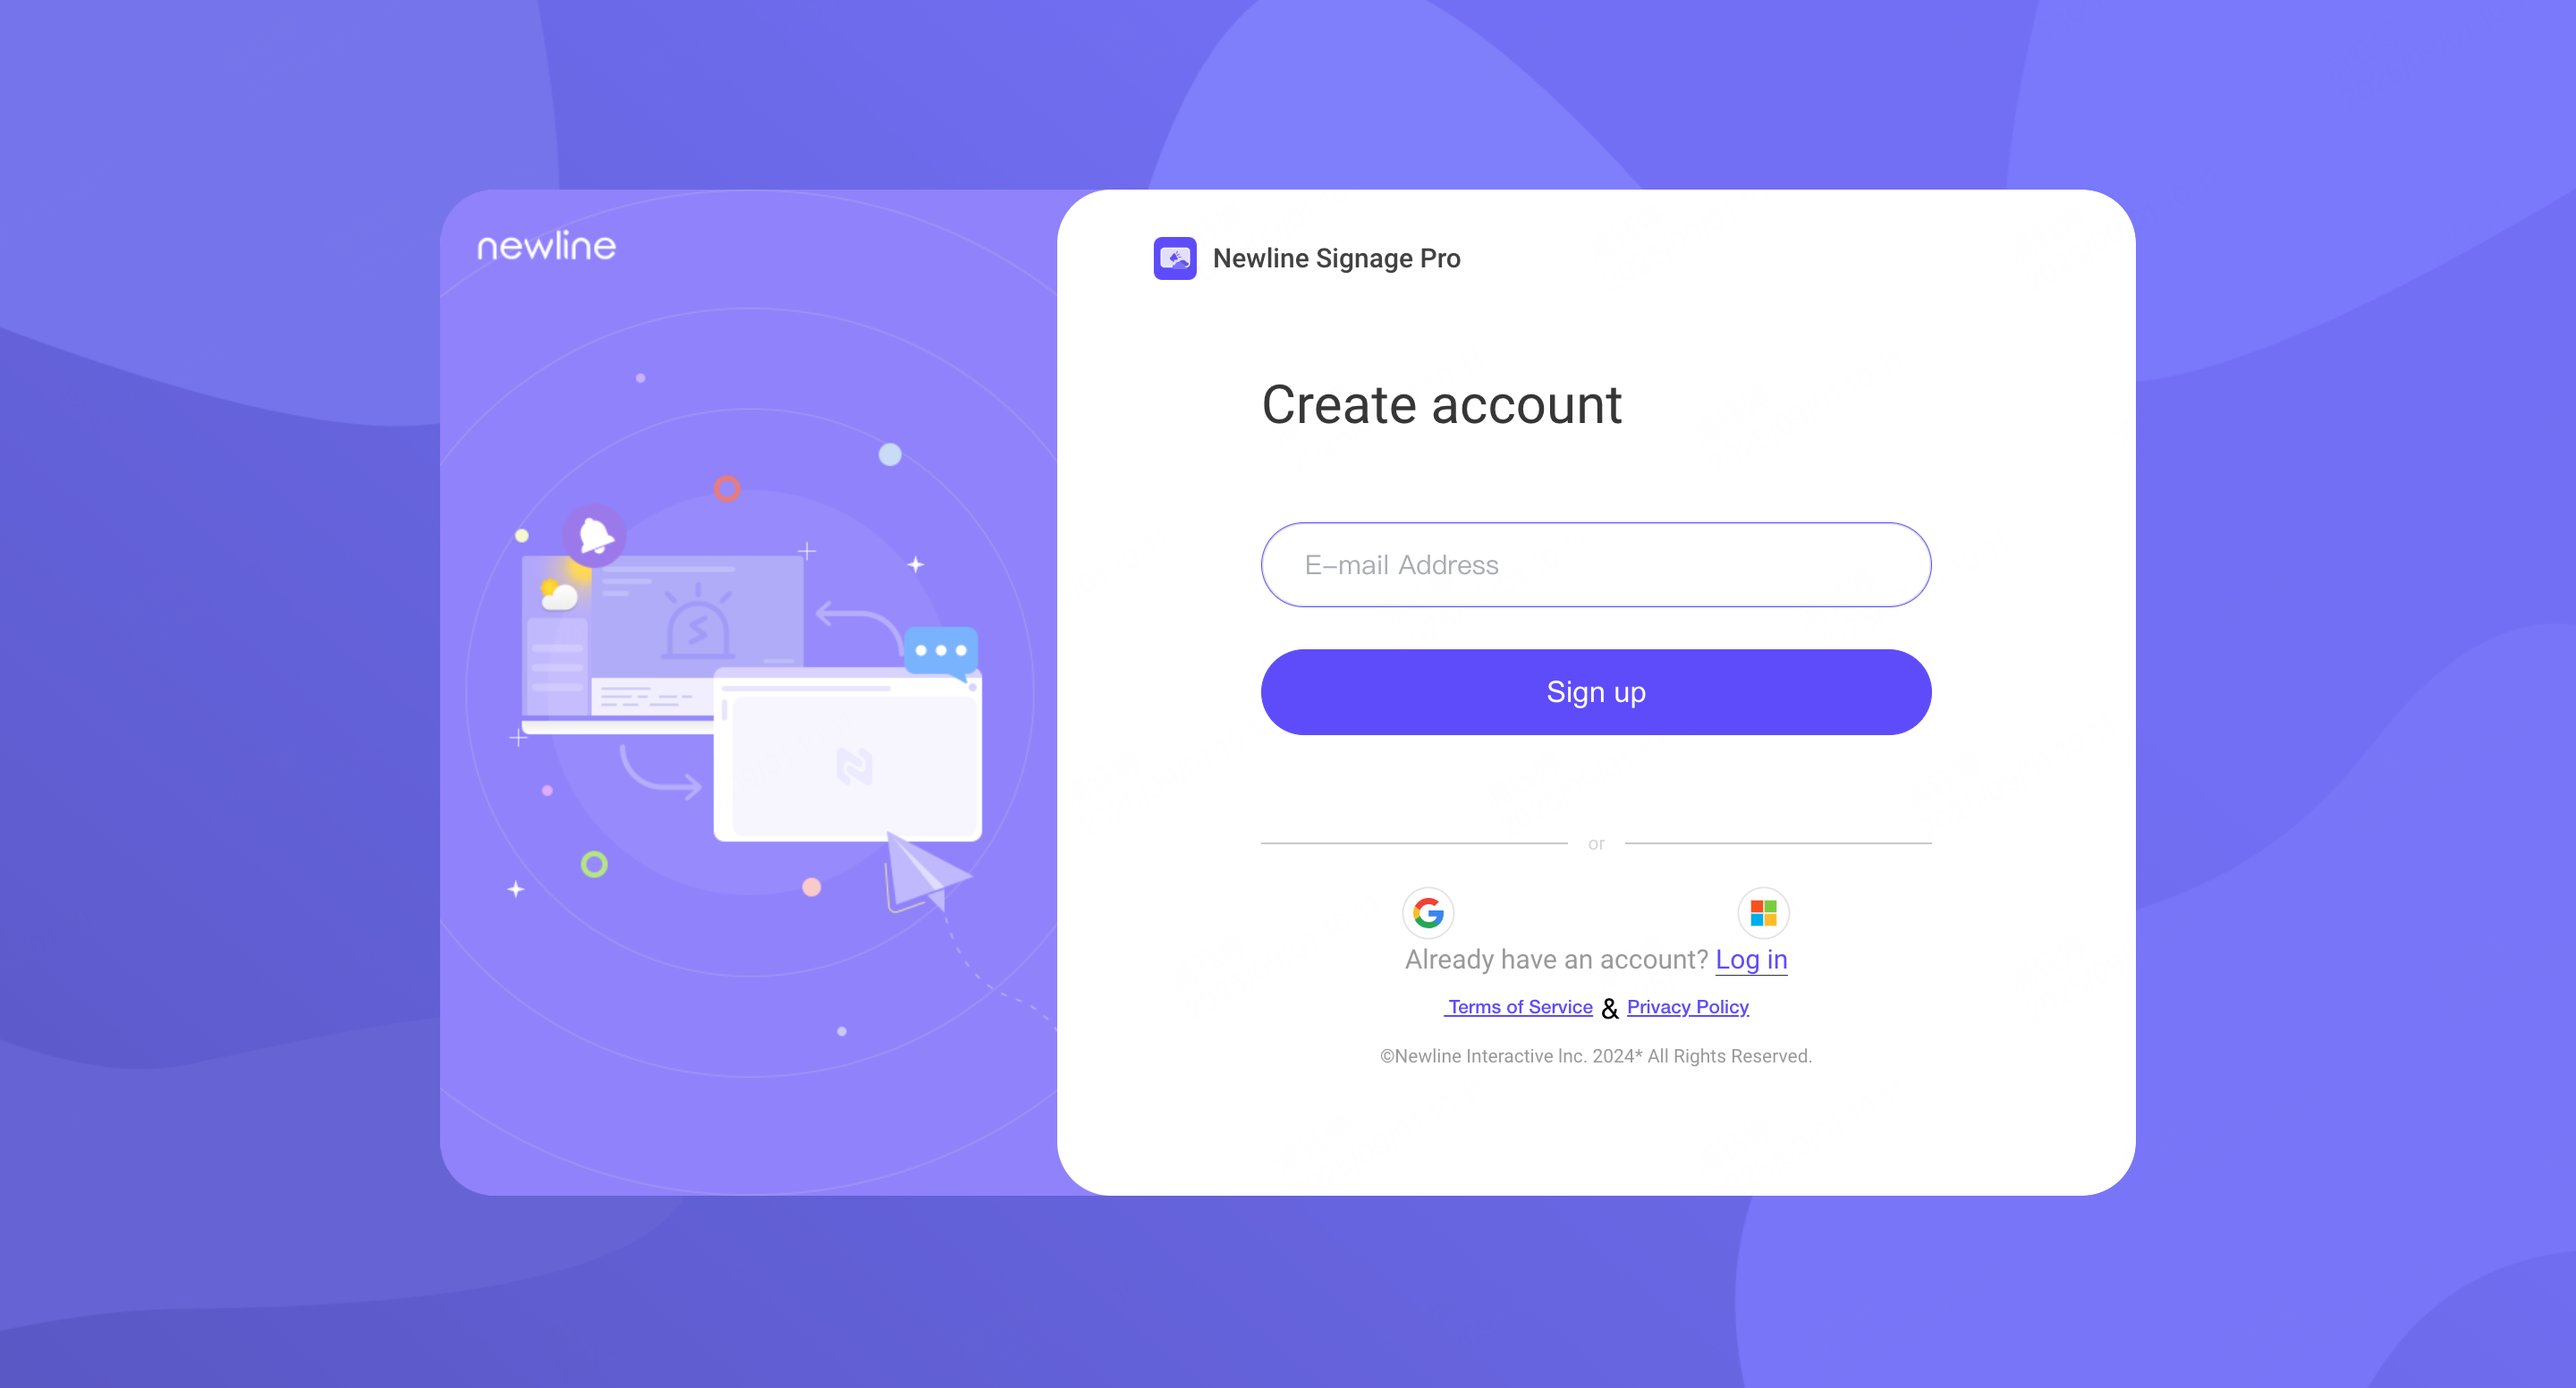
Step2. Set your account password.

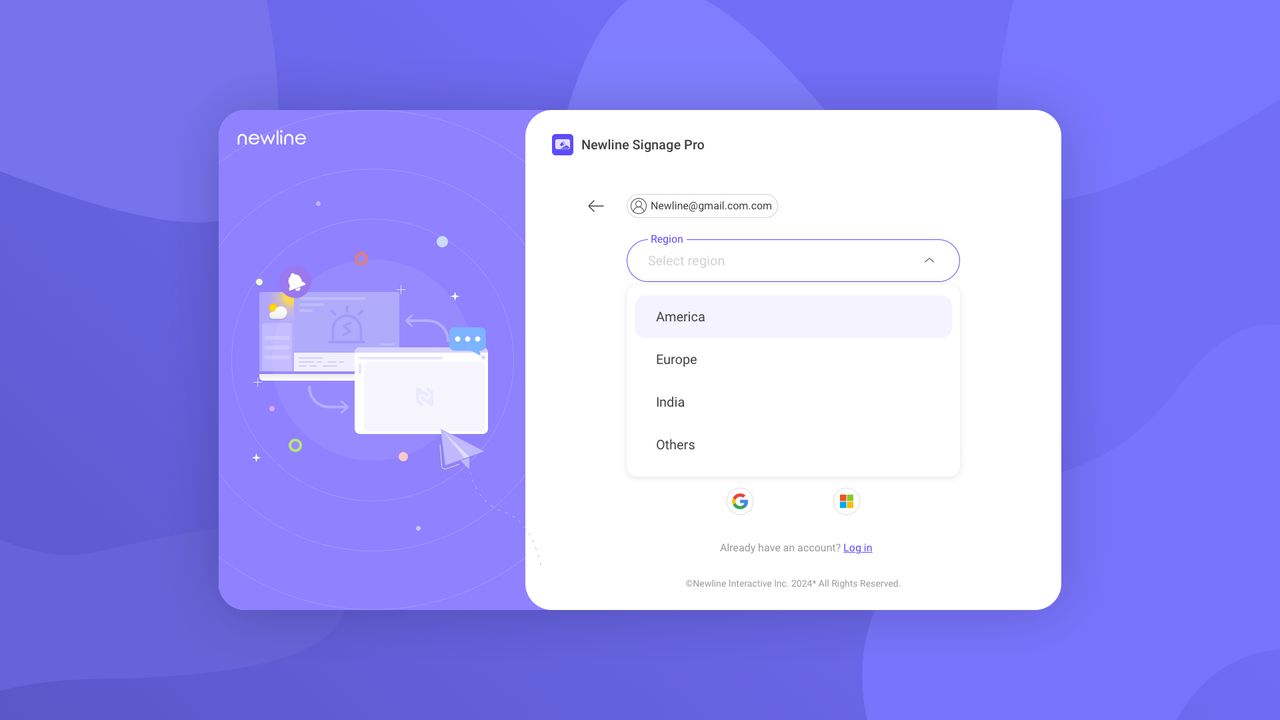
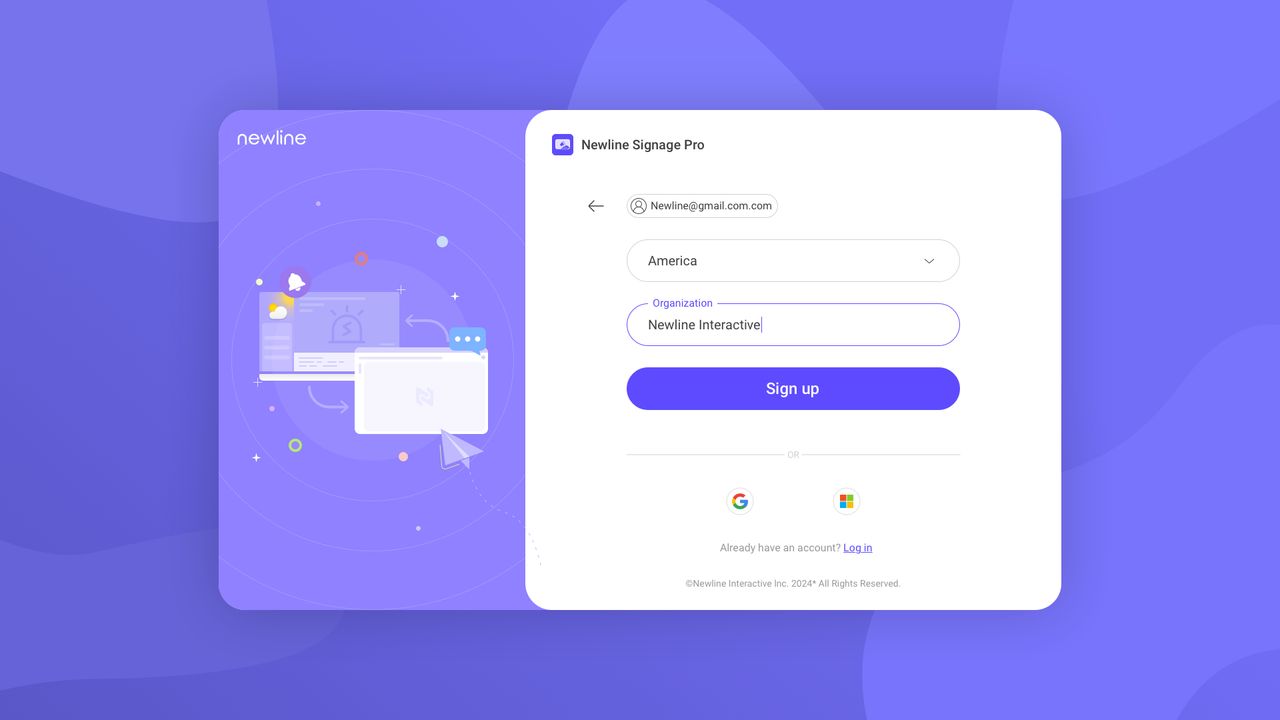
Step3. Set your organization name and region.
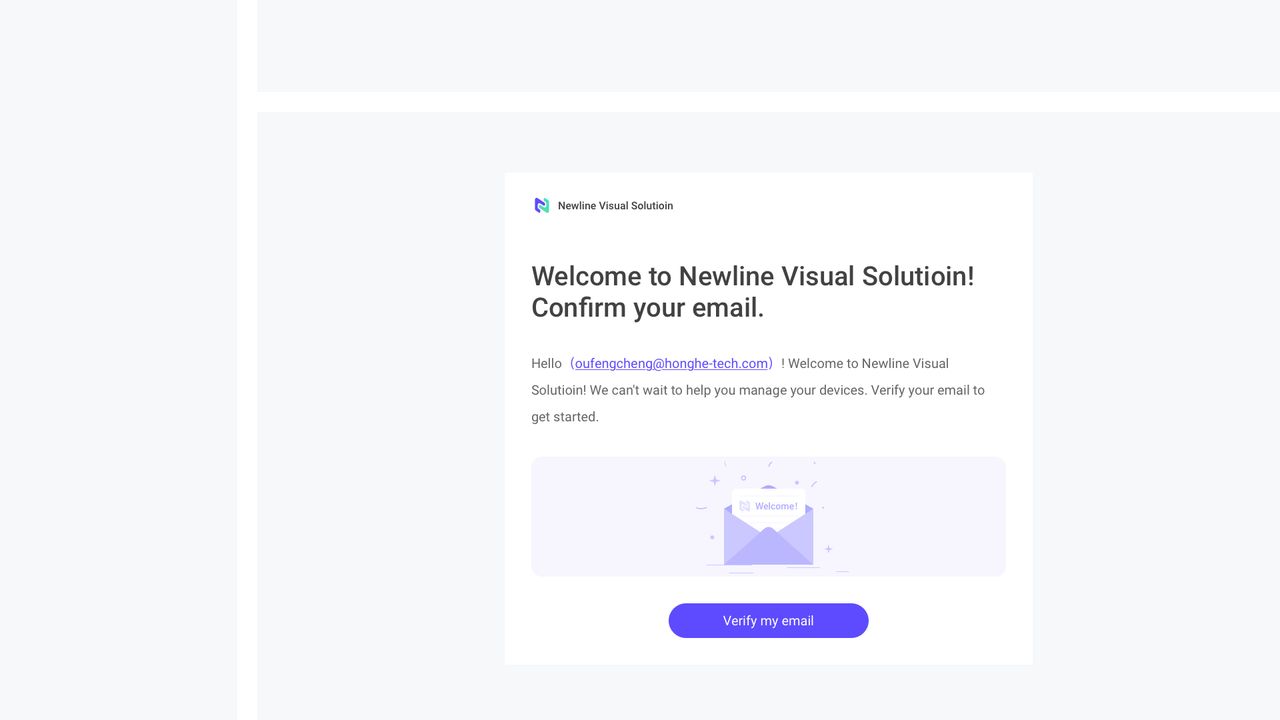
Step4. You will receive a verification email, remember to verify the activation within 48 hours.
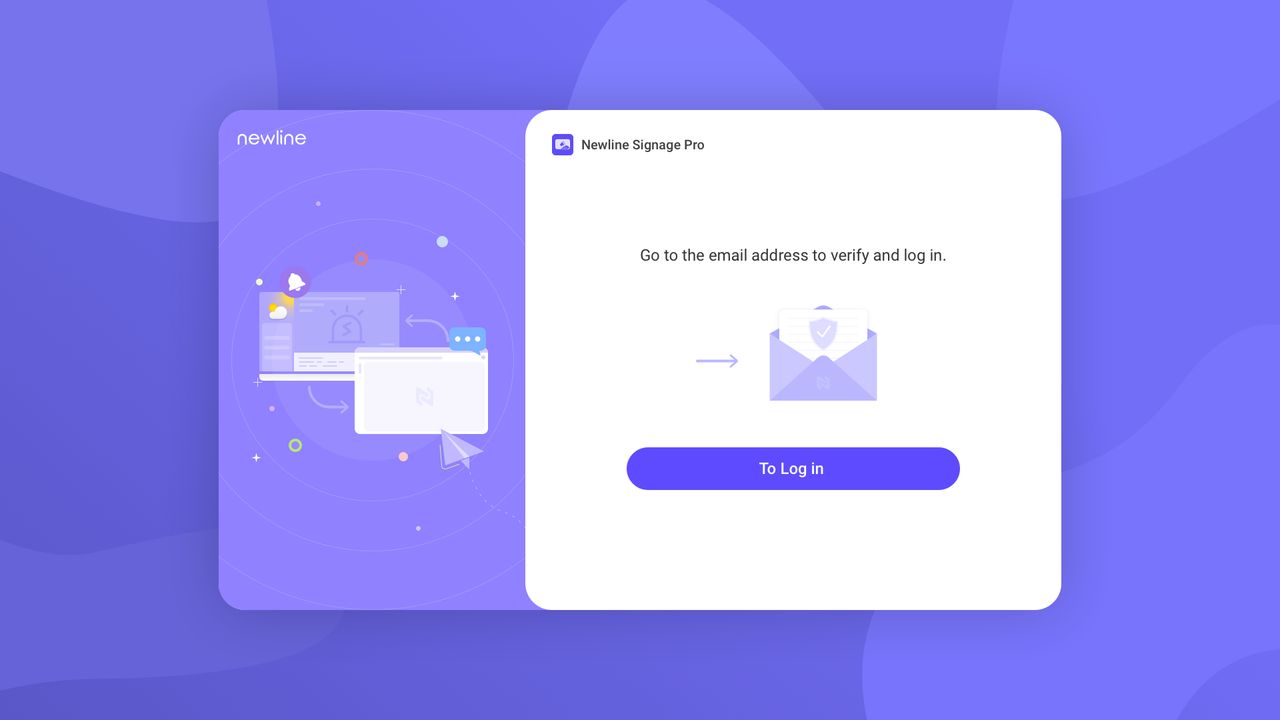
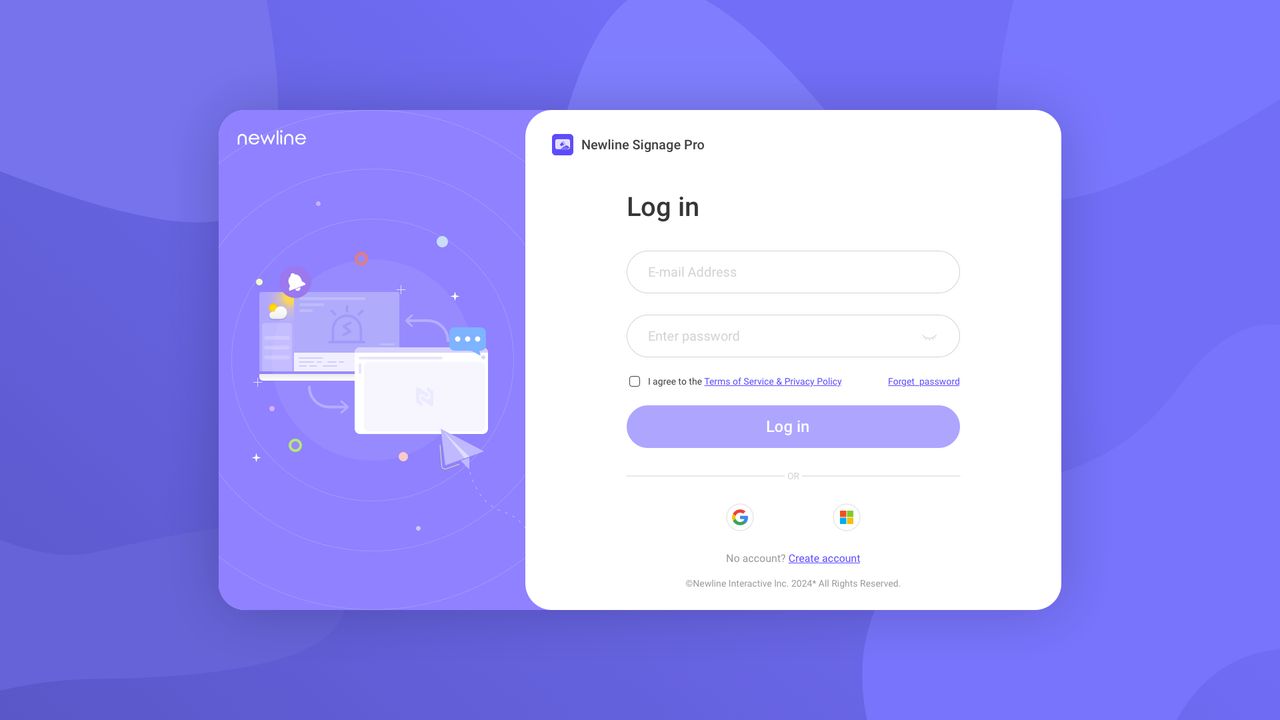
Step5. You can return to Web Console to login your account after activation.
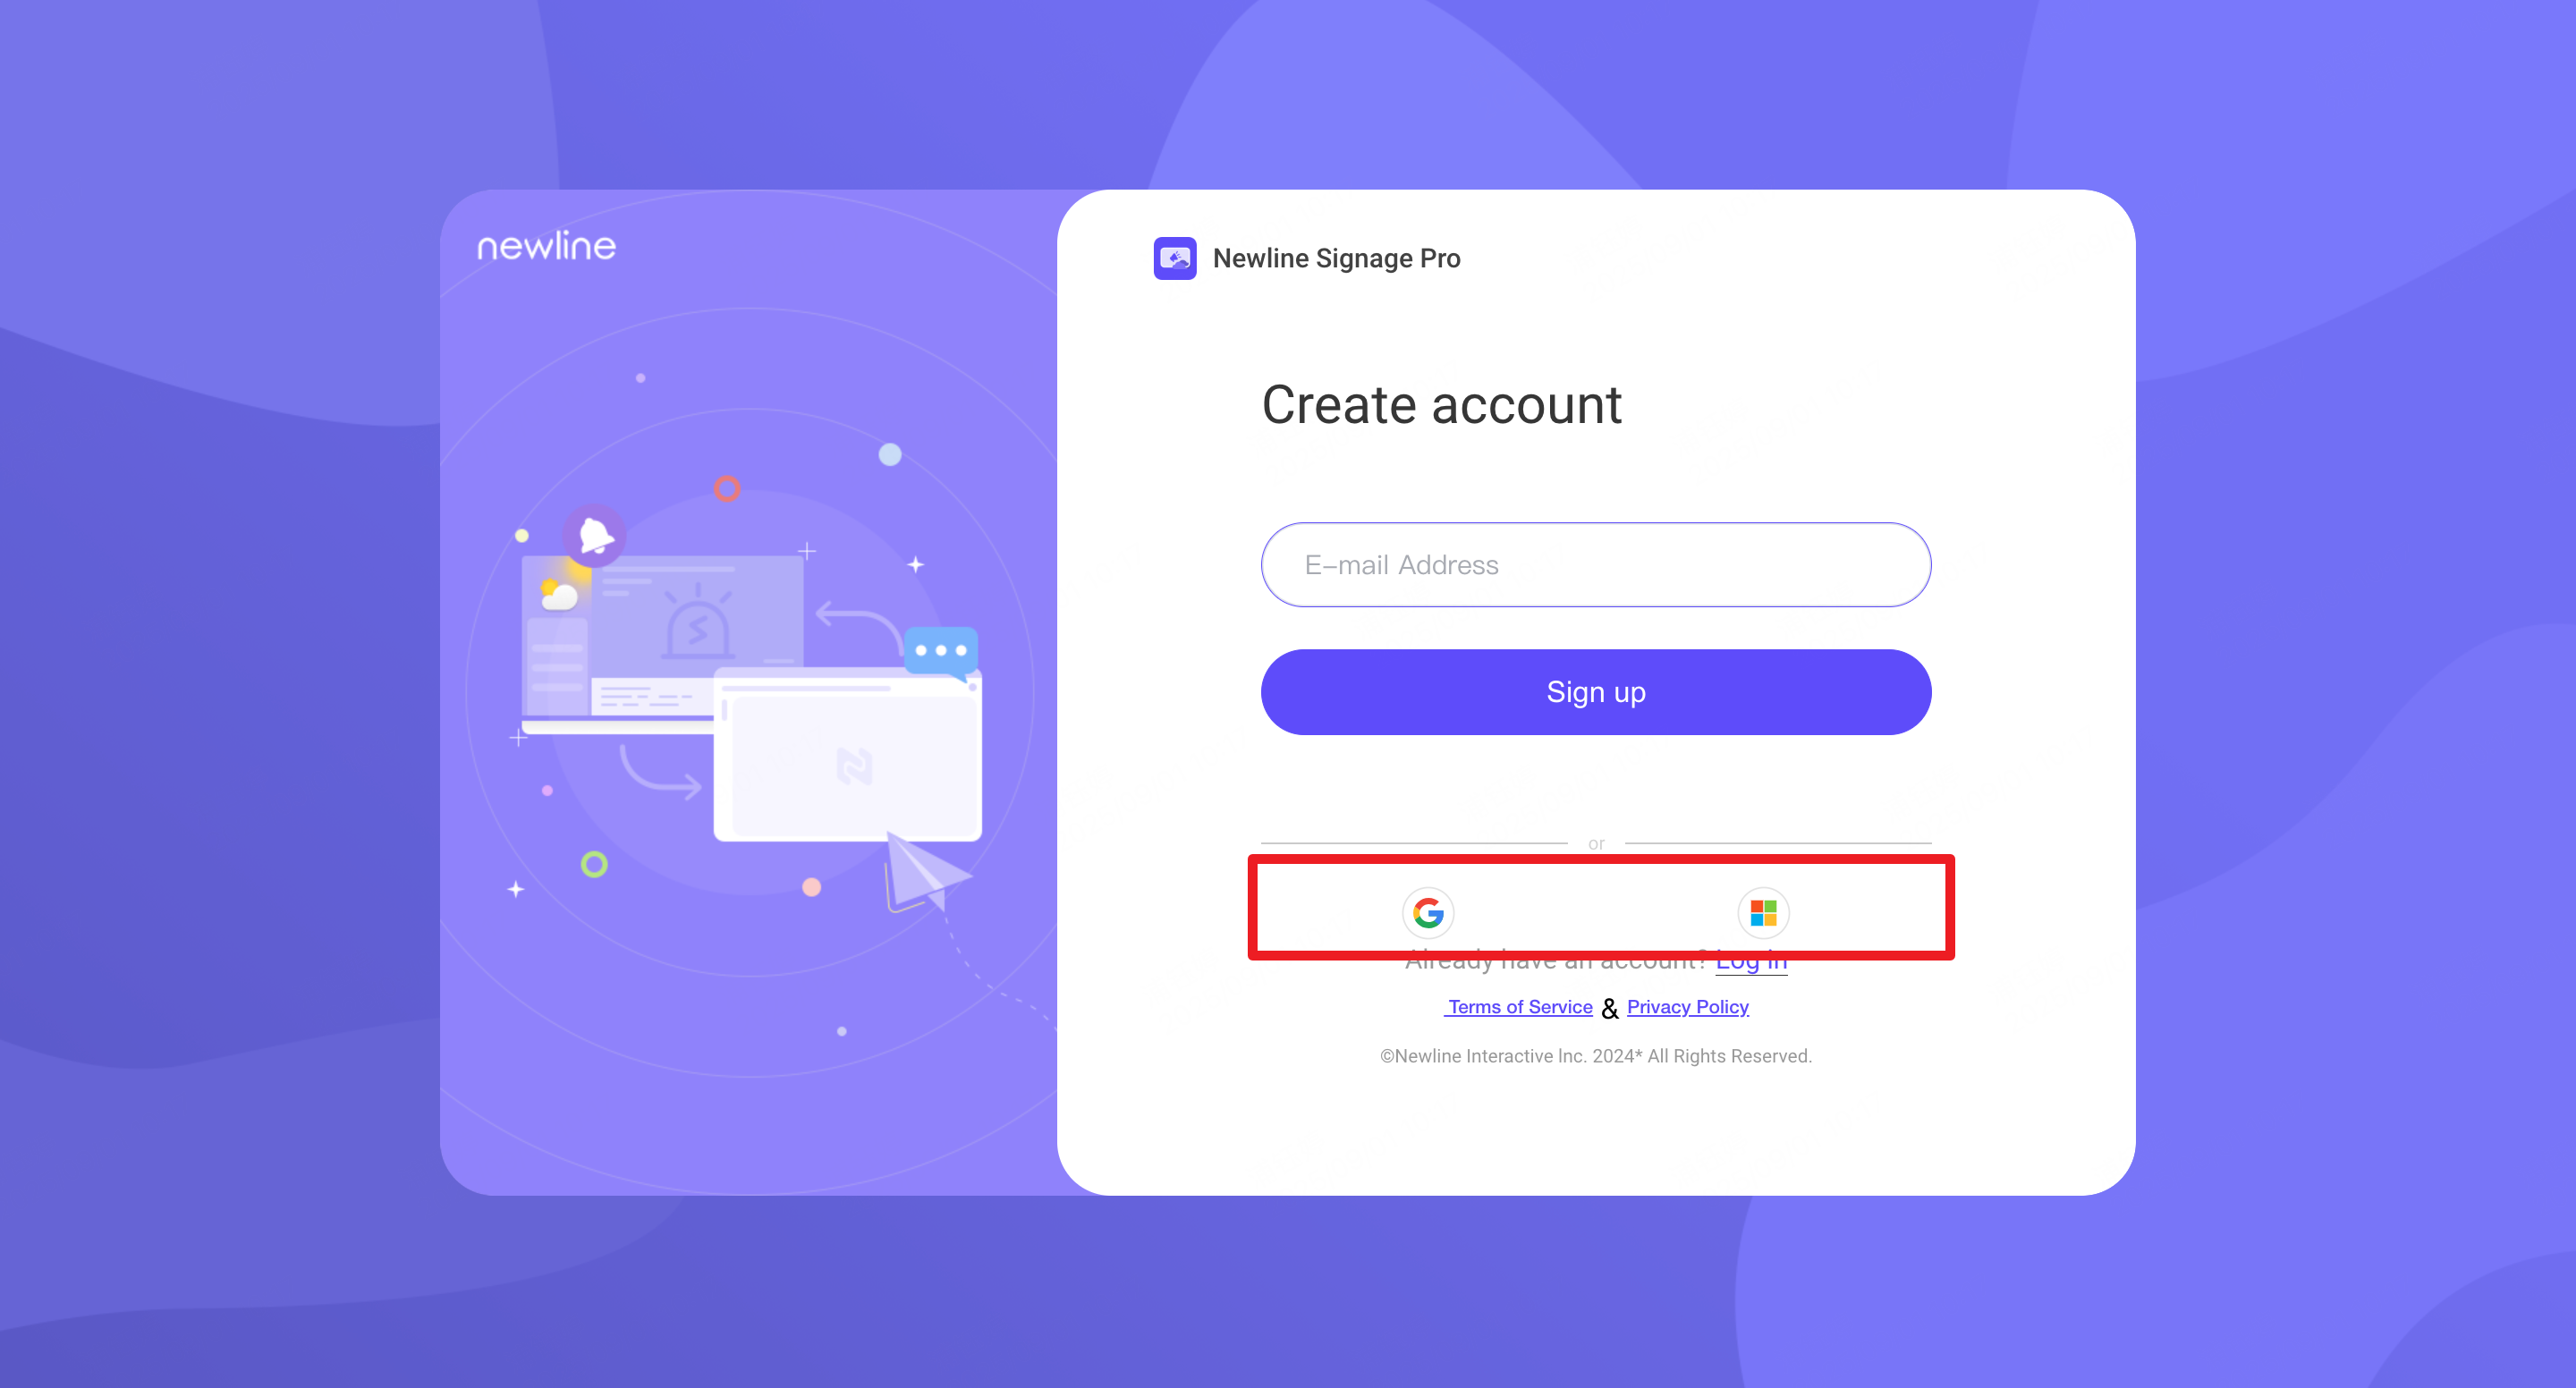
1.2. Single Sign-On
Step1. Choose Google or Microsoft to sign in. Only work accounts under Google Workspace or Microsoft 365 are supported. Personal Gmail or Outlook accounts are not allowed.
Step2. You will receive a verification email, remember to verify the activation within 48 hours.
Step3. You need to fill in your organization name and location when you login for the first time.

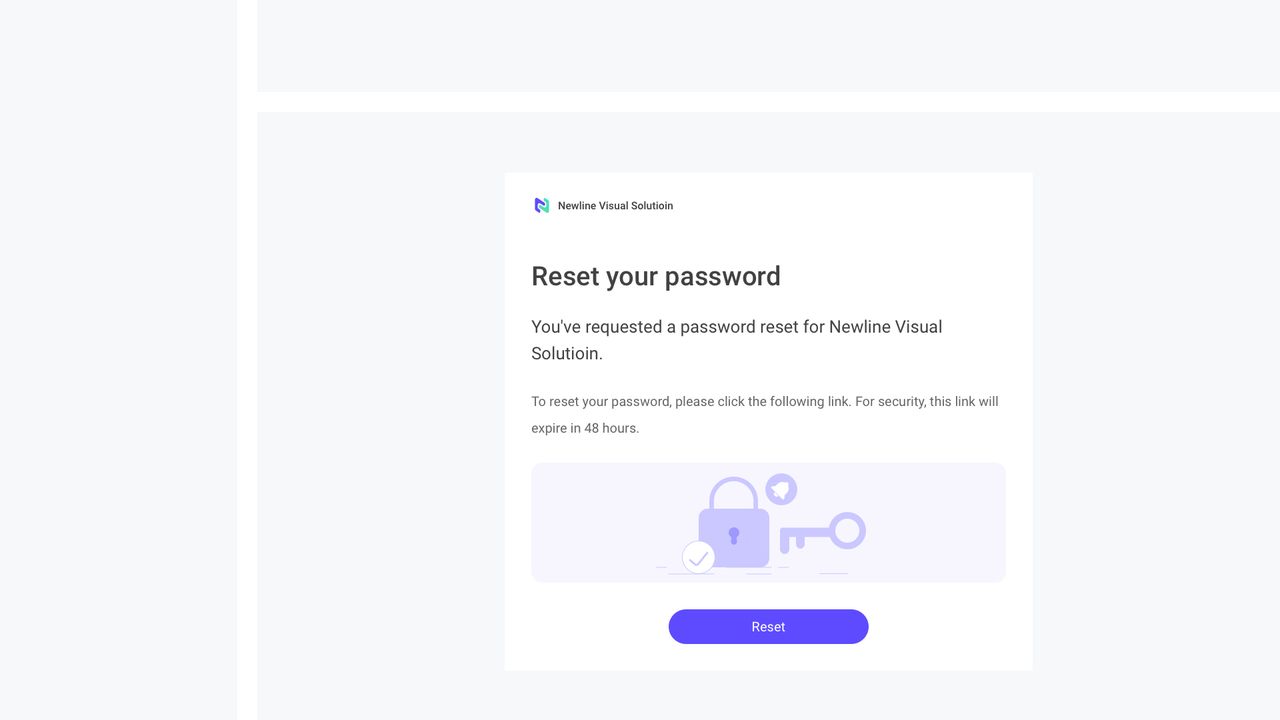
1.3. Reset Password
Enter your account email and you will receive a verification email to remake your password. Please remember to verify and set your new password within 48 hours!
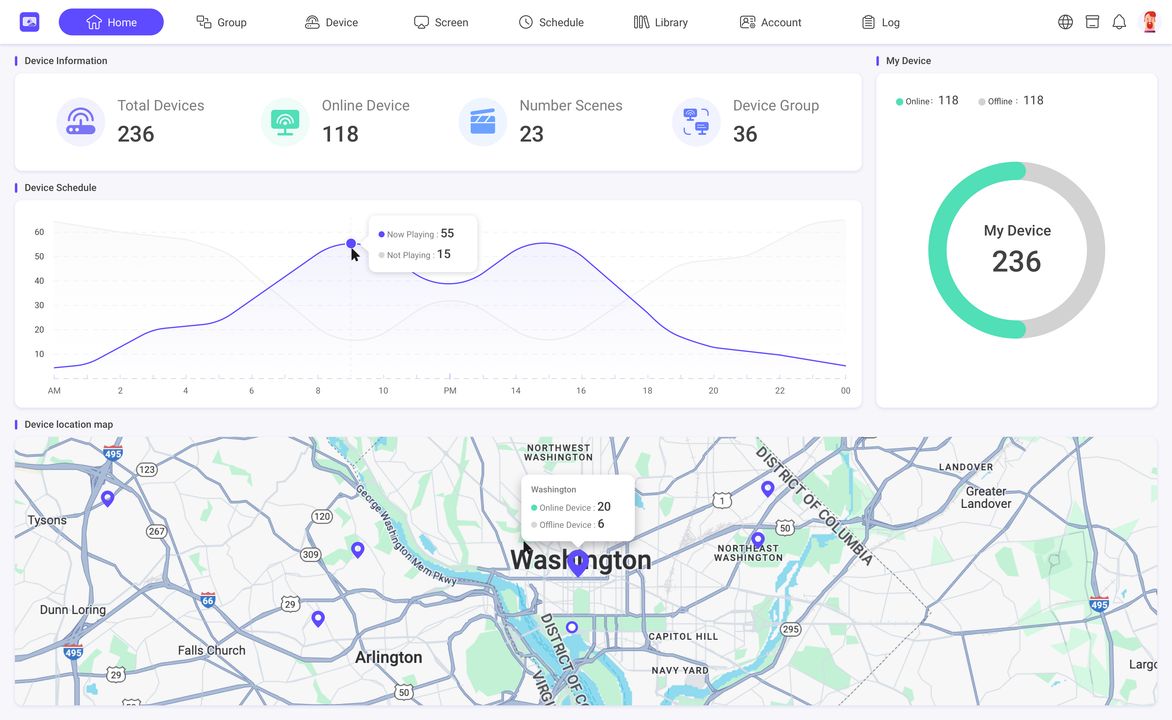
2. Home
INFO
The Home page shows your organization's device information, including device online/offline status, schedule charts and geographic location.
Note: You can see your devices on the map only if you authorize us to get their location information.
3. Group Management
INFO
The Group module consists of two parts: Device group and Template group.
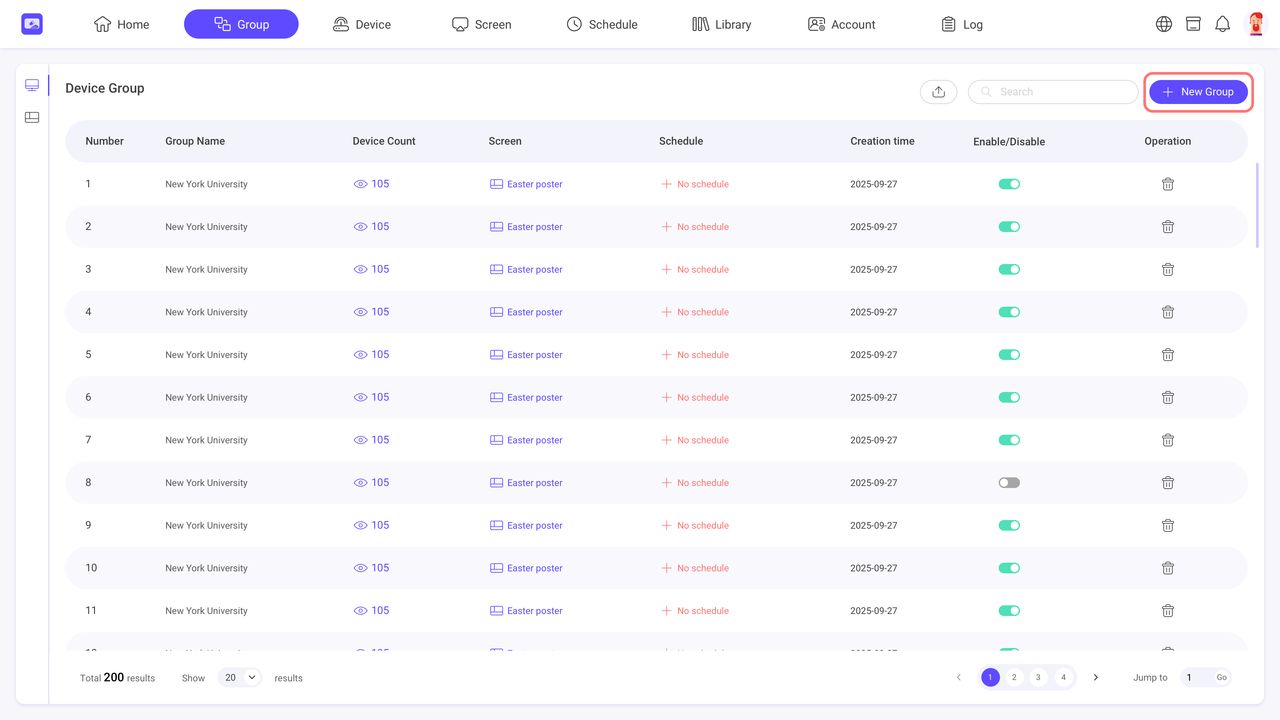
3.1. Device Group
Device Groups are available for bulk management of your devices, you can add a template and a schedule for each device group. All devices in the device group will play the contents in the template according to the schedule after these two configurations are completed.
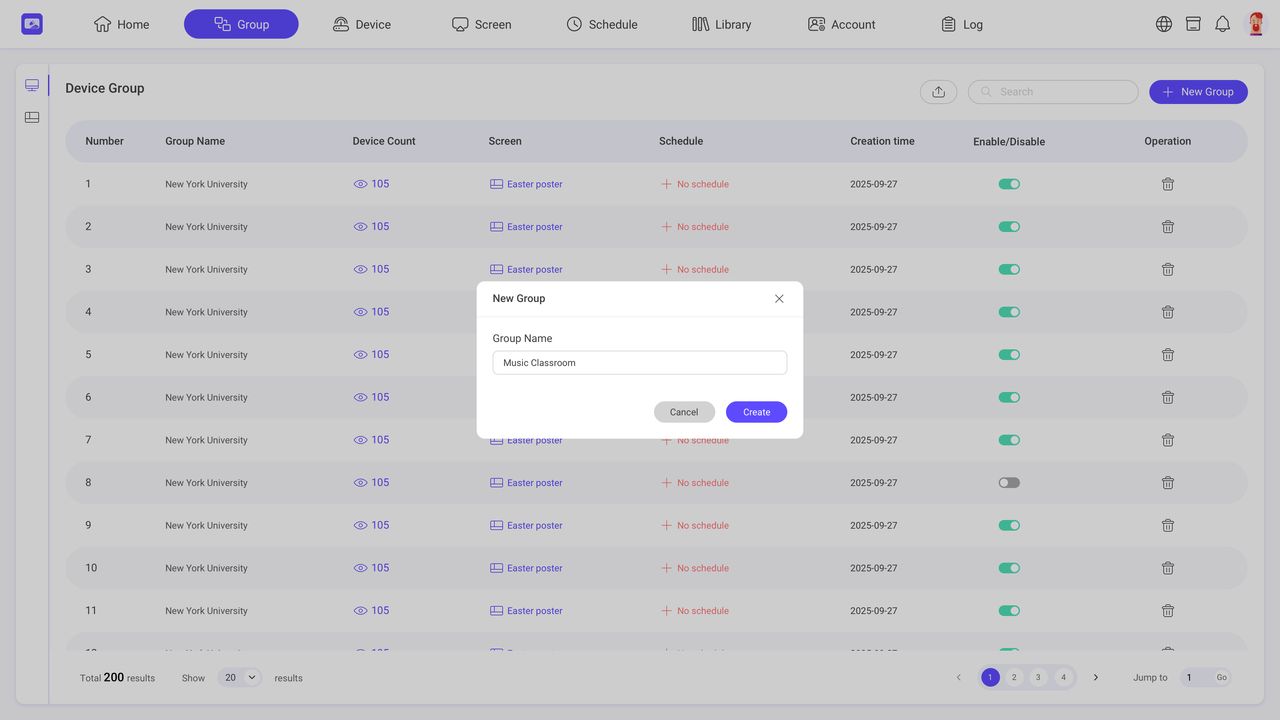
3.1.1. Create a device group
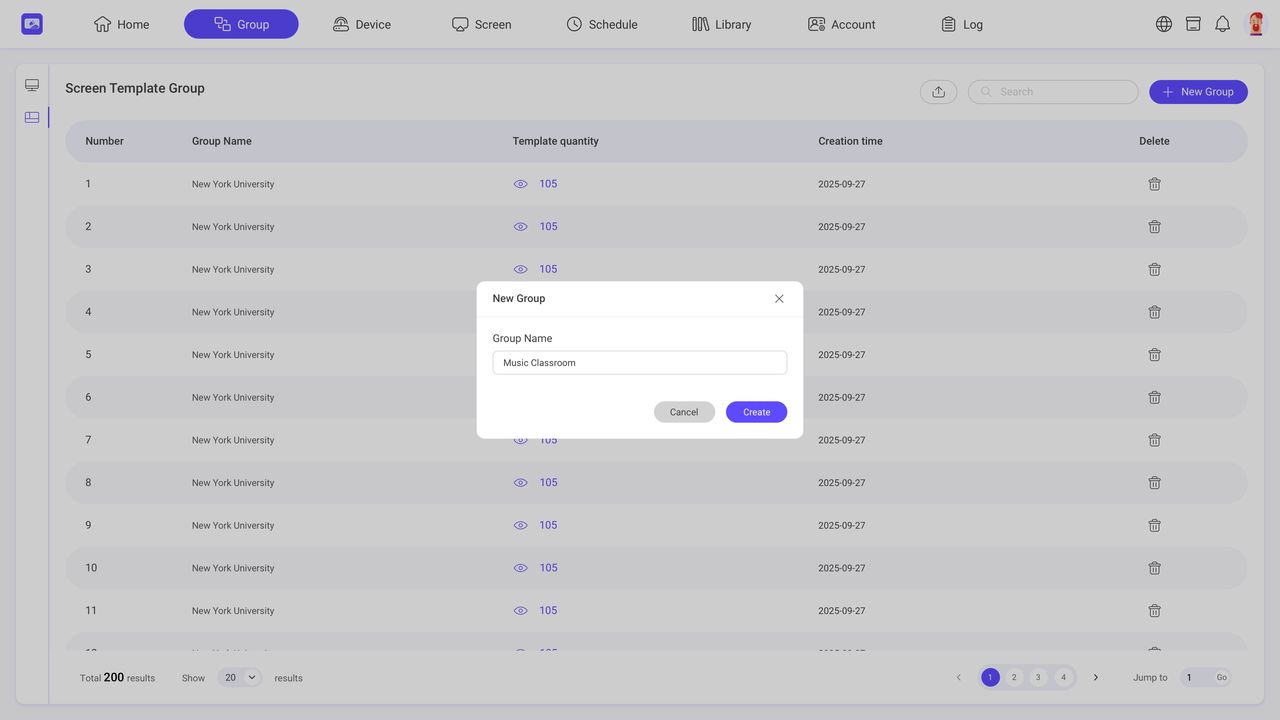
Step1. Click ‘New Group’ button.
Step2. Enter the device group name and confirm.
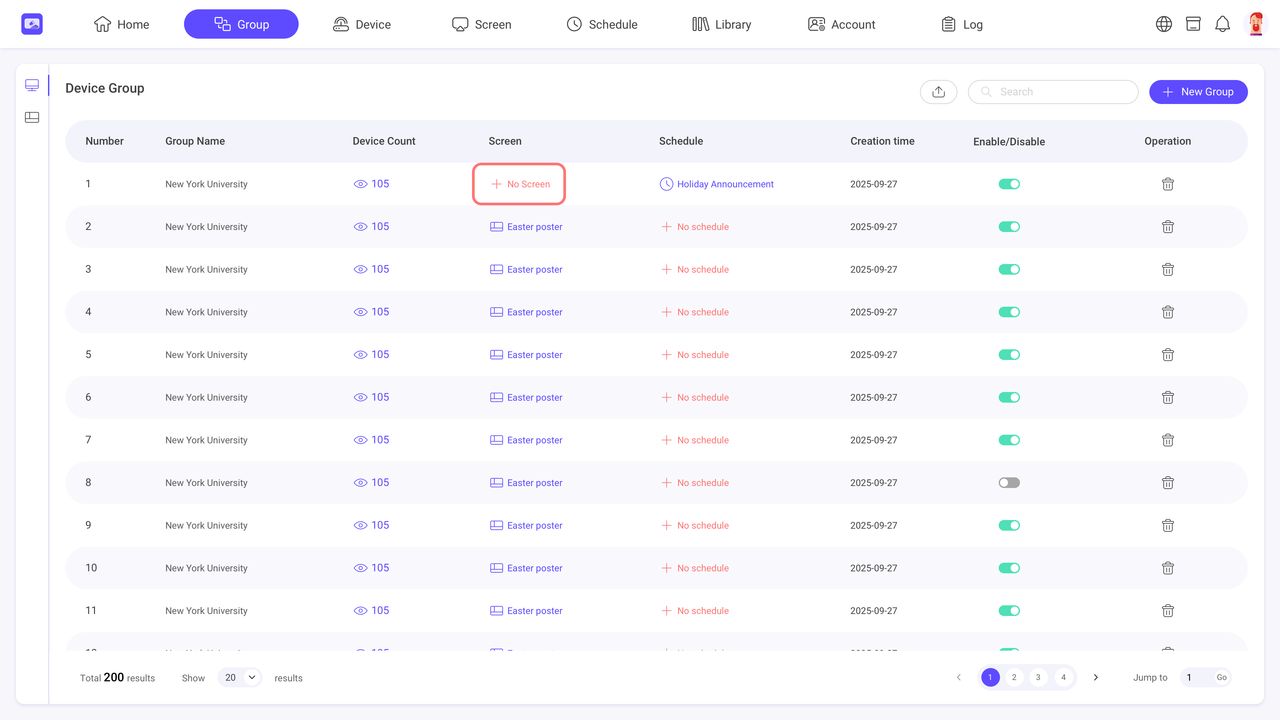
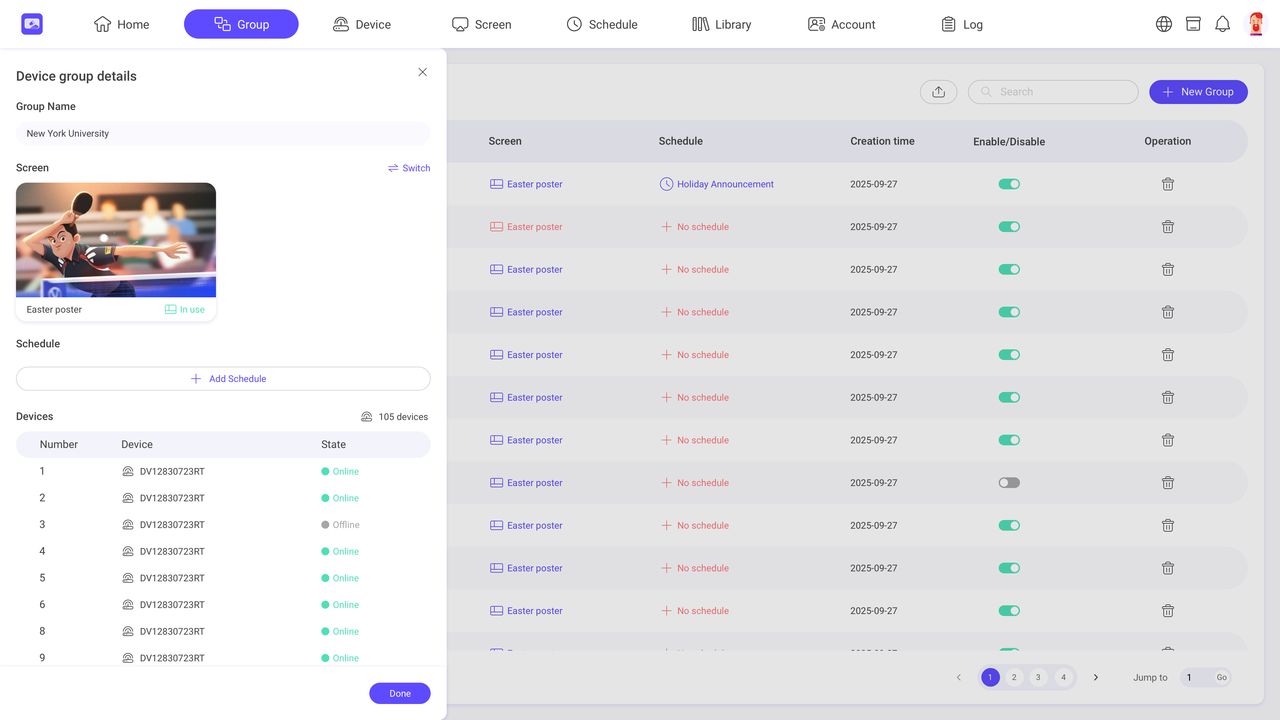
3.1.2. Add a template to device group
Step1. Click the ‘Template’ column on the device group list. This button will be red if you haven't added a template to the device group; it will show the name of the template if you have already added a template, you can click to replace.
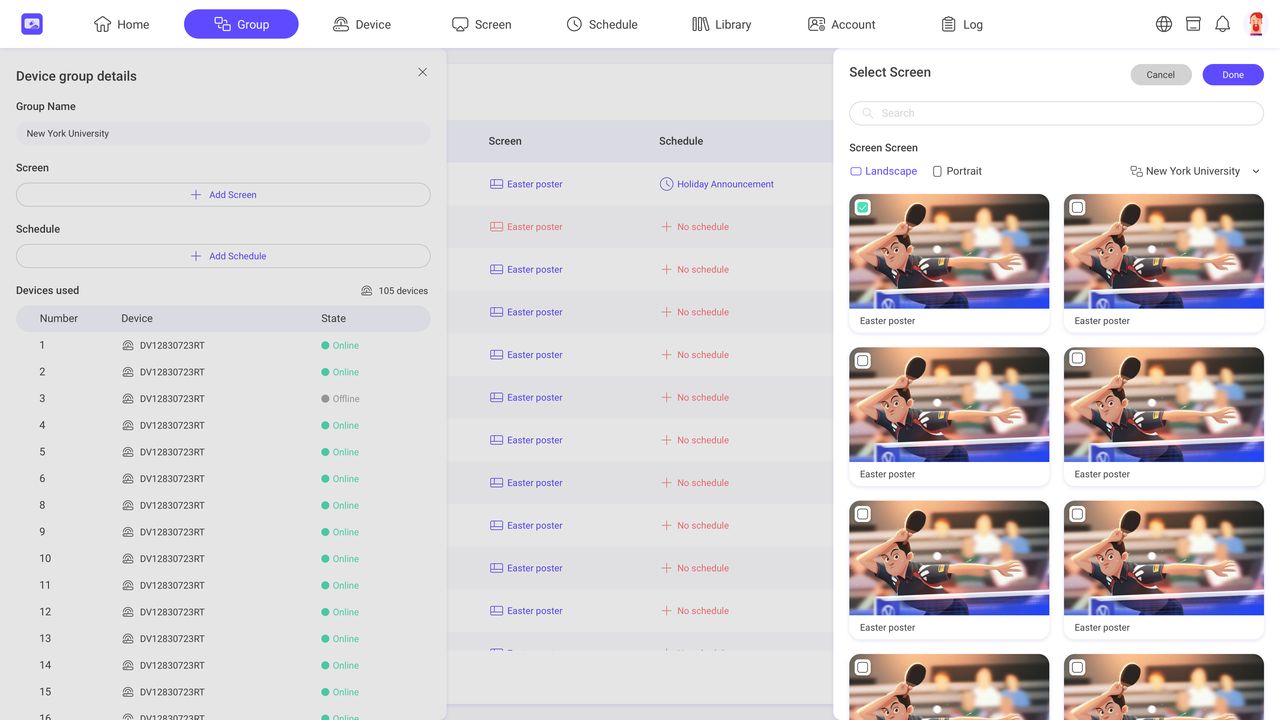
Step2. Click ‘Add Template’ in the popup to select the created template.
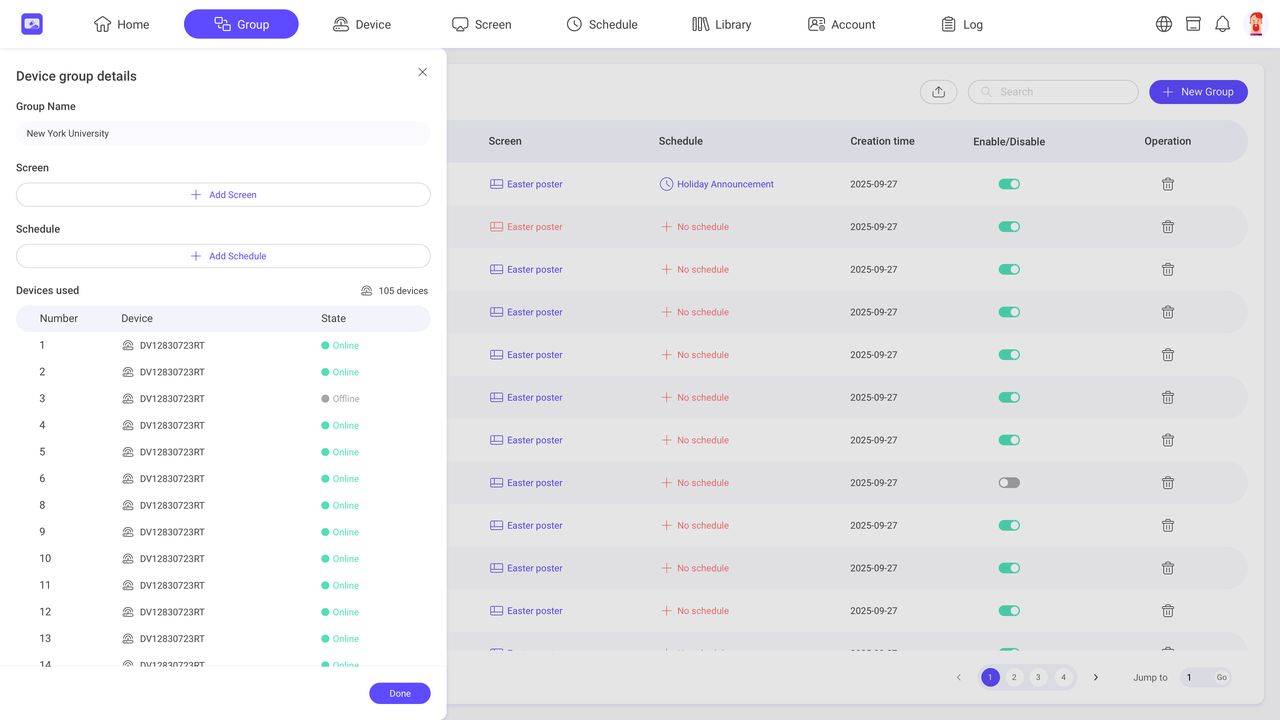
Step3. Click ‘Done’ to save the changes.
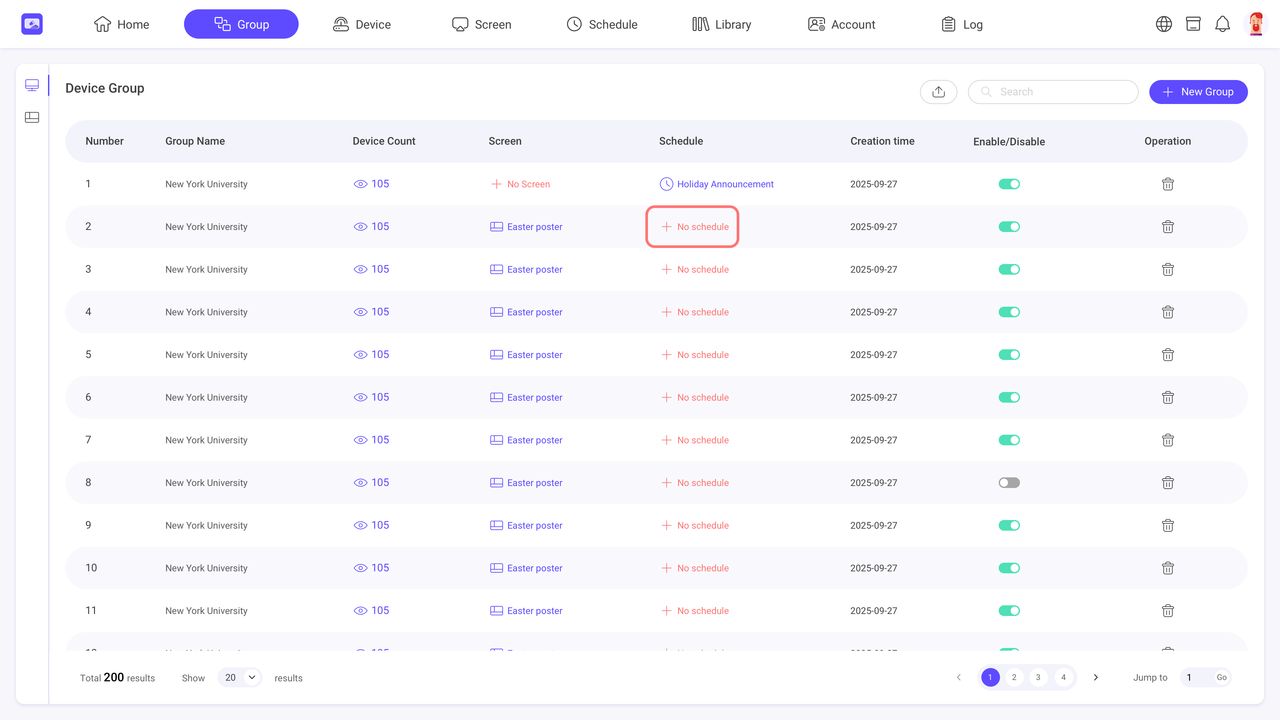
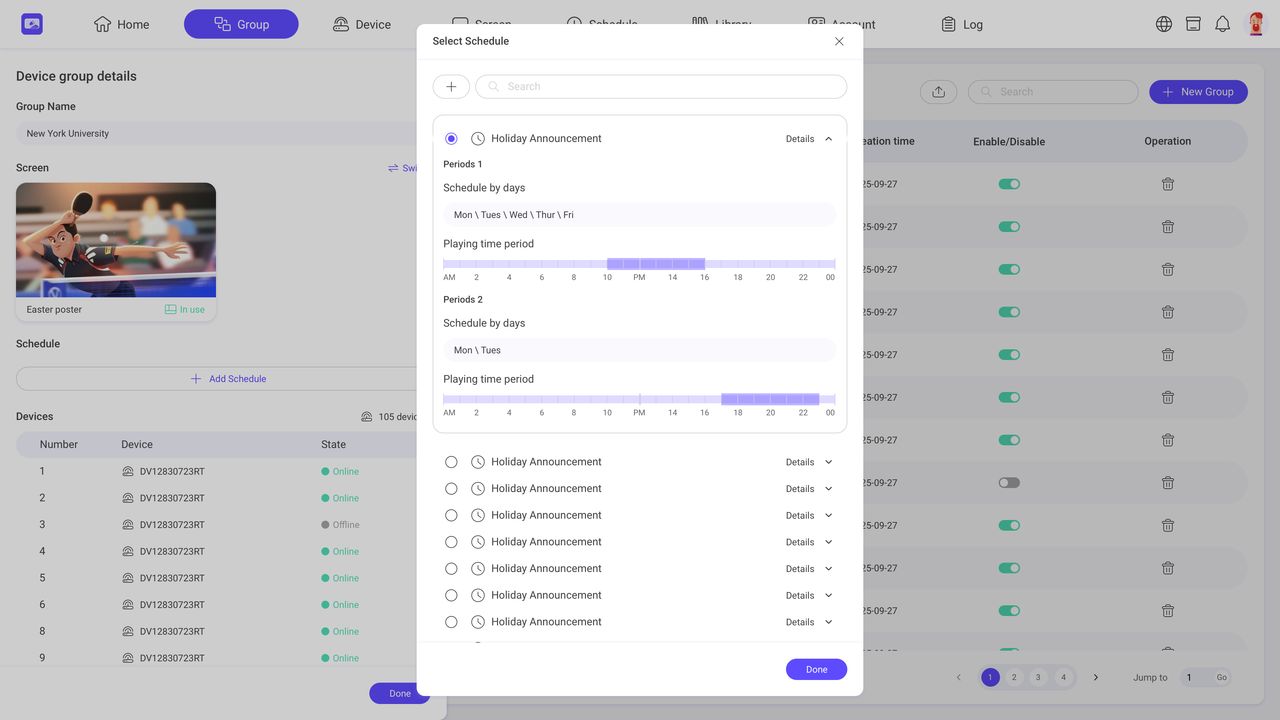
3.1.3. Add a schedule to device group
Step1. Click the ‘Schedule’ column on the device group list. This button will be red if you haven't added a schedule to the device group; it will show the name of the schedule if you have already added a schedule, you can click to replace.
Step2. Click ‘Add Schedule’ in the popup to select the created template.
Step3. Click ‘Done’ to save the changes.
3.2 Template Group
INFO
Template Group module is available for managing your templates. Templates can be added to the groups you create here.
3.2.1 Create a Template group
Step1. Click ‘New Group’ button.
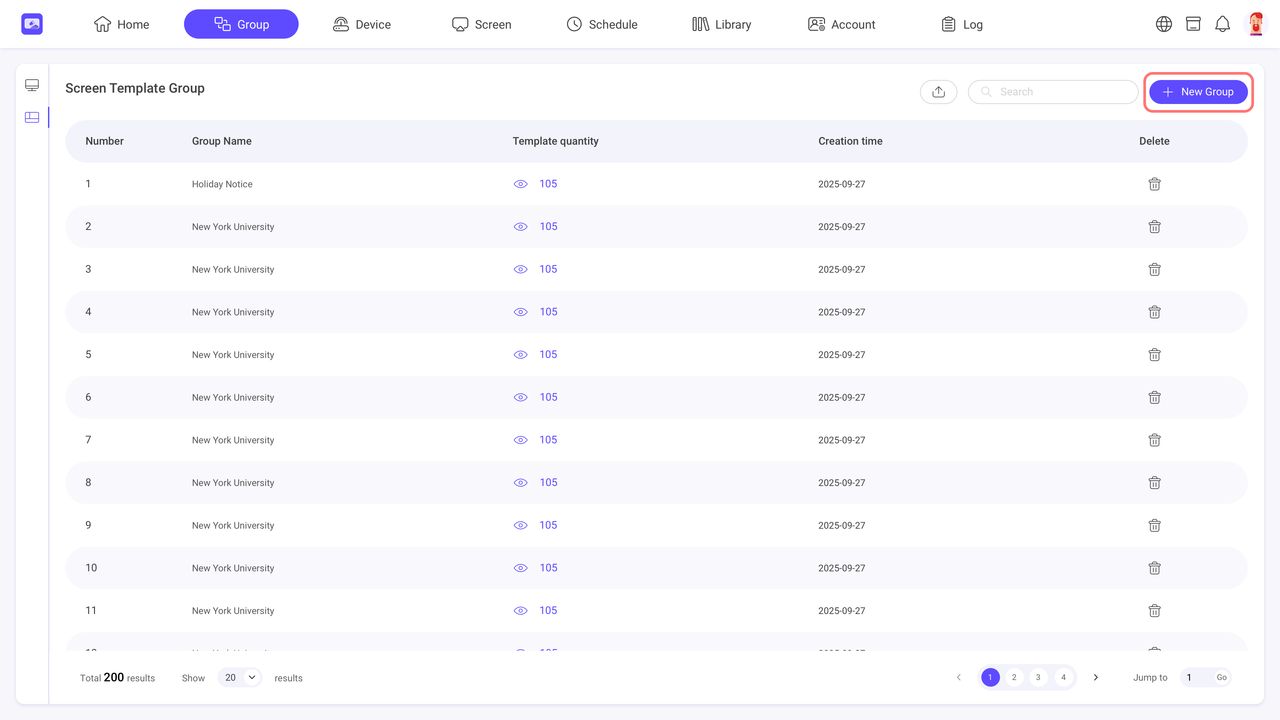
Step2. Enter Template group name and confirm.
3.3 Priority Broadcast
INFO
This feature is only available for District users. It allows you to create and schedule playback plans using templates across the entire organization’s devices. Priority Broadcasts run at the highest priority level. When activated, the scheduled playback will override content from other Groups.
3.4 Alert
INFO
This feature is only available for District users. The Alert feature supports binding CAP alerts to devices, enabling emergency notifications. It integrates with multiple third-party alert platforms and allows organizations to deliver critical messages in real time.
We recommend using trusted platforms such as Singlewire, Centegix, Raptor for best compatibility and performance. More platforms are continuously being integrated.
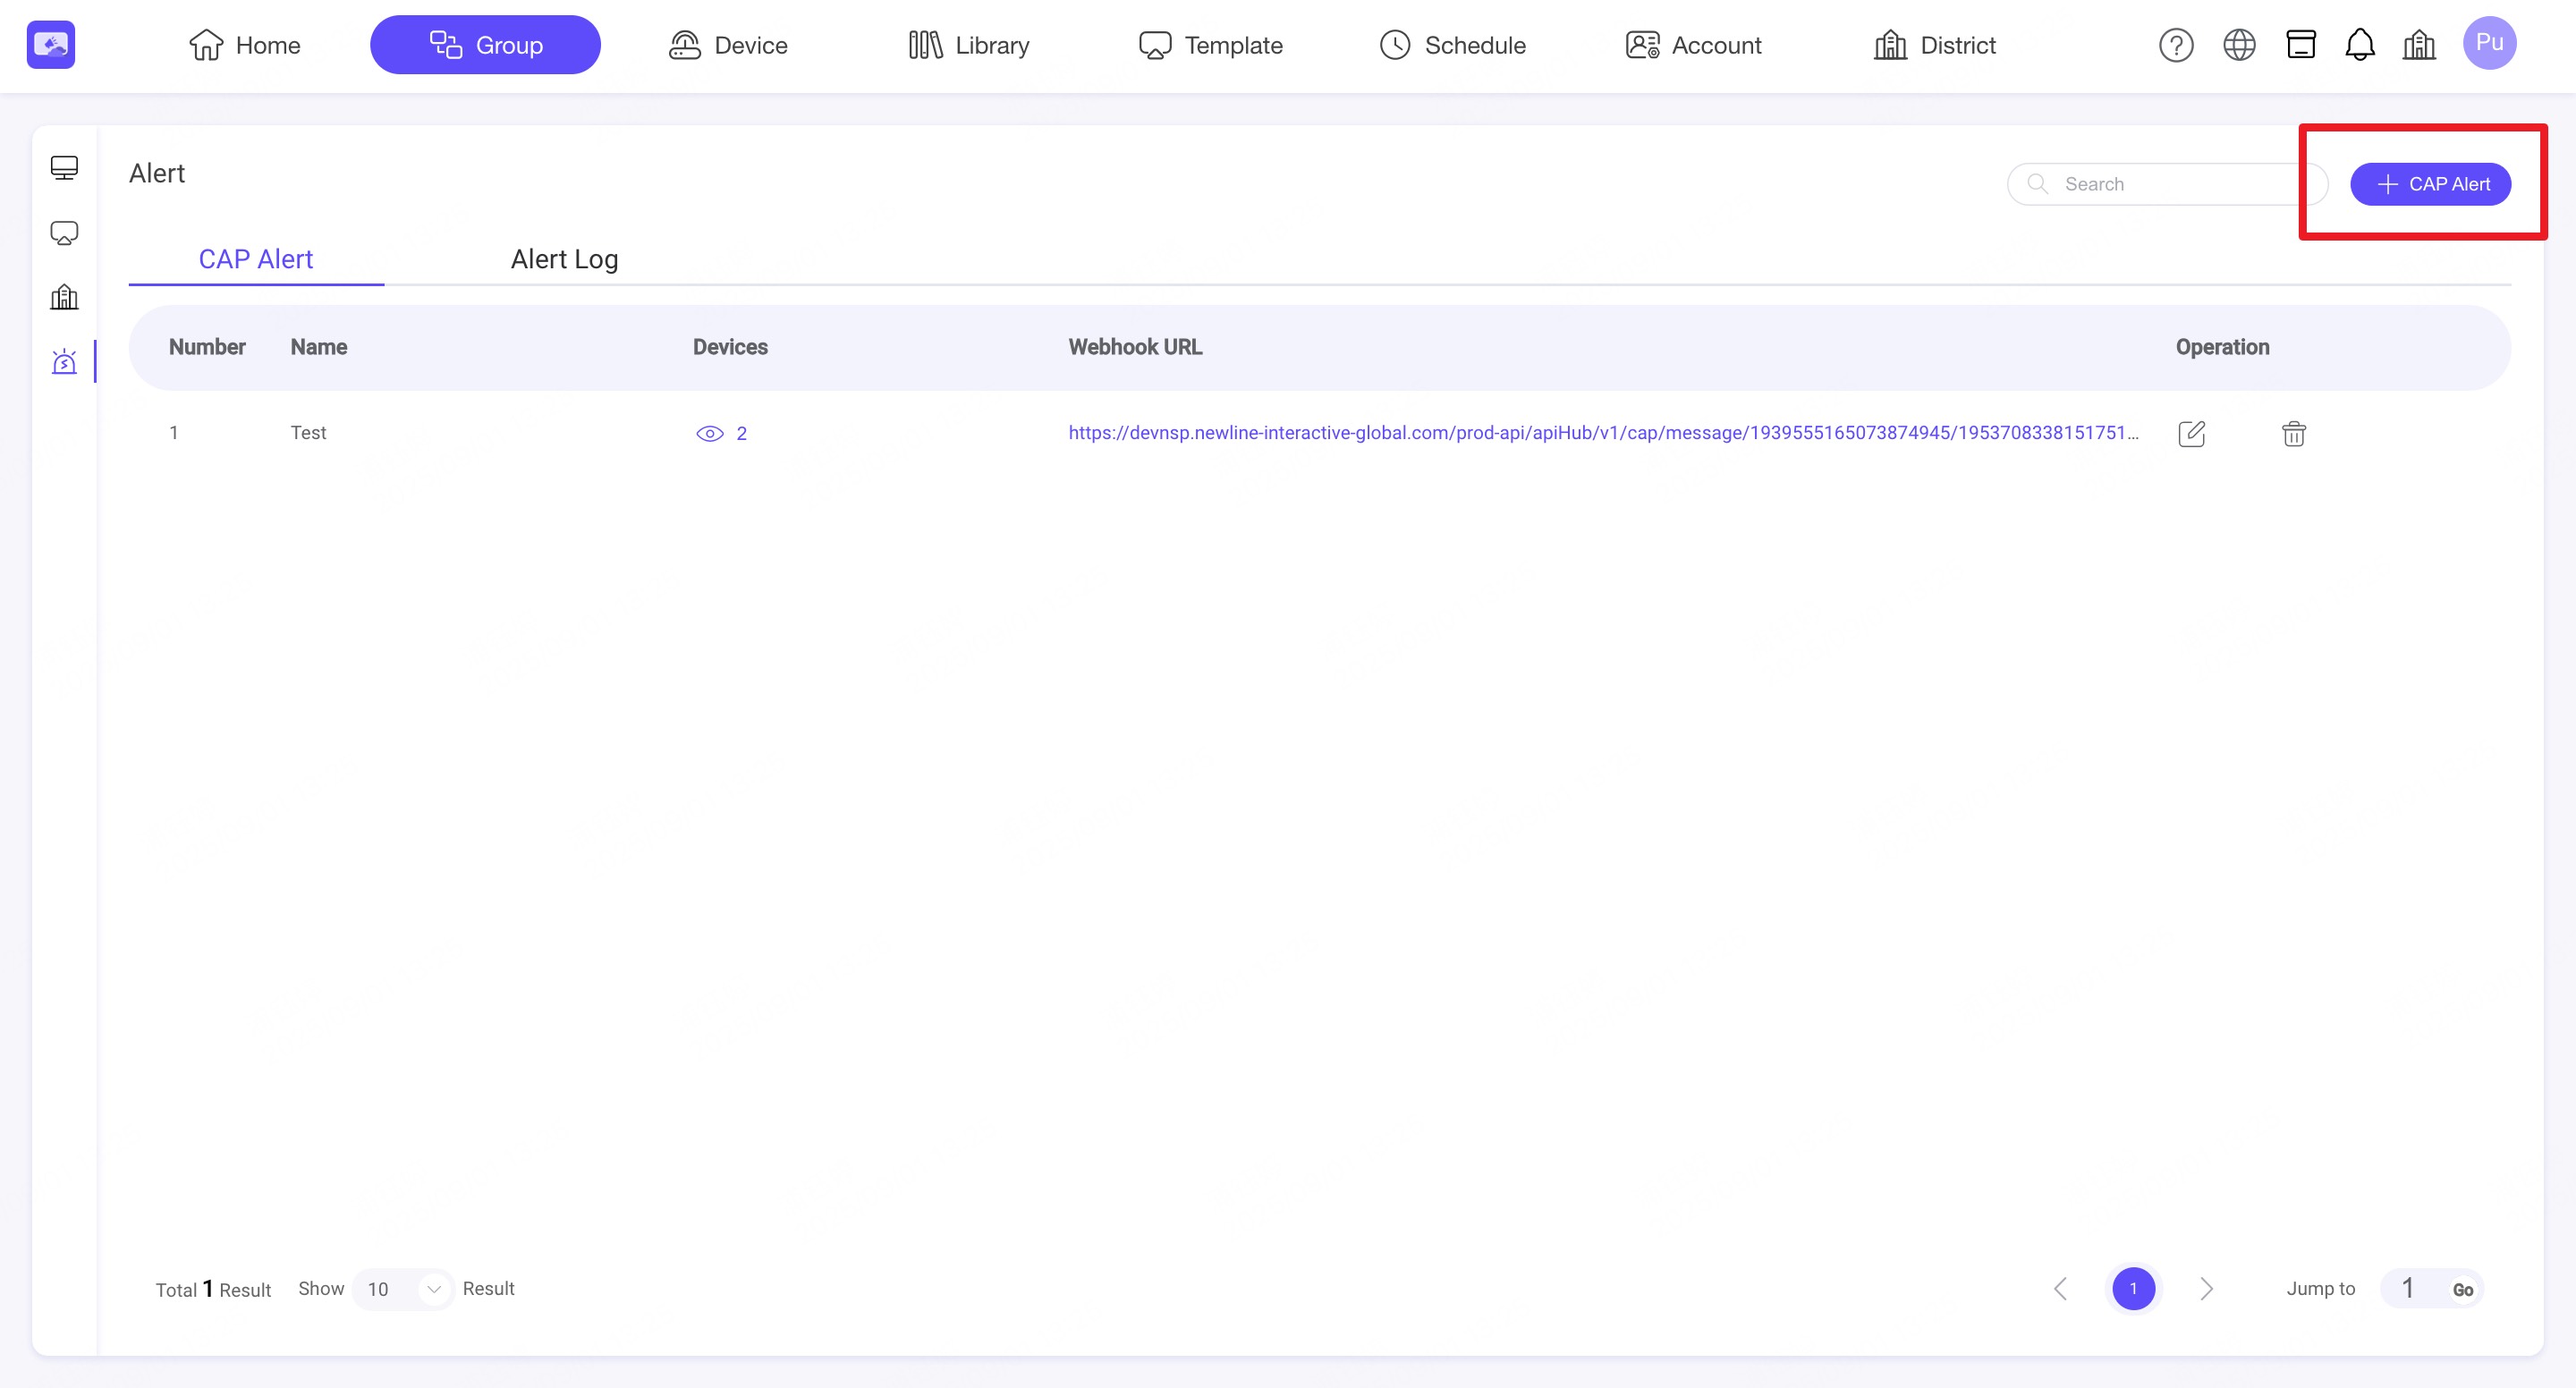
3.4.1 Create a CAP Alert group
Step1. Click ‘CAP Alert’ button to create.
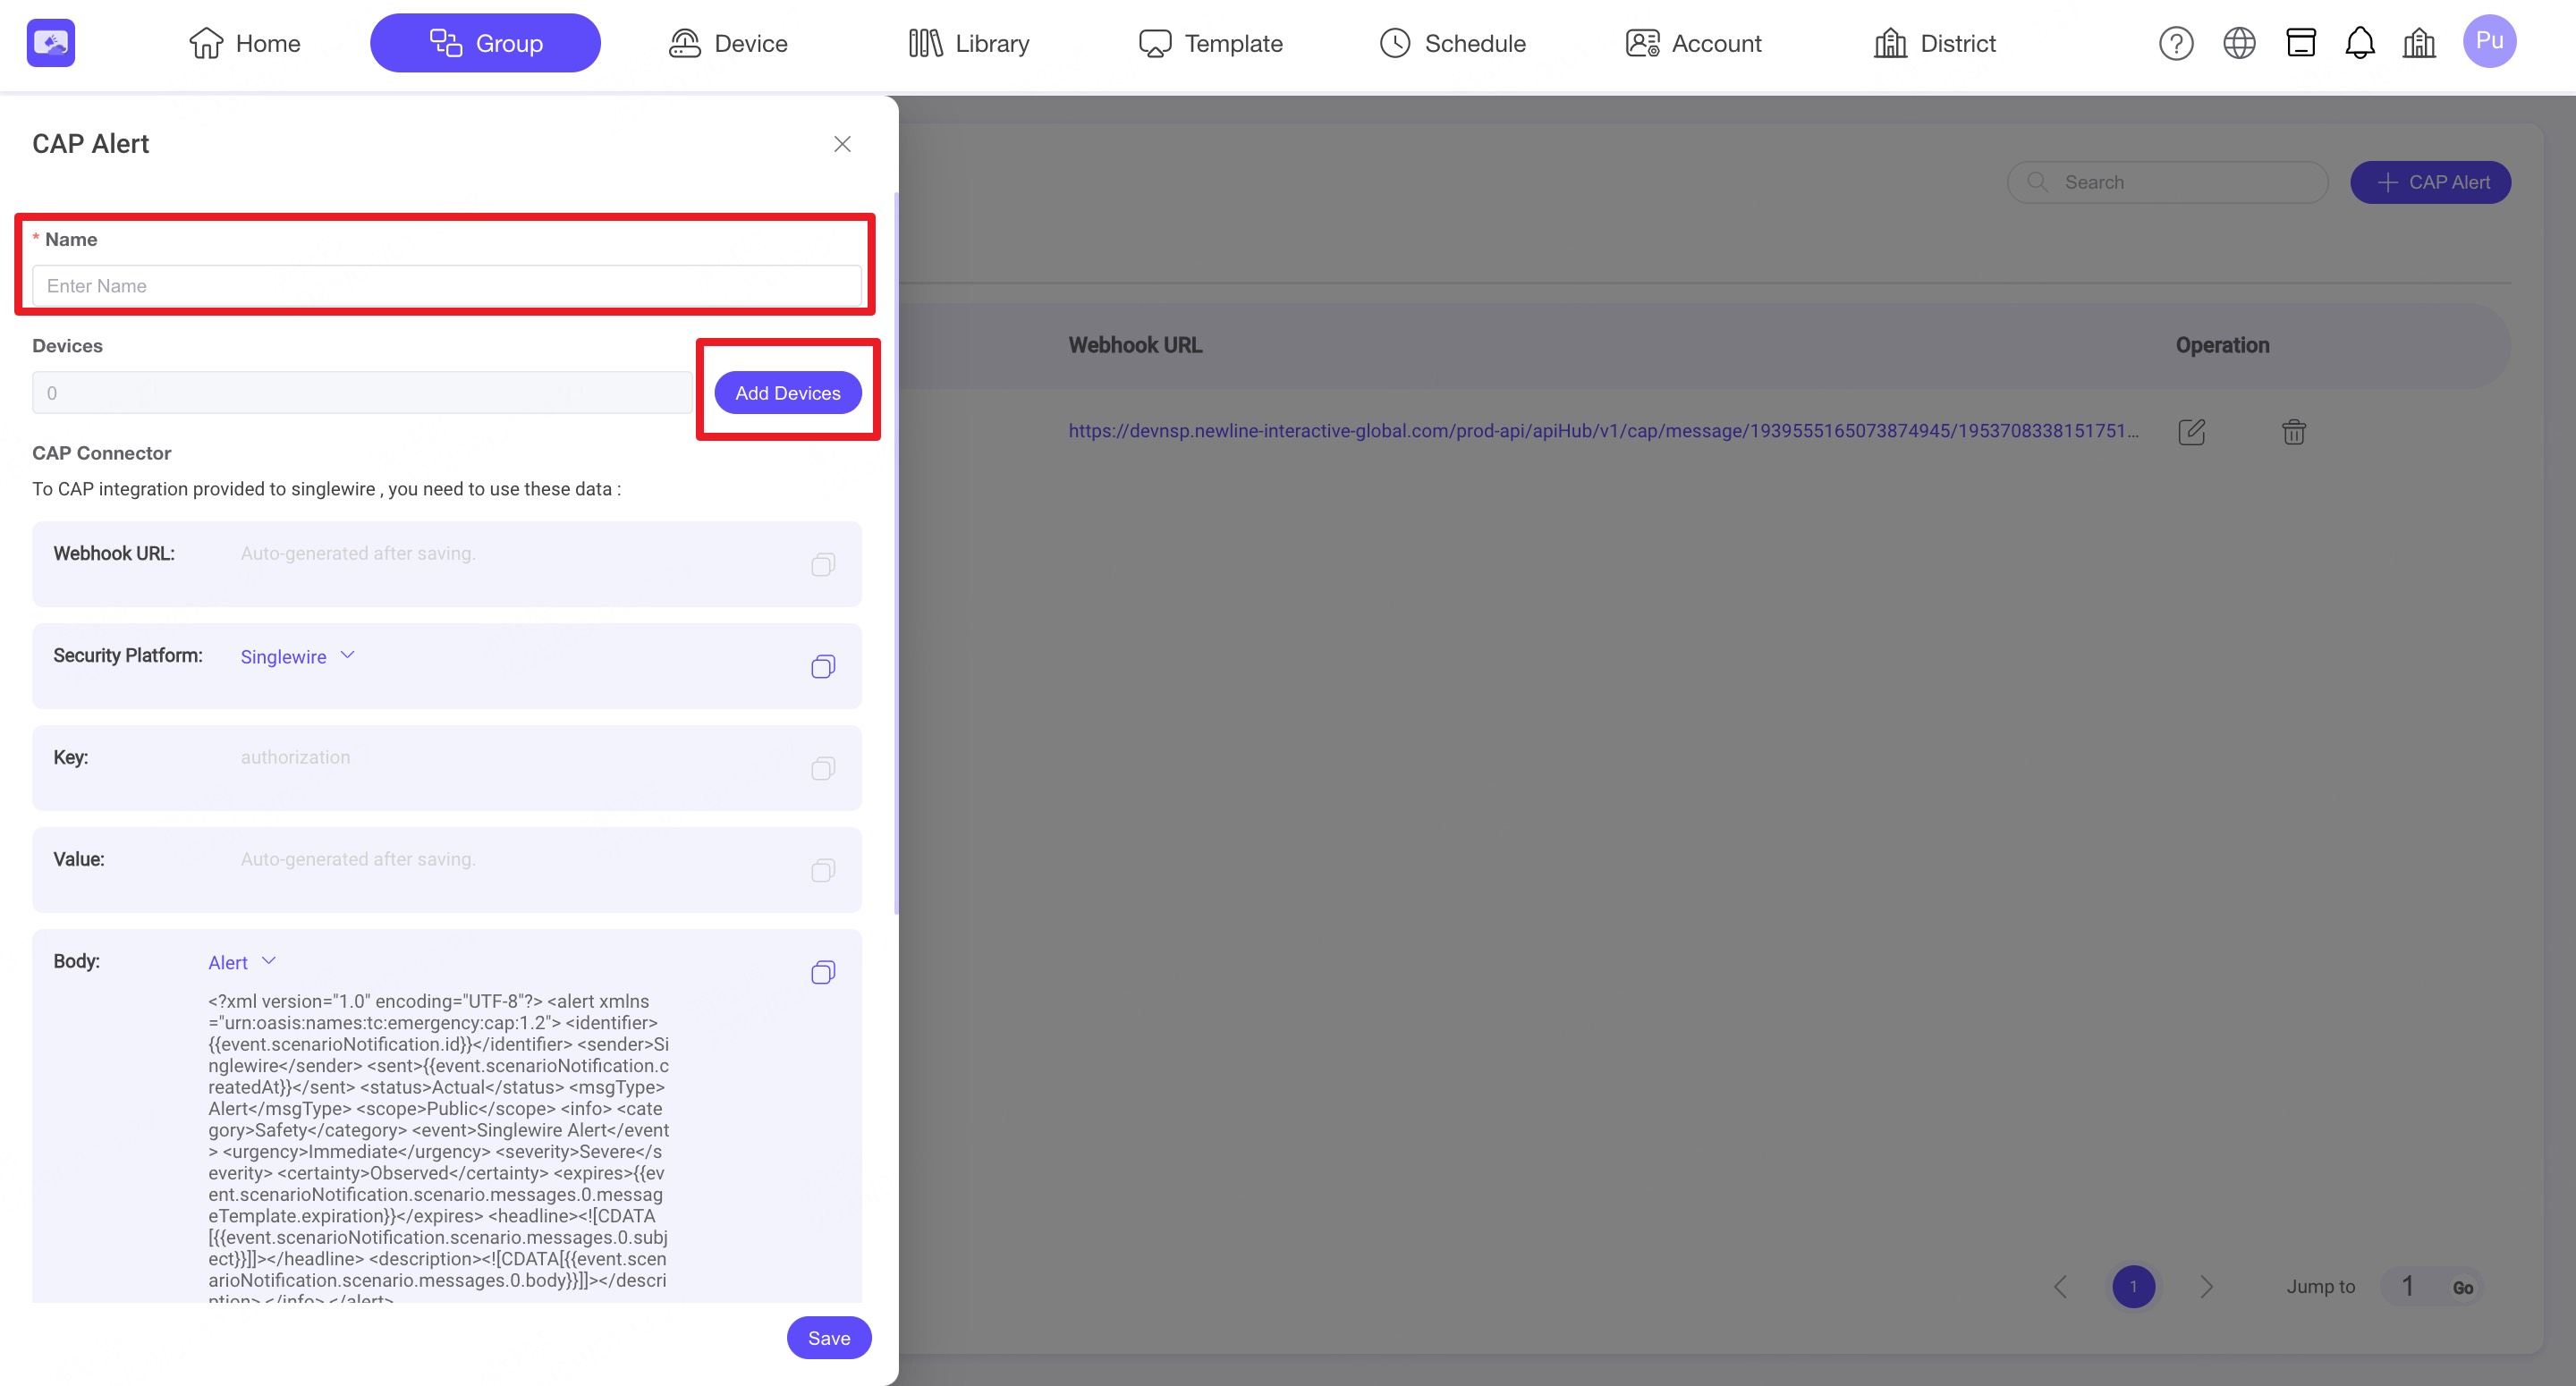
Step2. Enter CAP Alert name and select devices to bound to.
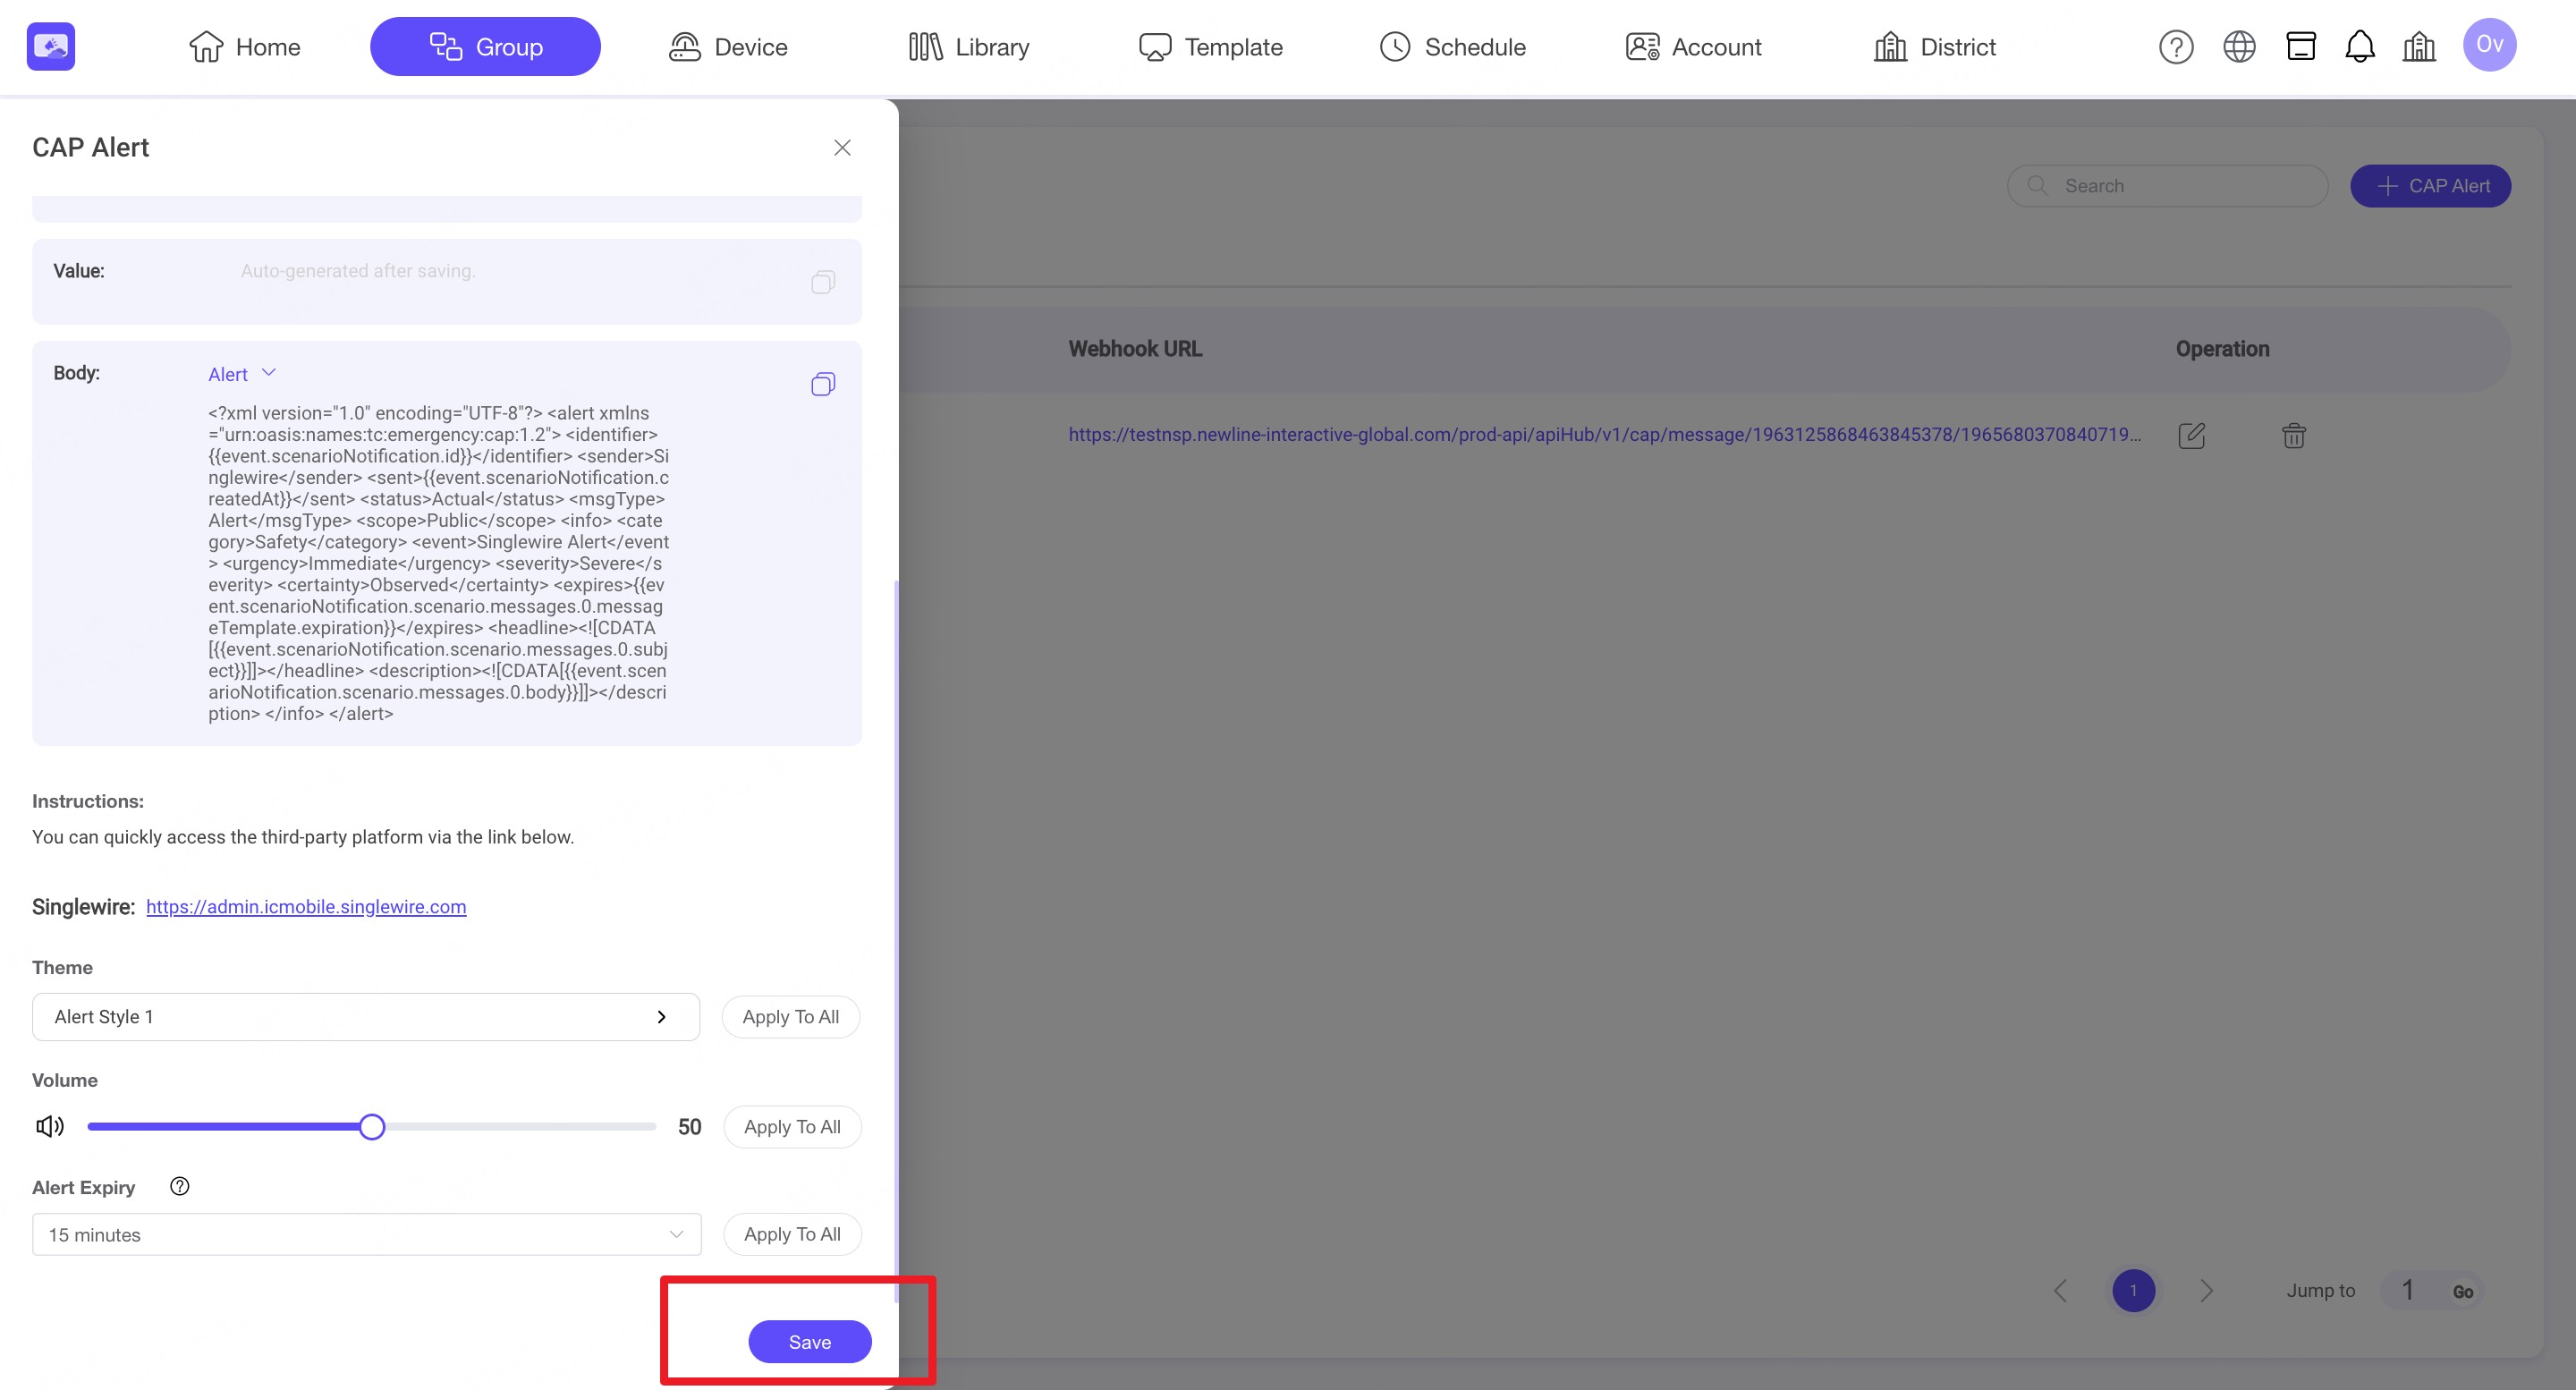
Step3. Customize the CAP Alert settings by changing the background image in Theme, adjusting the audio level in Volume, and setting the expiry time in Alert Expiry.
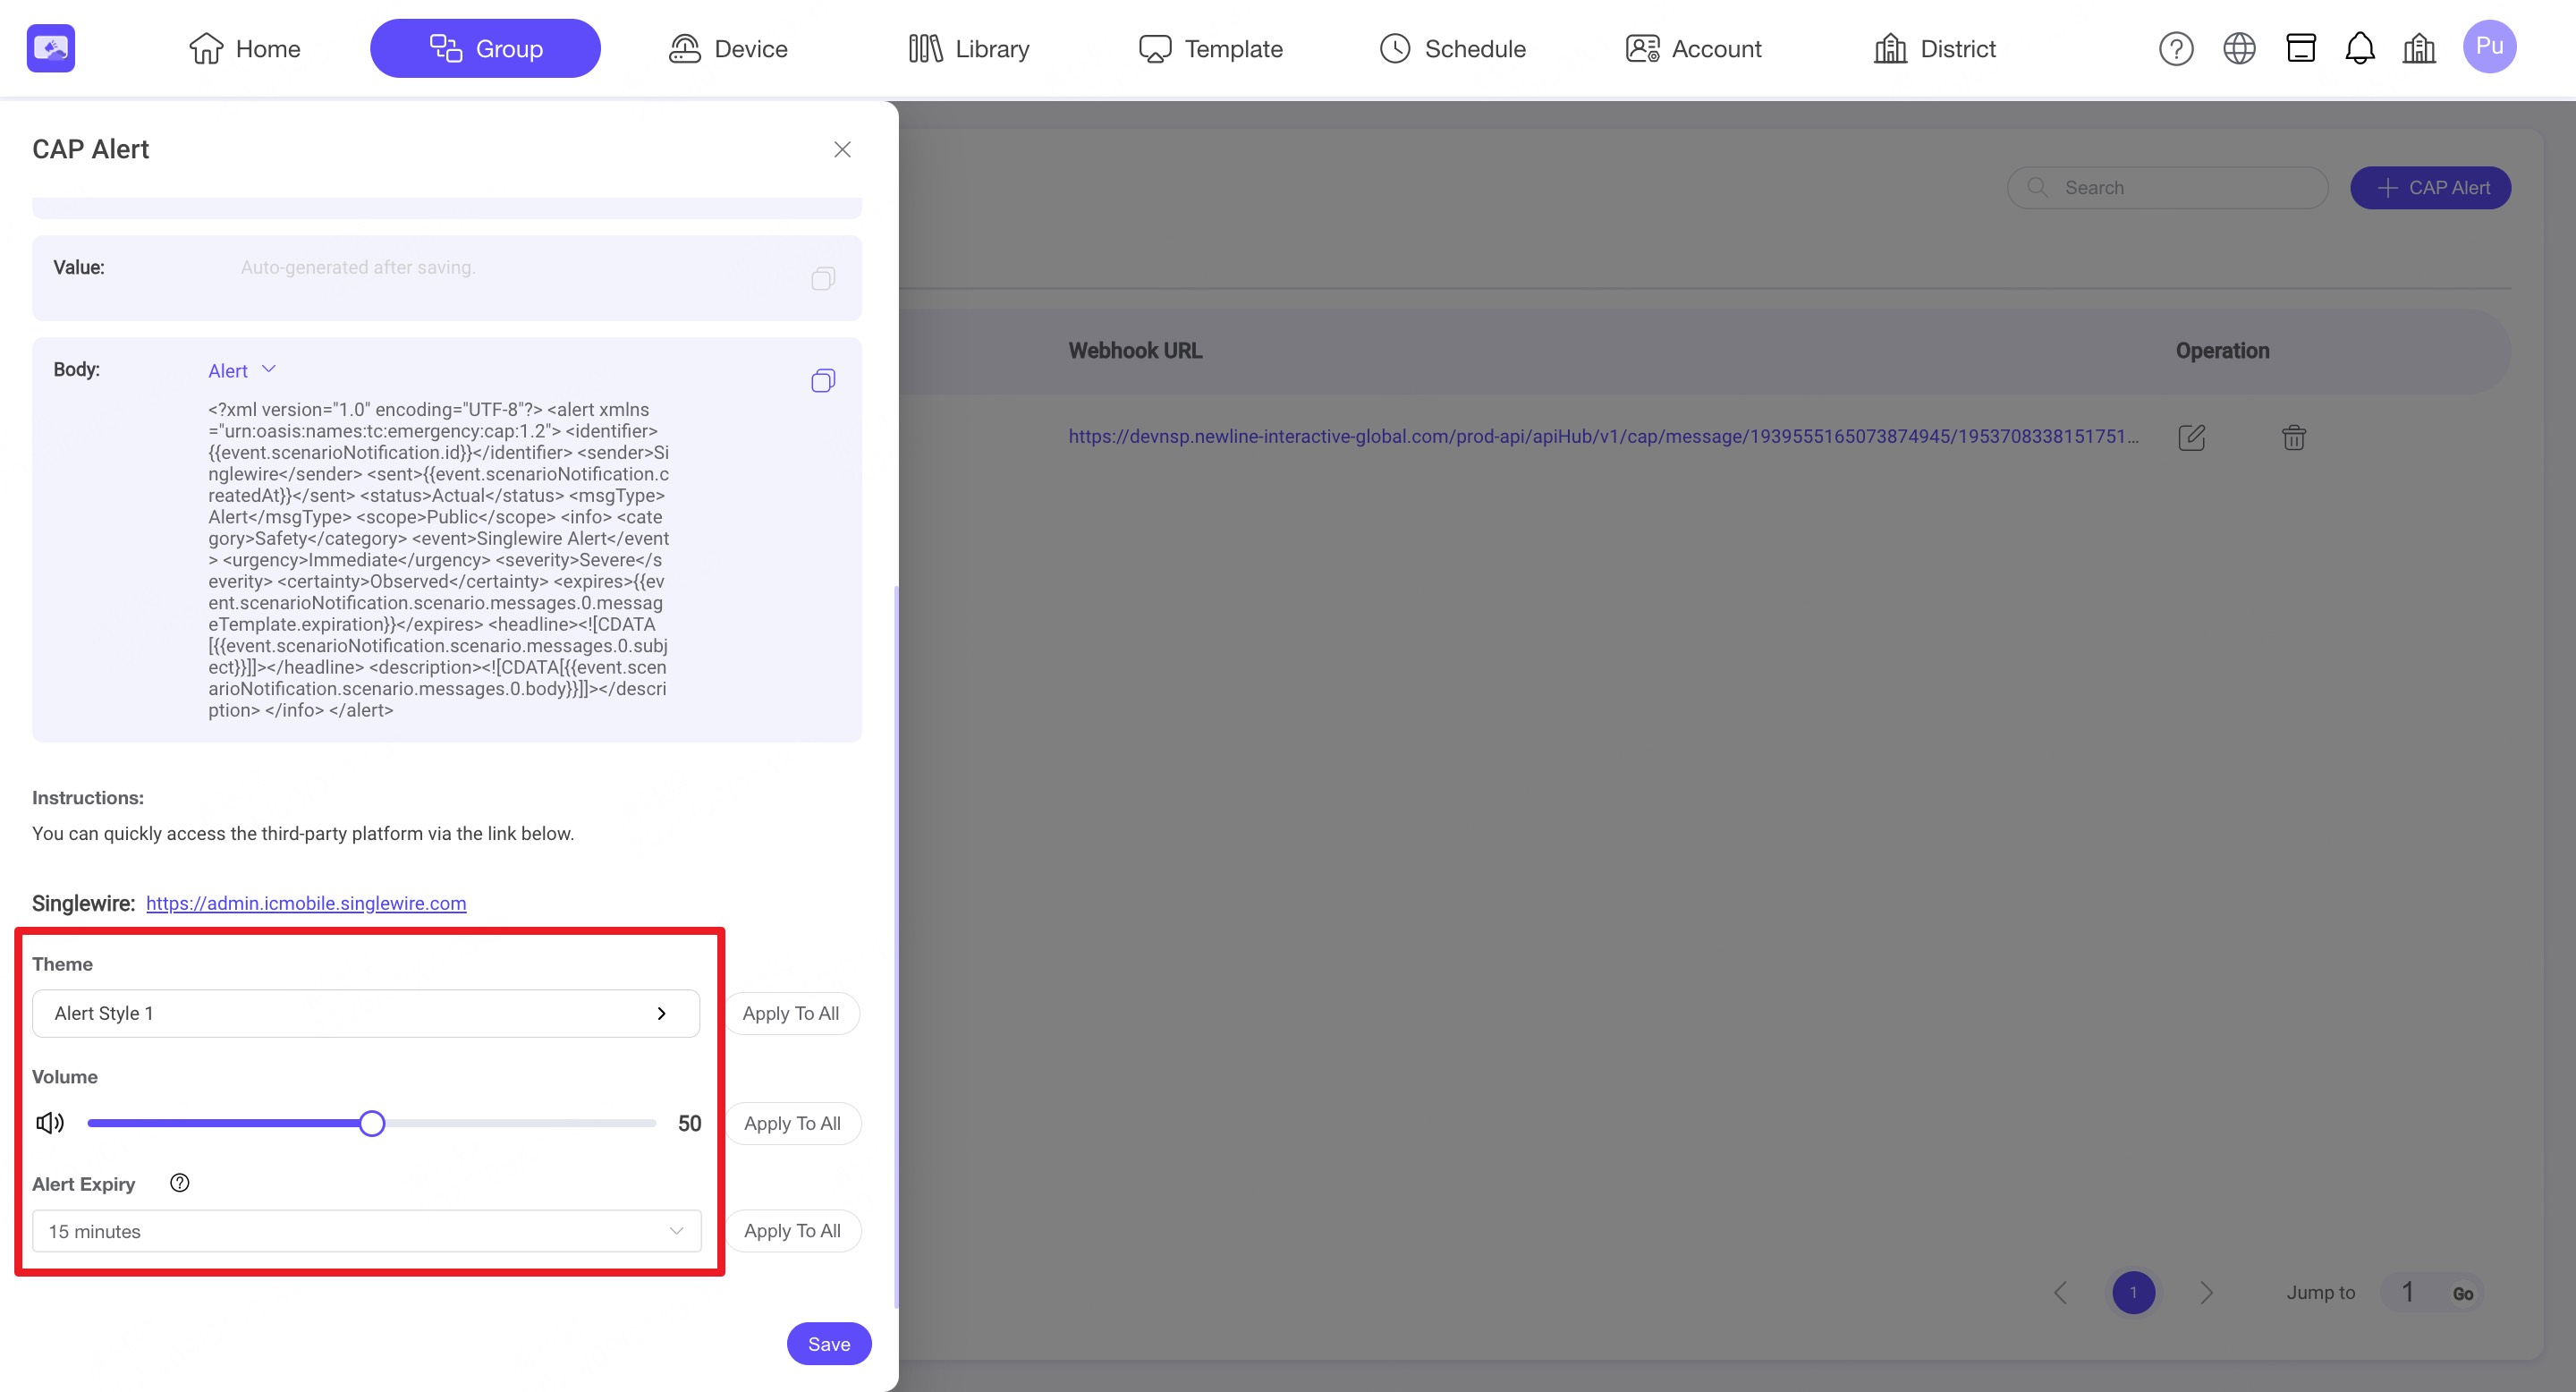
Step4. Click 'Save' to generate the Common Alerting Protocol (CAP) endpoint information for Alert devices group.
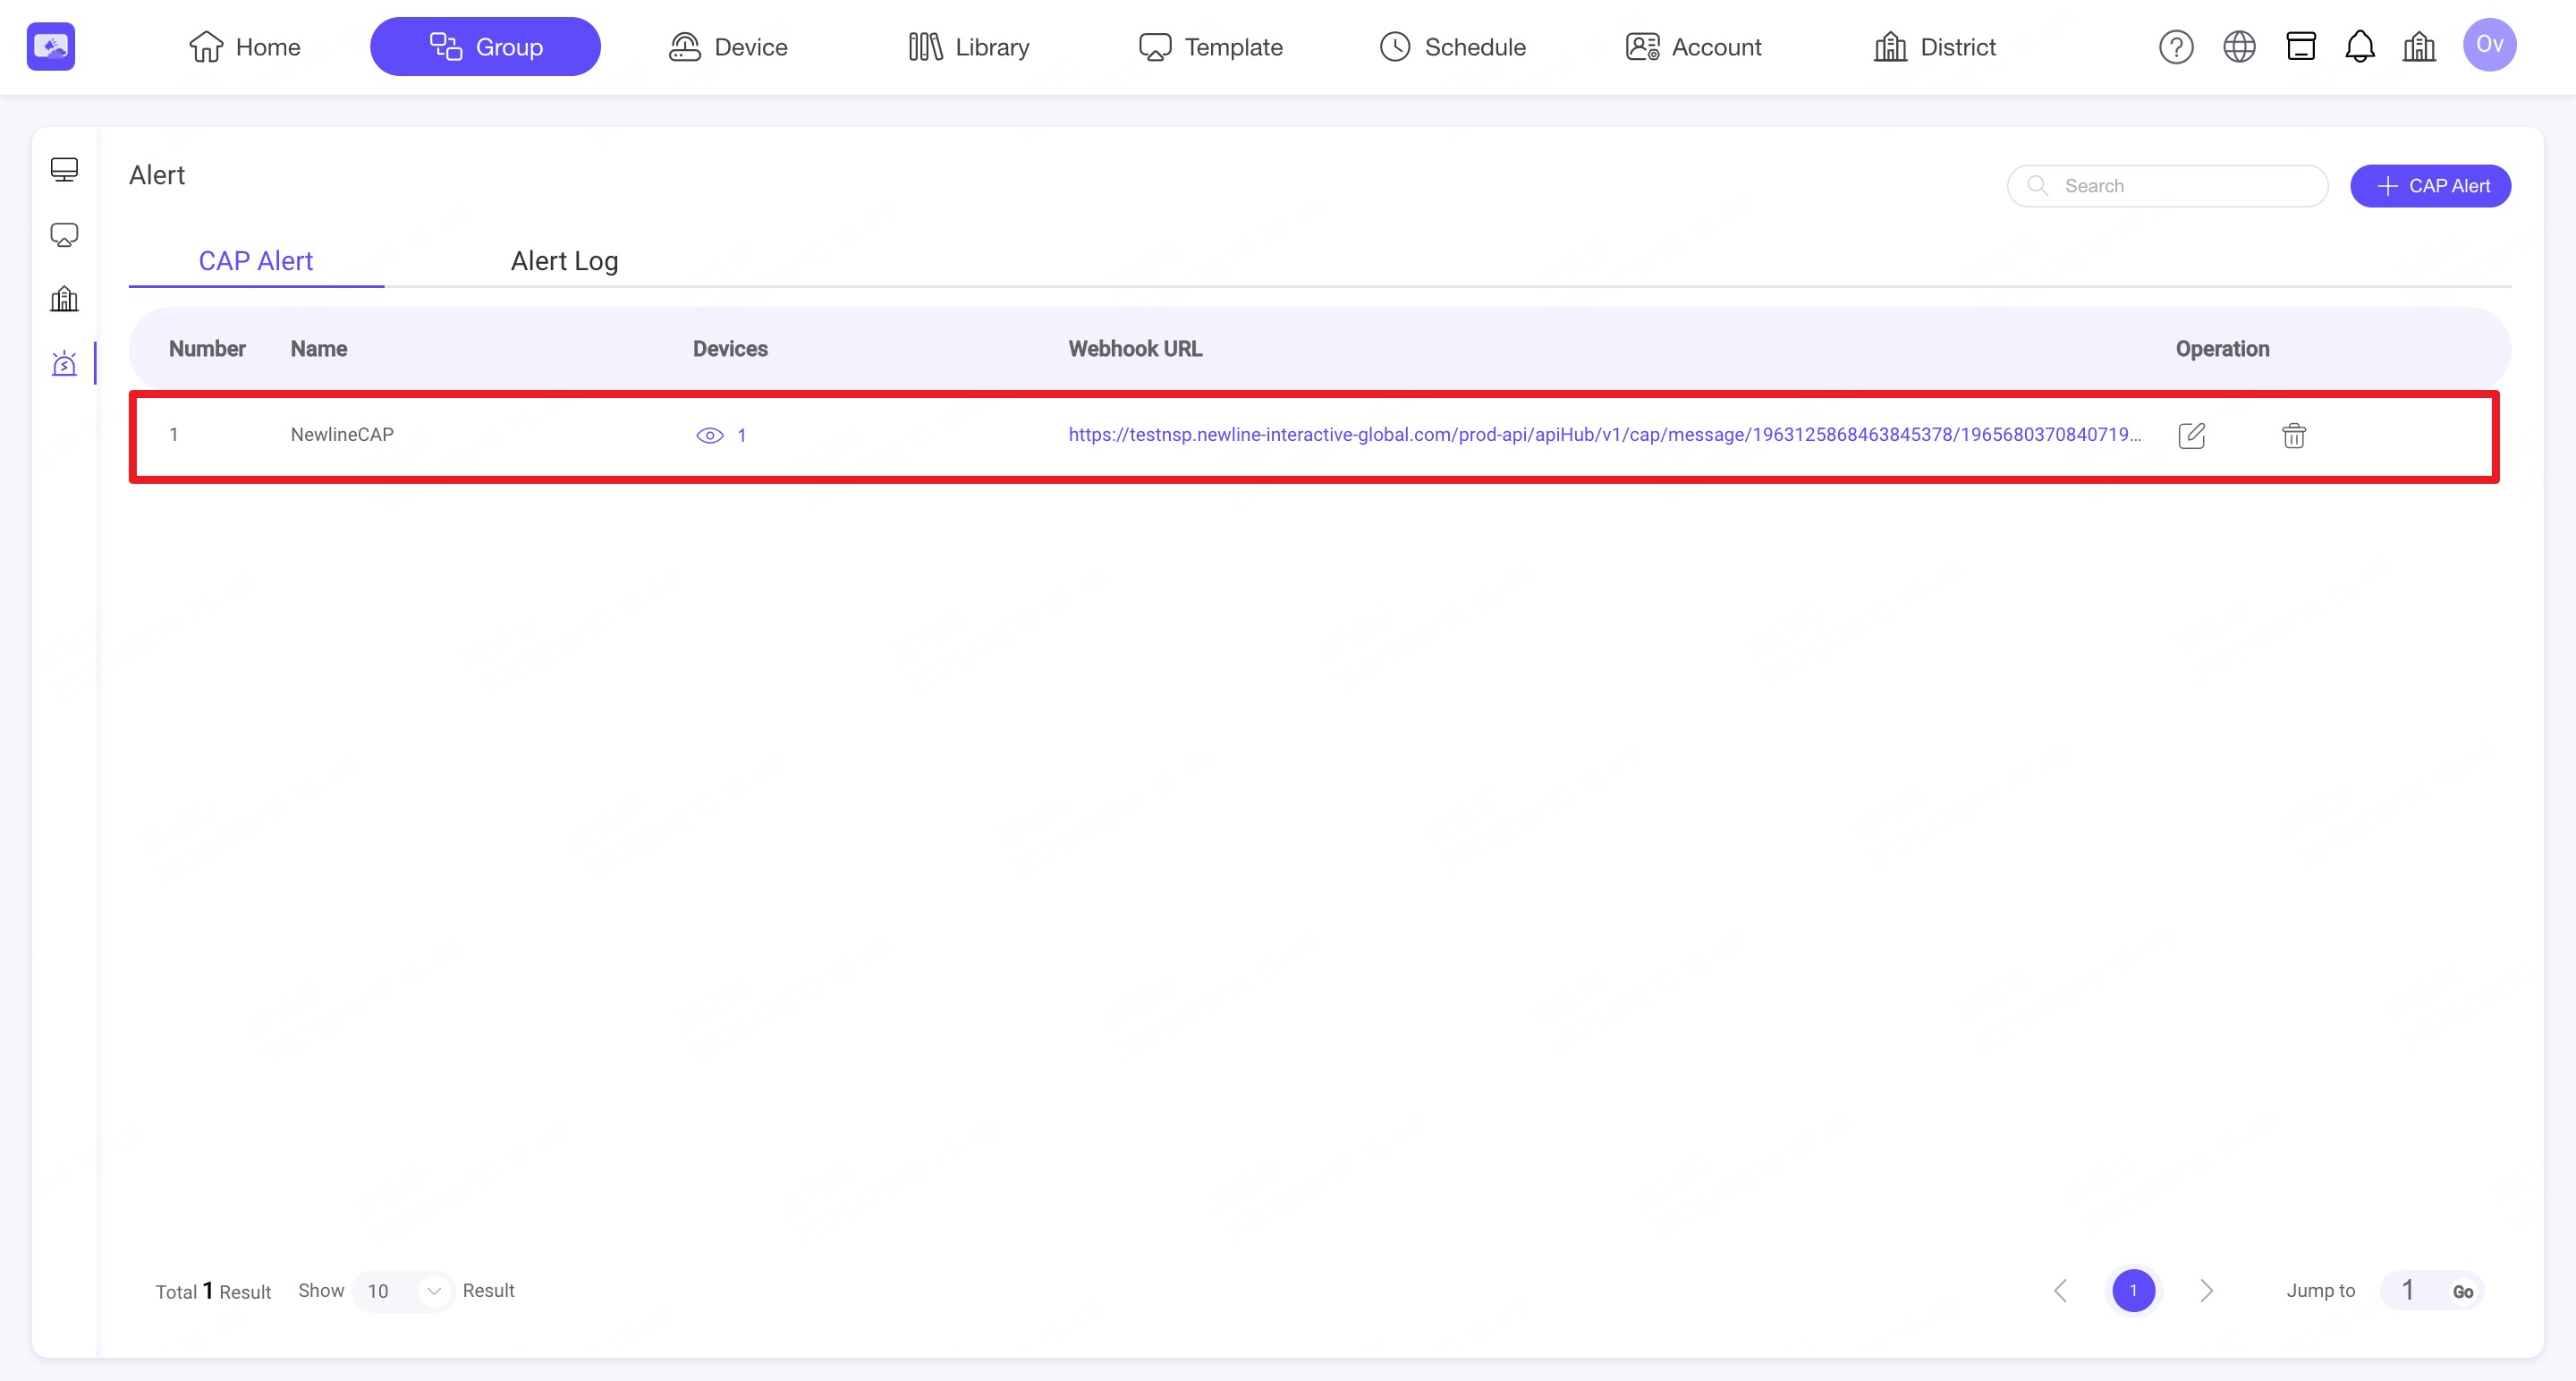
Step5. Now you should see a CAP Alert Group appear that contains the API endpoint information.
3.4.2 Connect Alert group to trusted platform
Step1. Click 'Edit' icon to check the information of CAP information. You will find the following information in the CAP Alert Group:
- Webhook URL
- Key
- Value
- Body [Alert] & [Clear]
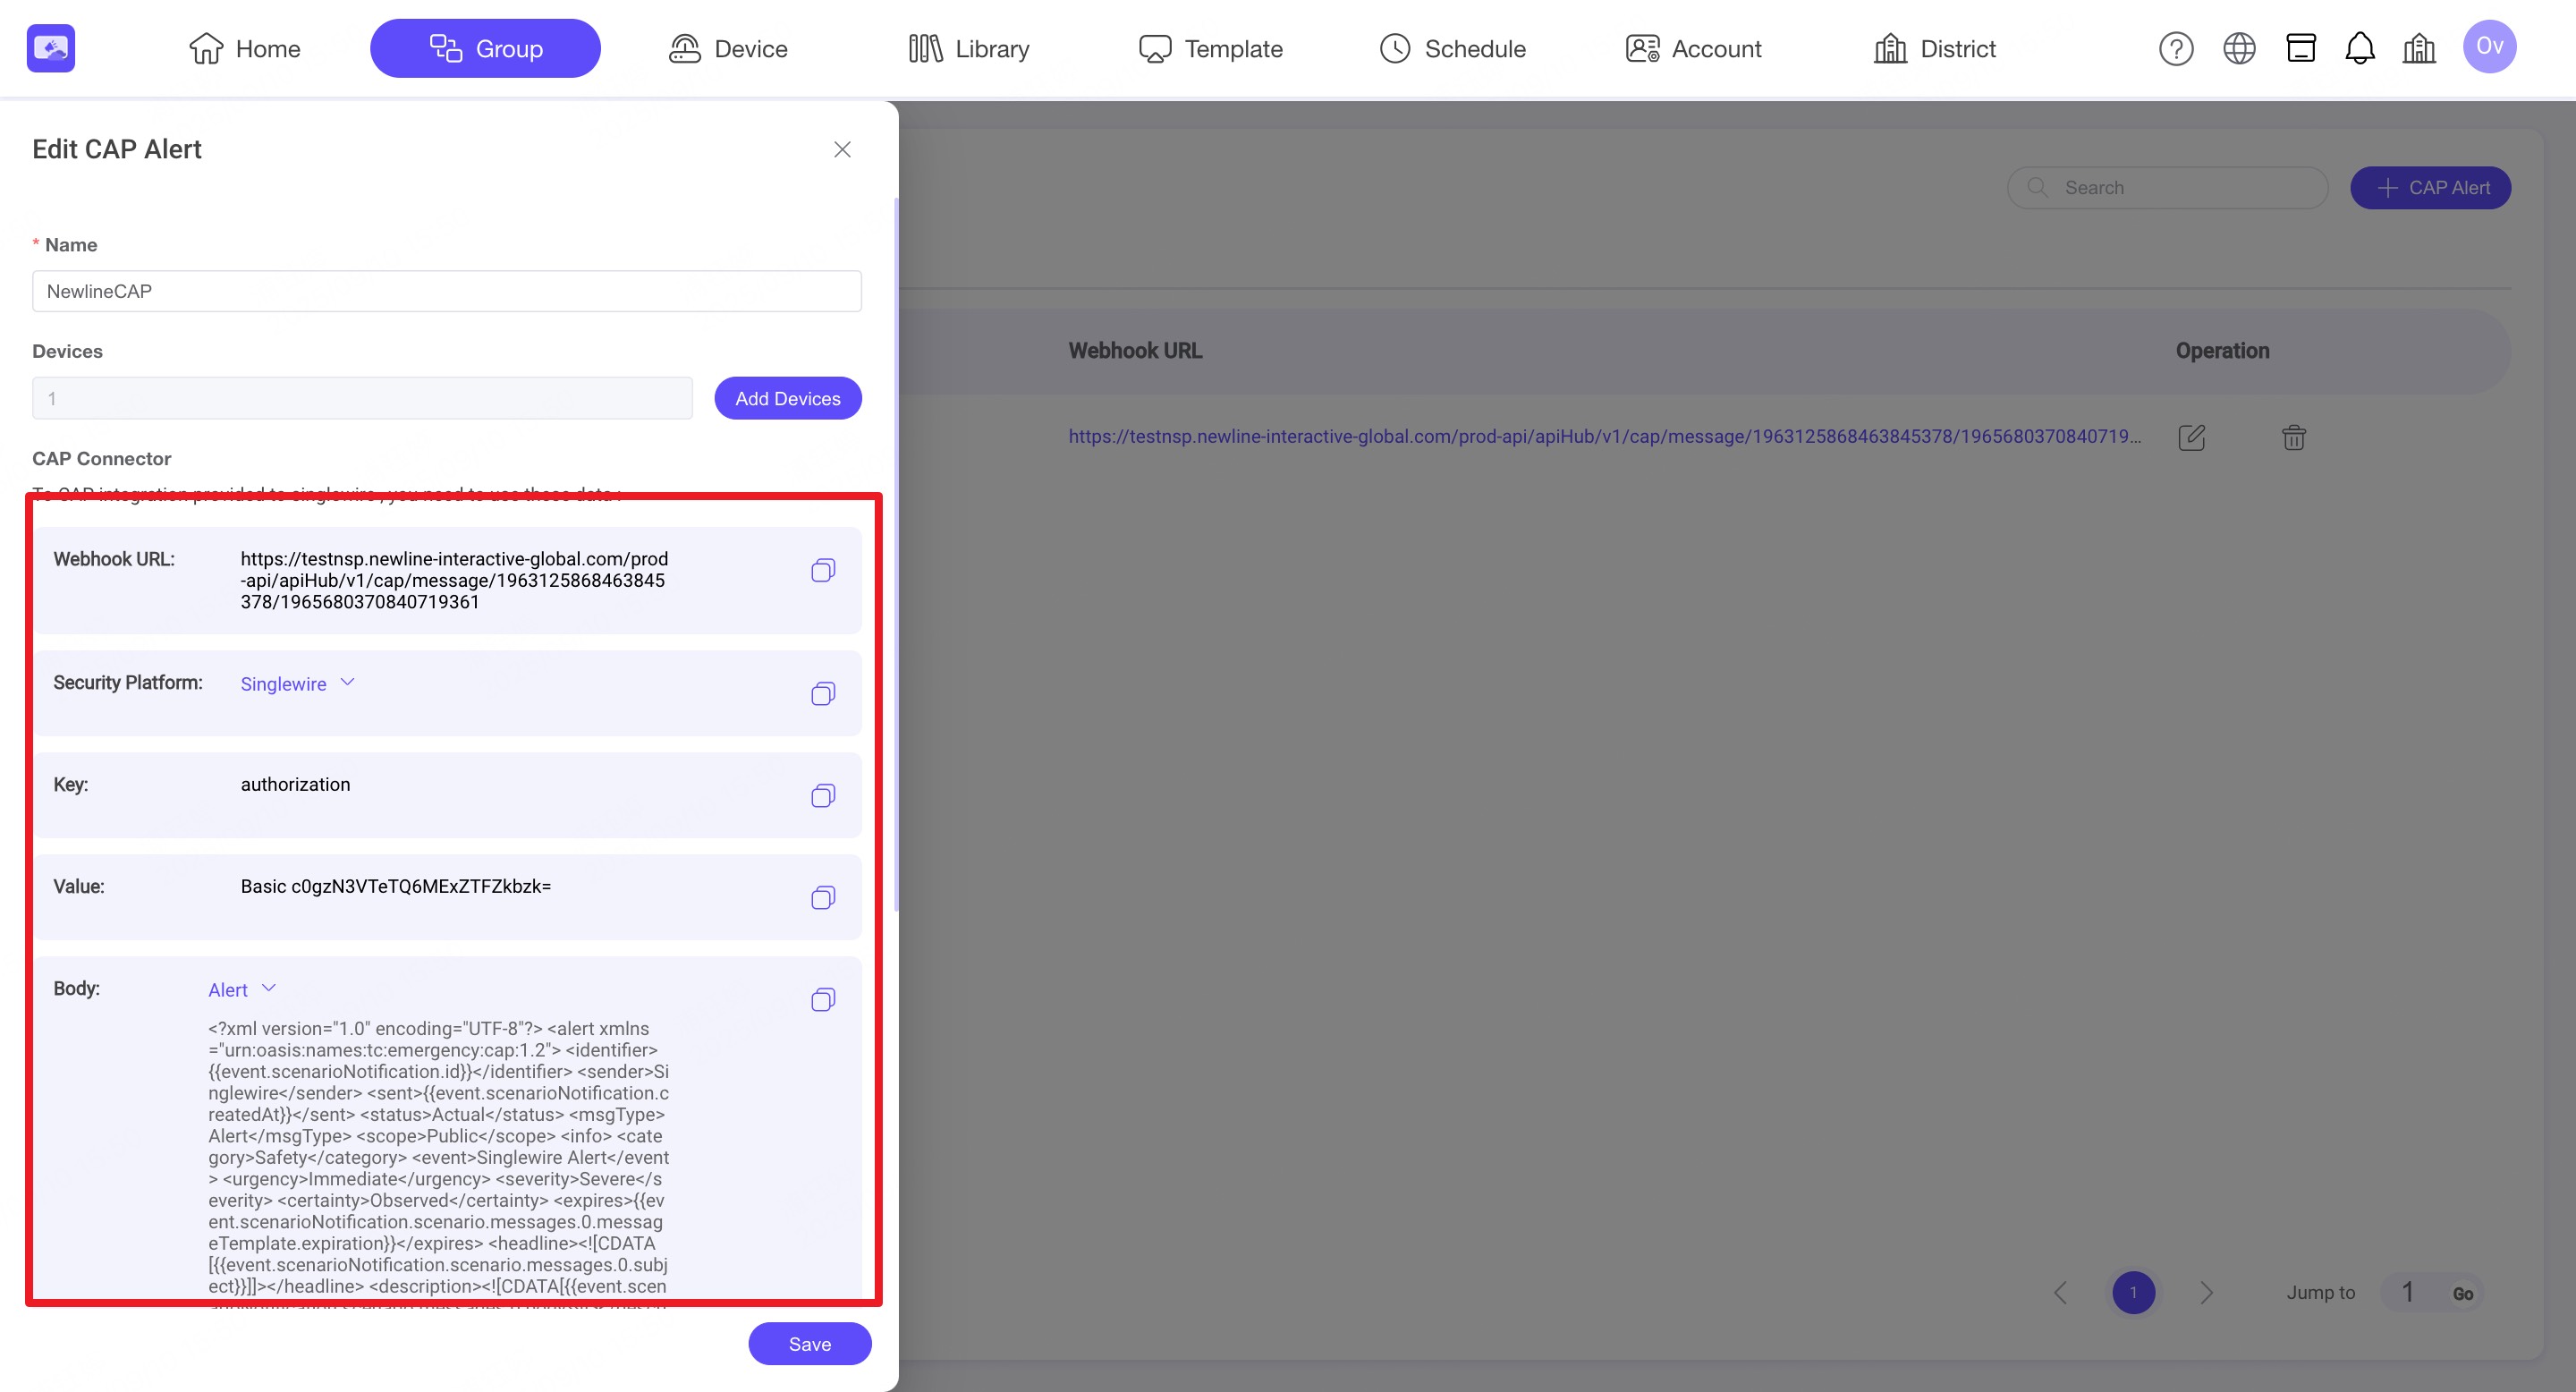
Step2. Ensure that ‘Security Platform’ is set to the corresponding platform. Copy the CAP info to the target trusted platform.
Step3. The detailed operation may vary depending on the platform. Please check the official documentation or contact the platform’s Support Team for assistance.
Official Platforms
- Singlewire: https://admin.icmobile.singlewire.com
- Centegix: https://web.centegix.com
- Raptor: https://apps.raptortech.com
4. Device
INFO
Device module is available for registering and managing your devices and viewing related device information.
4.1. Register Device
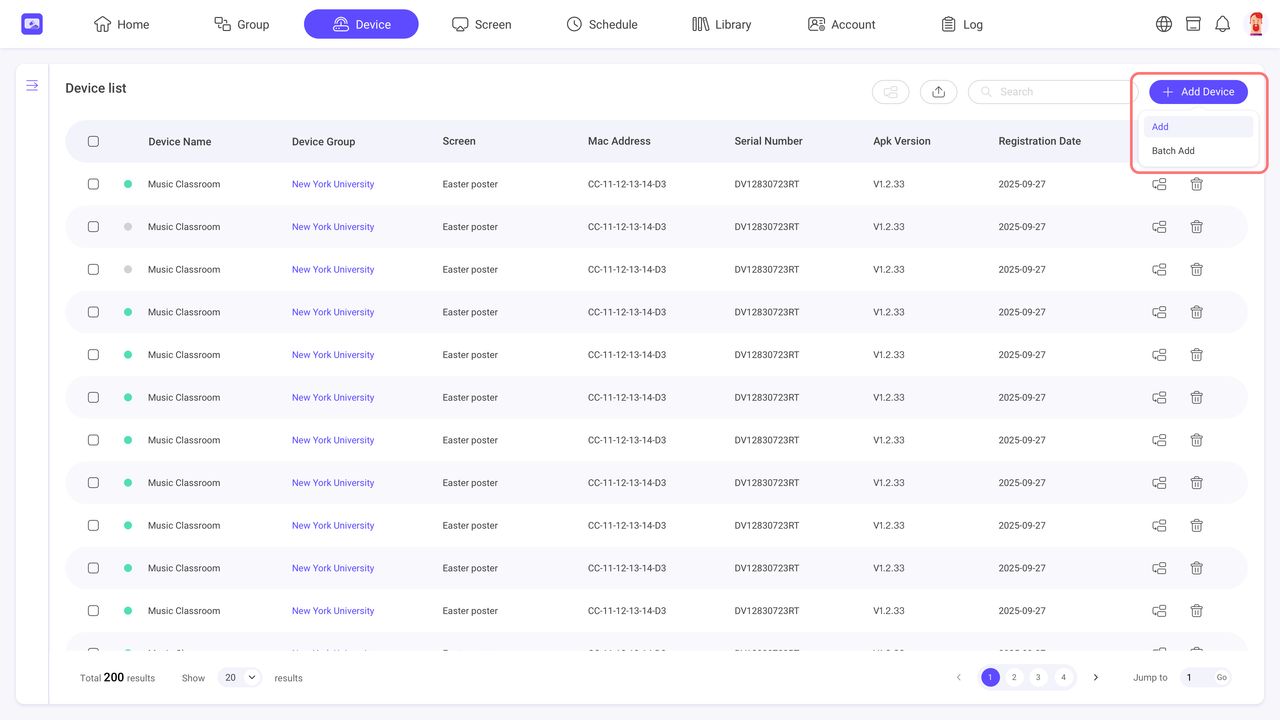
4.1.1. Register single device
Step1. Click ‘Add Device’ button and select ‘Add’.
Step2. Enter the device name and serial number, and click ‘Next’.

Step3. Select a device group to join. You can also create a new one on this page if you don't have a device group.

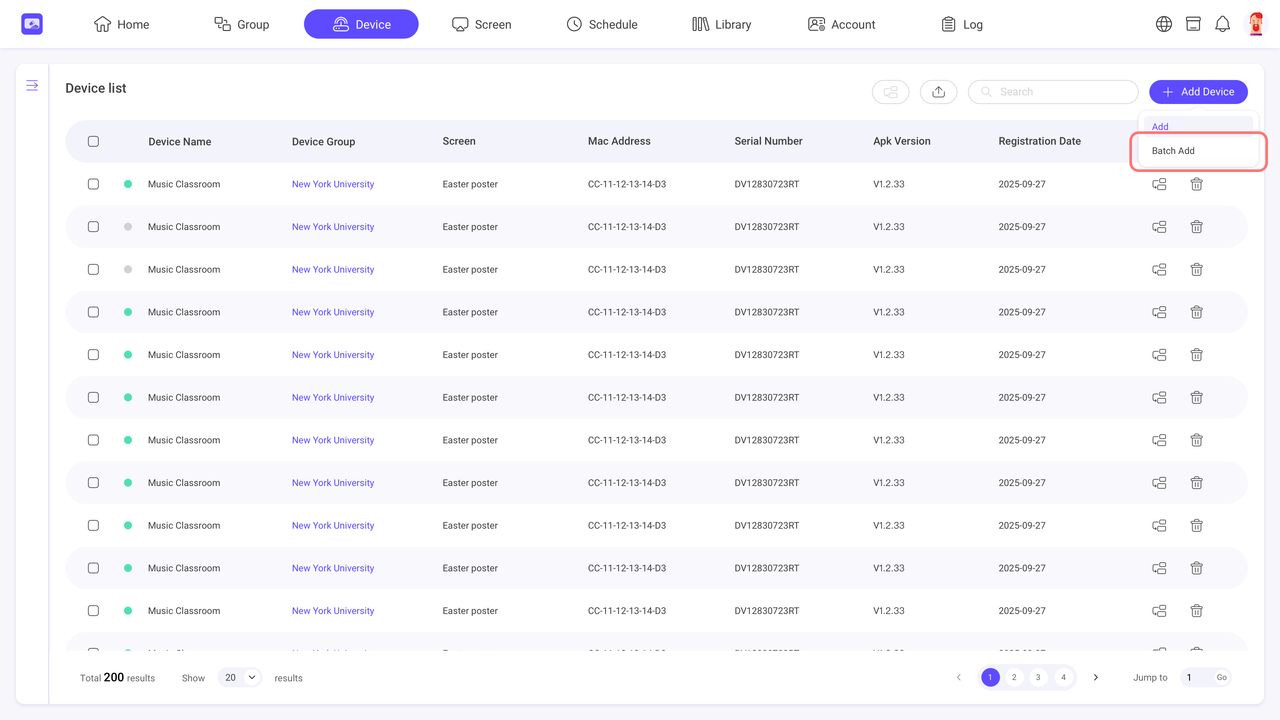
4.1.2. Bulk register
Step1. Click ‘Add Device’ button and select ‘Bulk Add’.
Step2. Download the import template file and fill in at least the ‘Device Name’ and ‘Serial Number.’
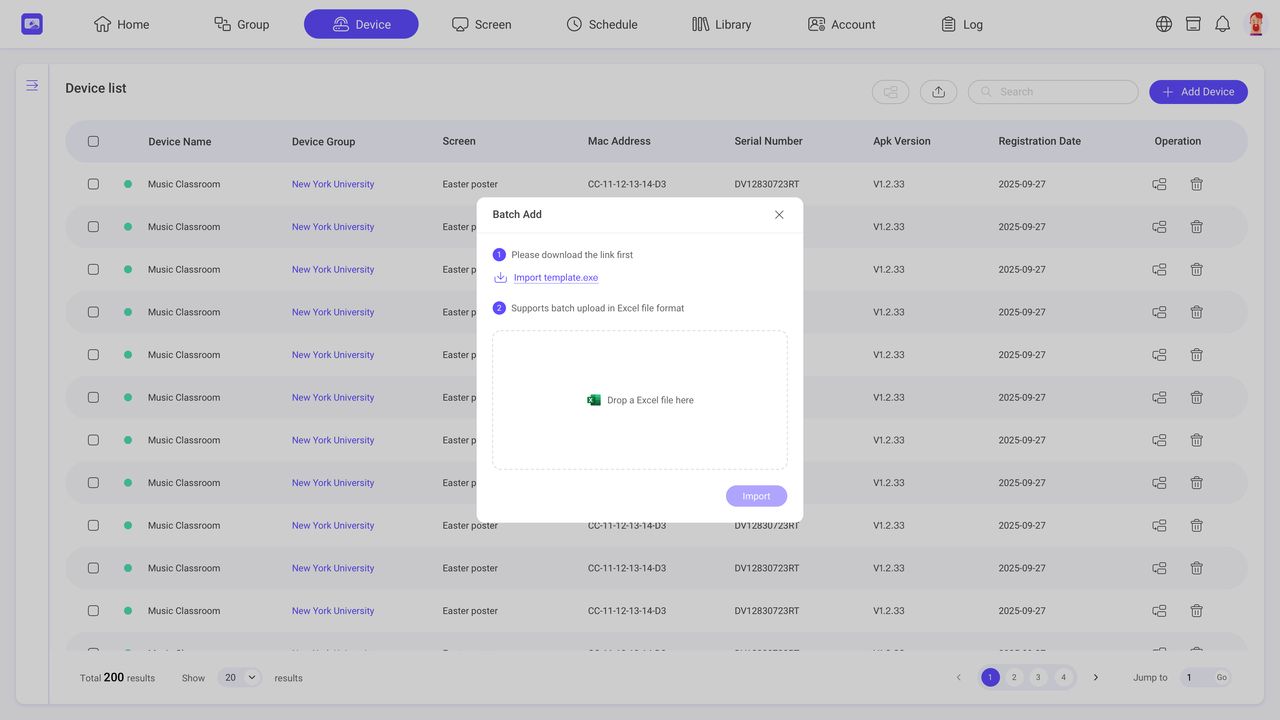
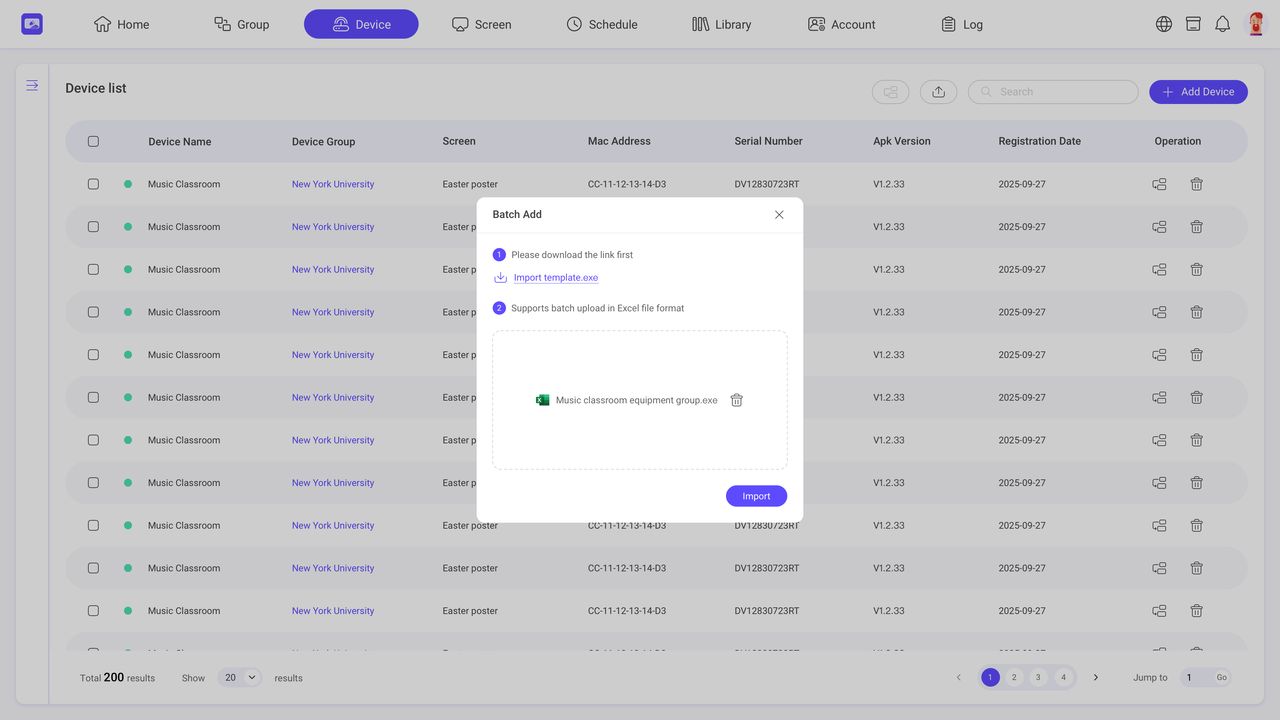
Step3. Upload the completed file and confirm the import.
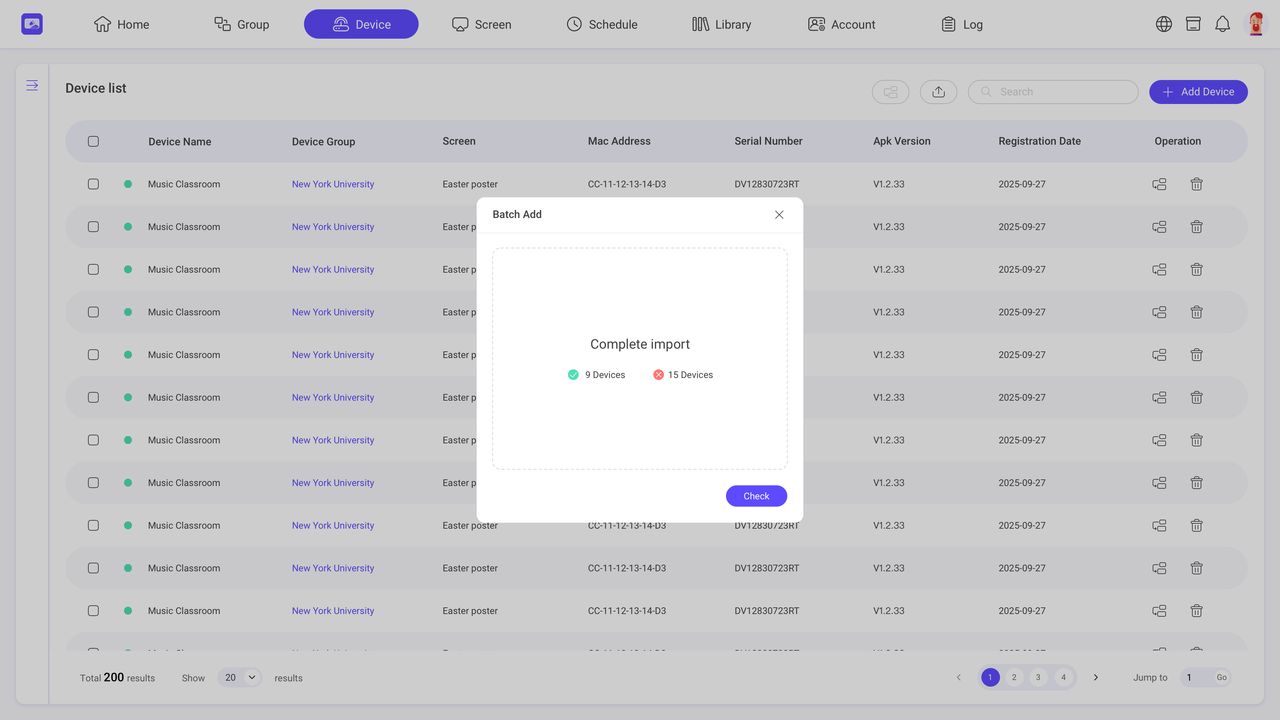
Step4. You can view the import result.
4.2. Device Group
Previously created device groups are shown in the left navigation bar, you can filter different groups to view and edit them.
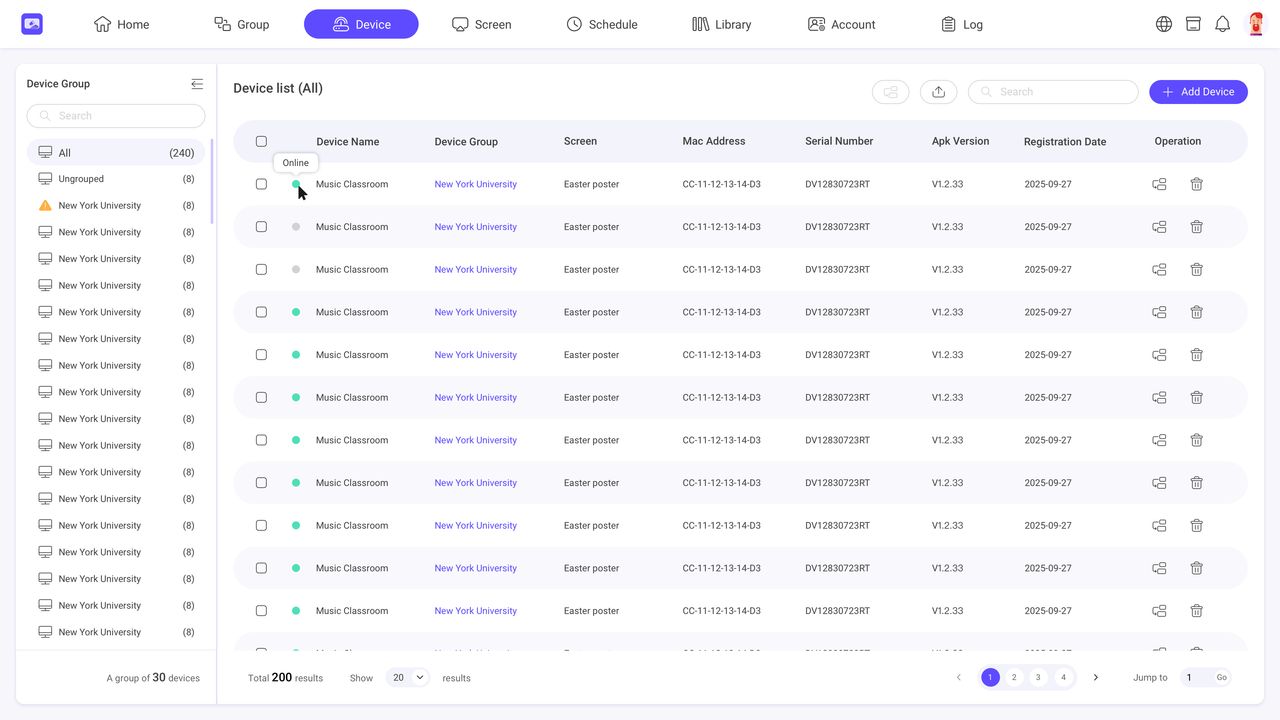
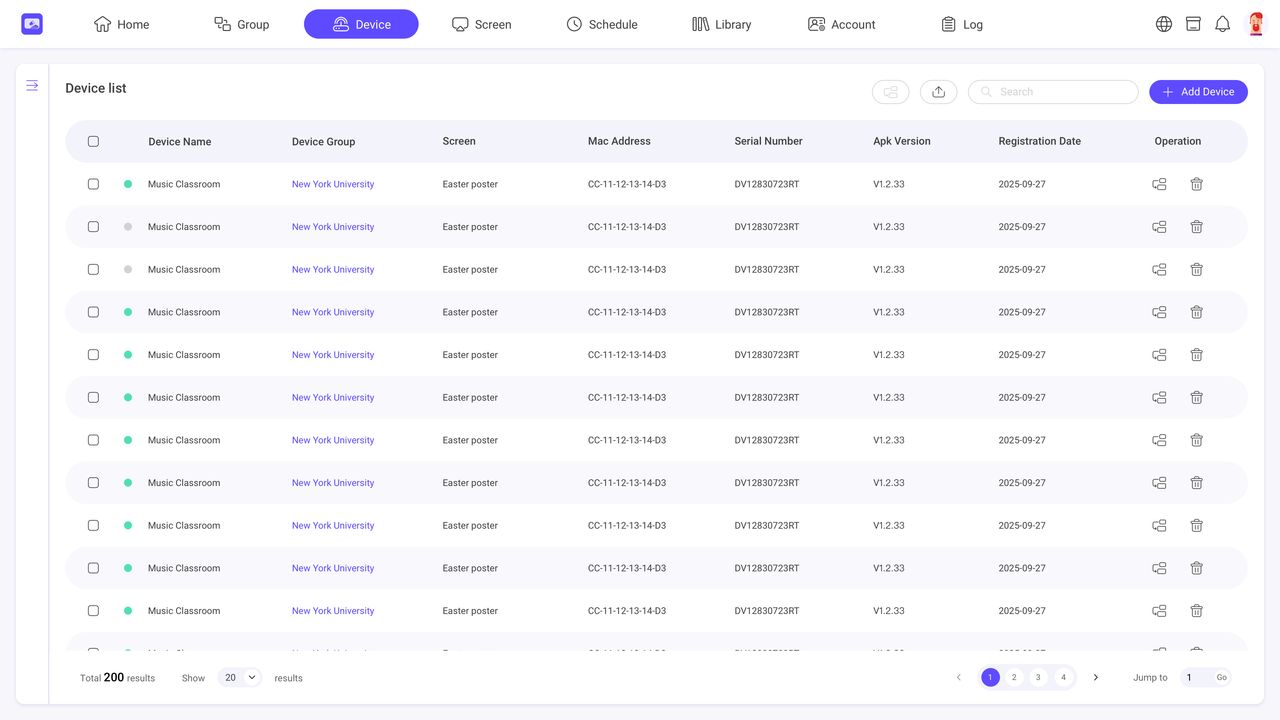
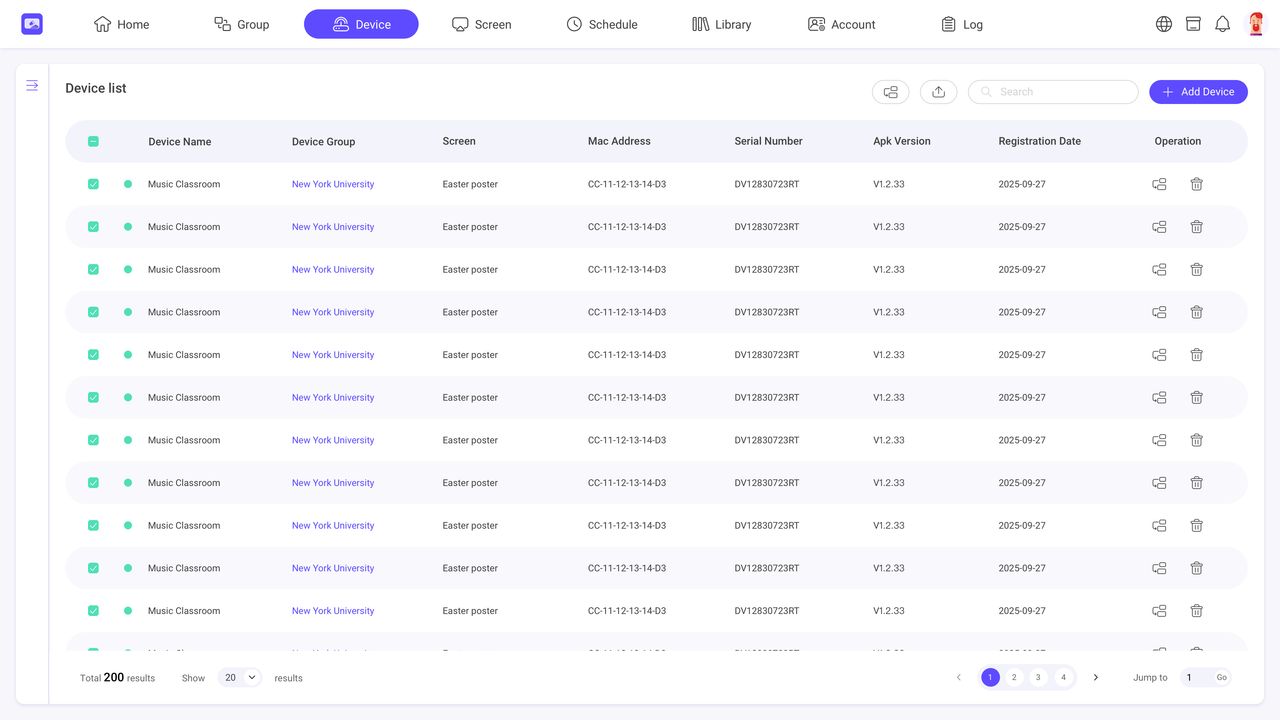
4.3. Device list
All the devices you have registered are shown here and you can view and edit them.
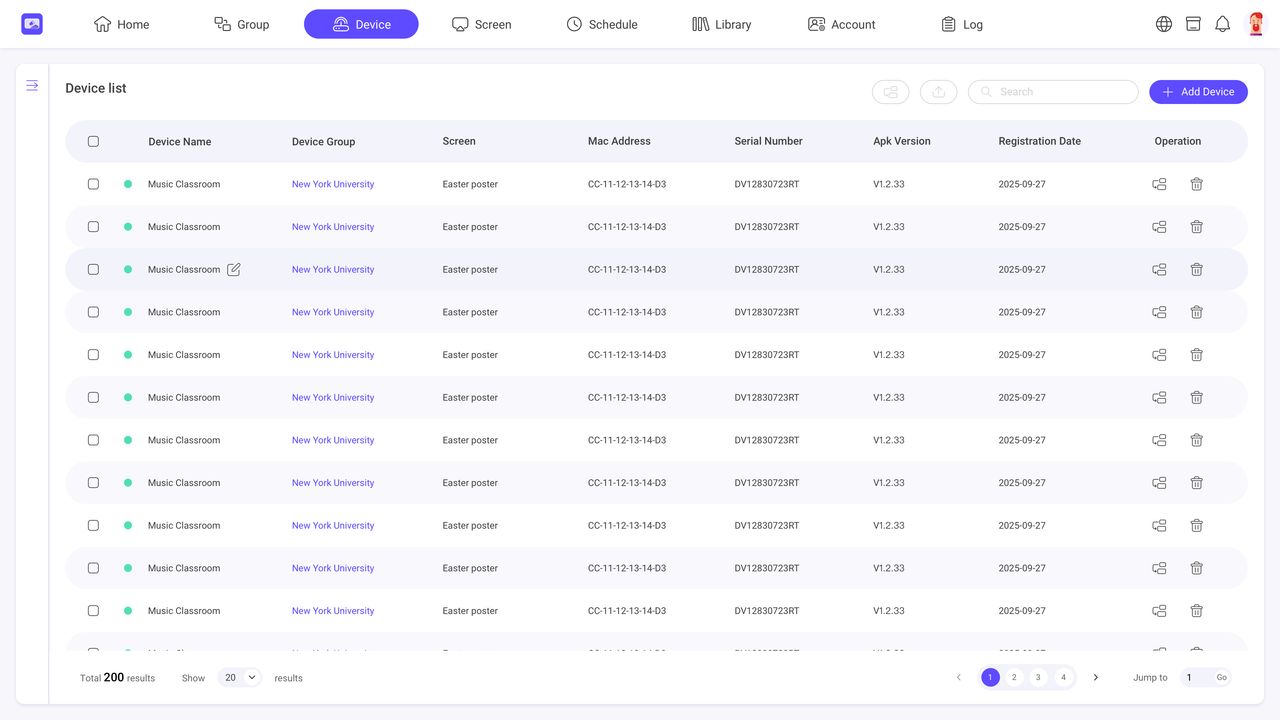
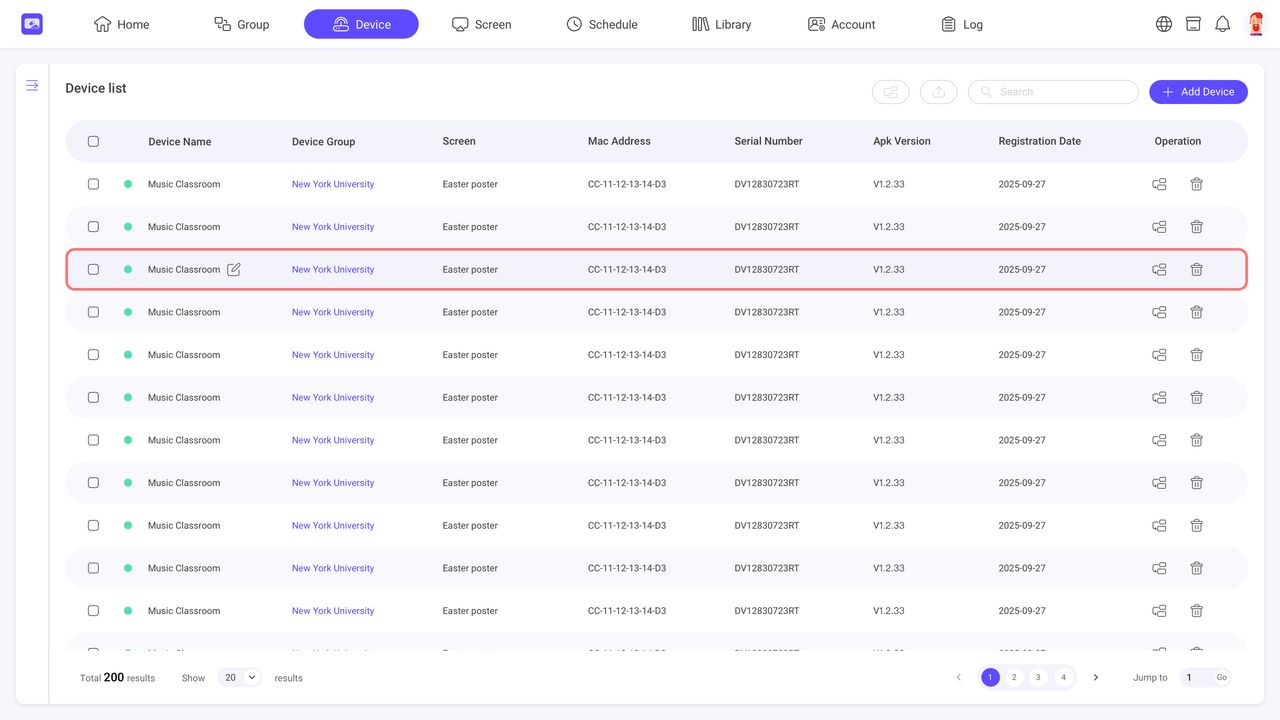
4.3.1. Modify Device Name
You can activate the modify button by hovering your mouse over the device name.
4.3.2. Moving Device Group
Step1. Click the button in the operation area of a device.
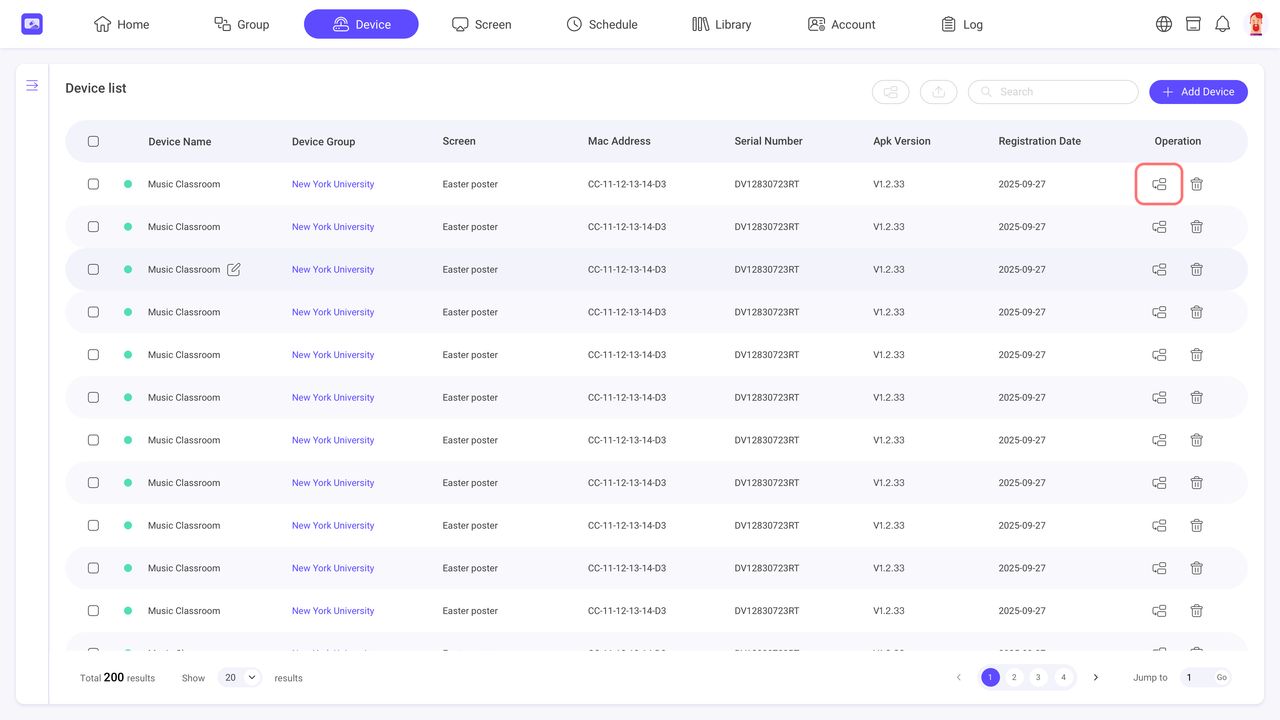
Step2. Select a new device group.
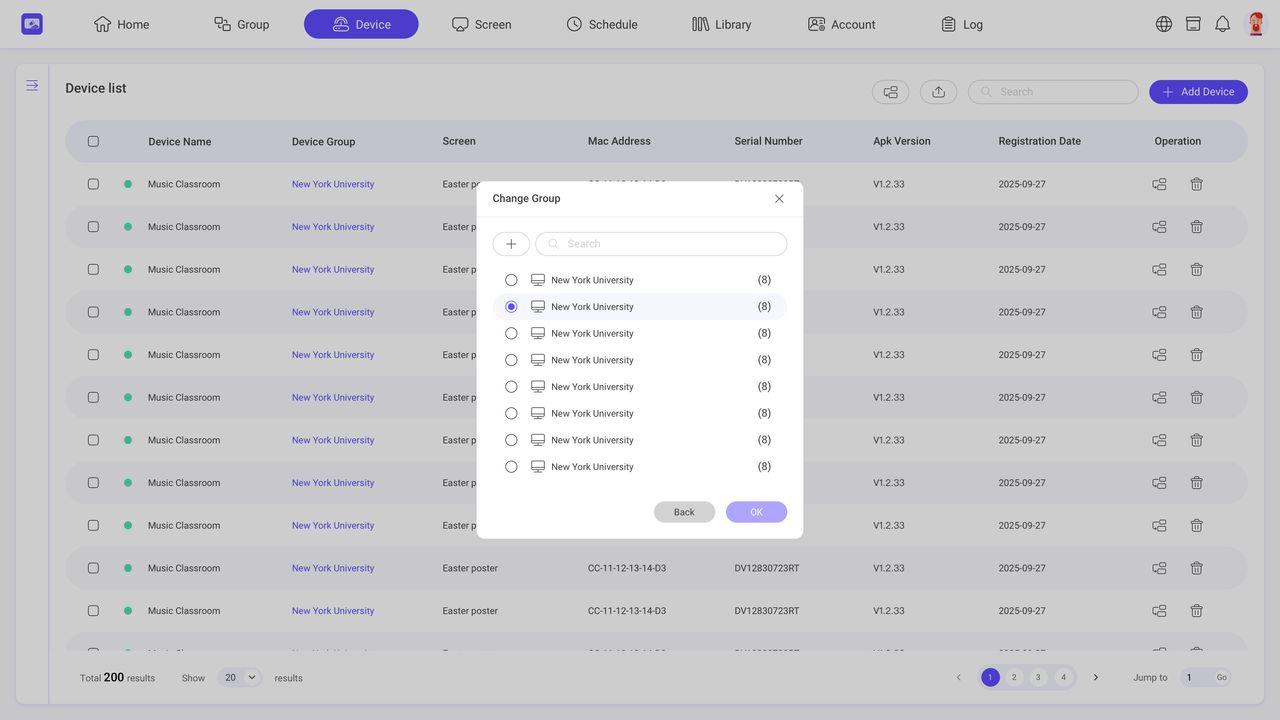
4.3.3.2 Move multiple devices to other group
Step1. Select multiple devices.
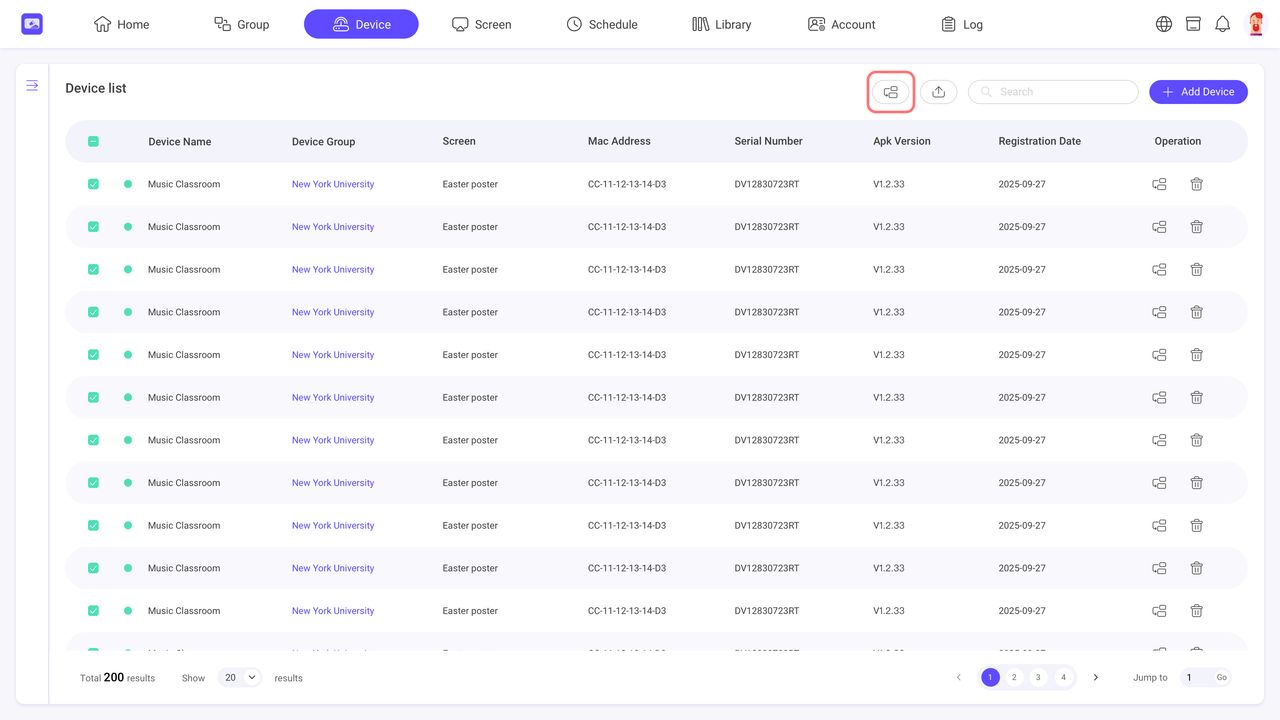
Step2. Click the ‘Change Group’ button on top of the device list.
Step3. Select a new device group.
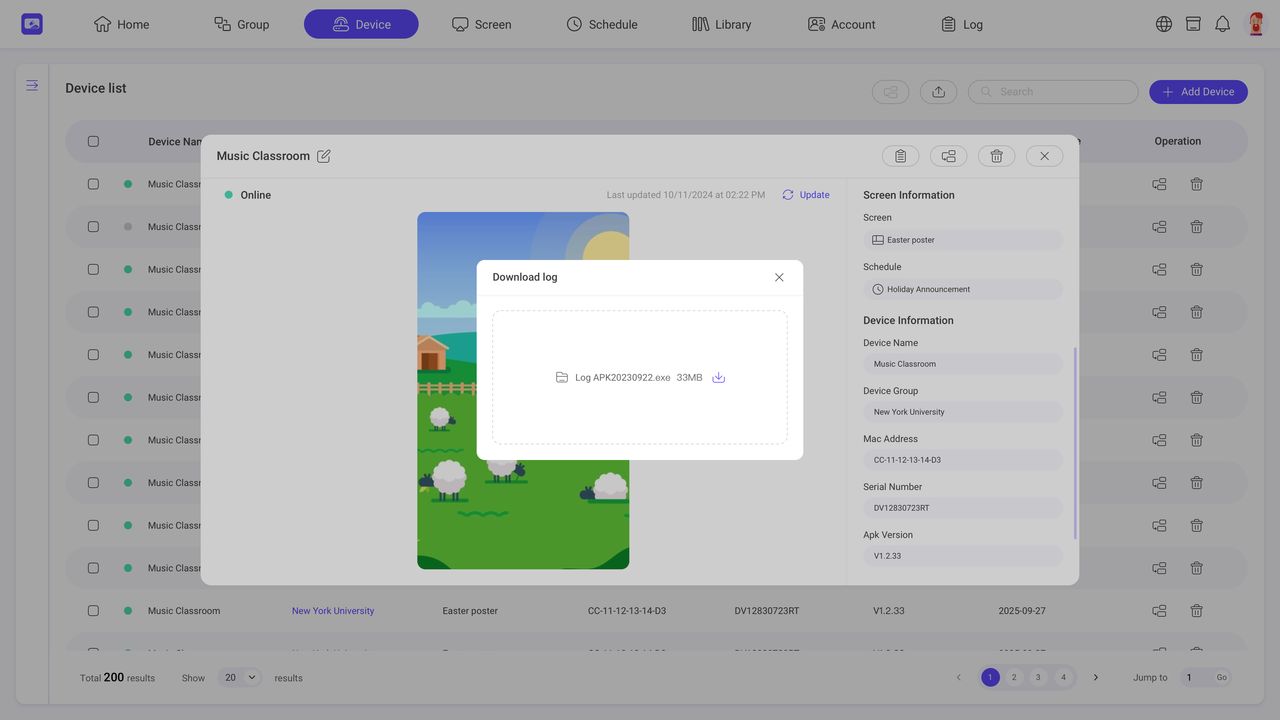
4.3.4. Catch a log
Step1. Click a device in the device list to view the details.
Step2. Click the button above and select System or APK.
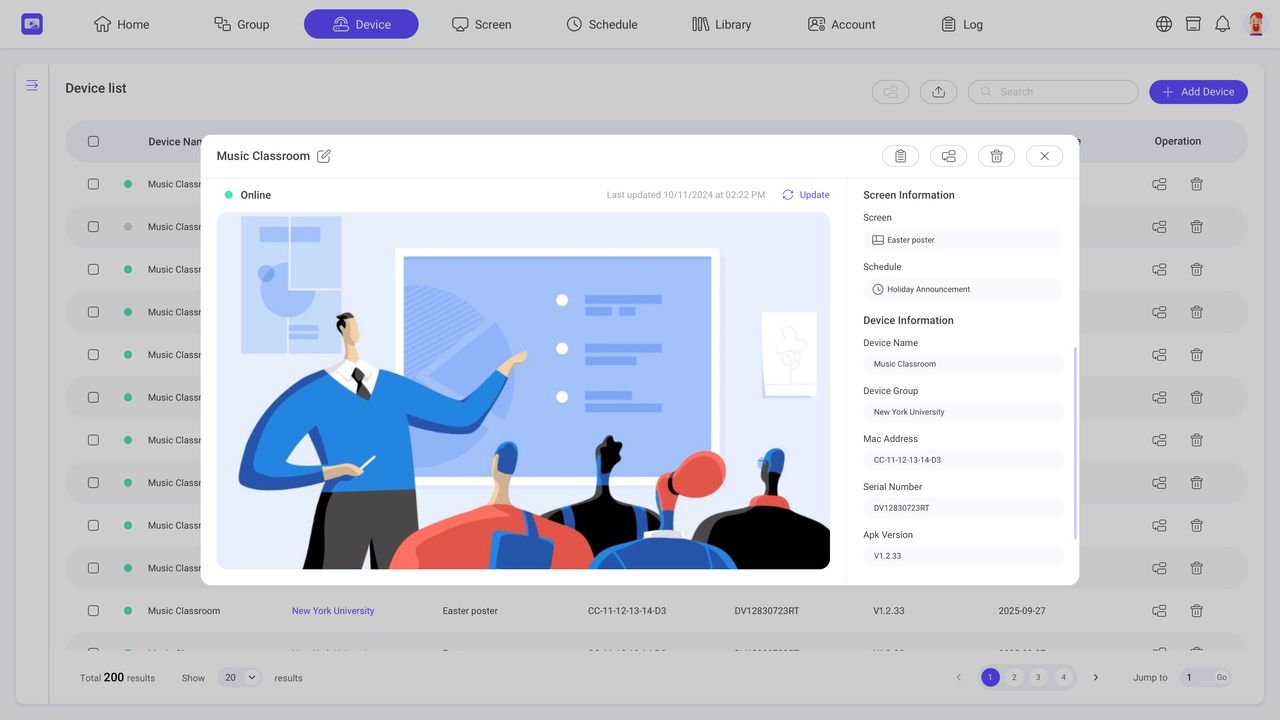
Step3. Wait for the capture to complete and download.
5. Library
INFO
Library module is available for uploading and managing your contents. These contents can be added to template.
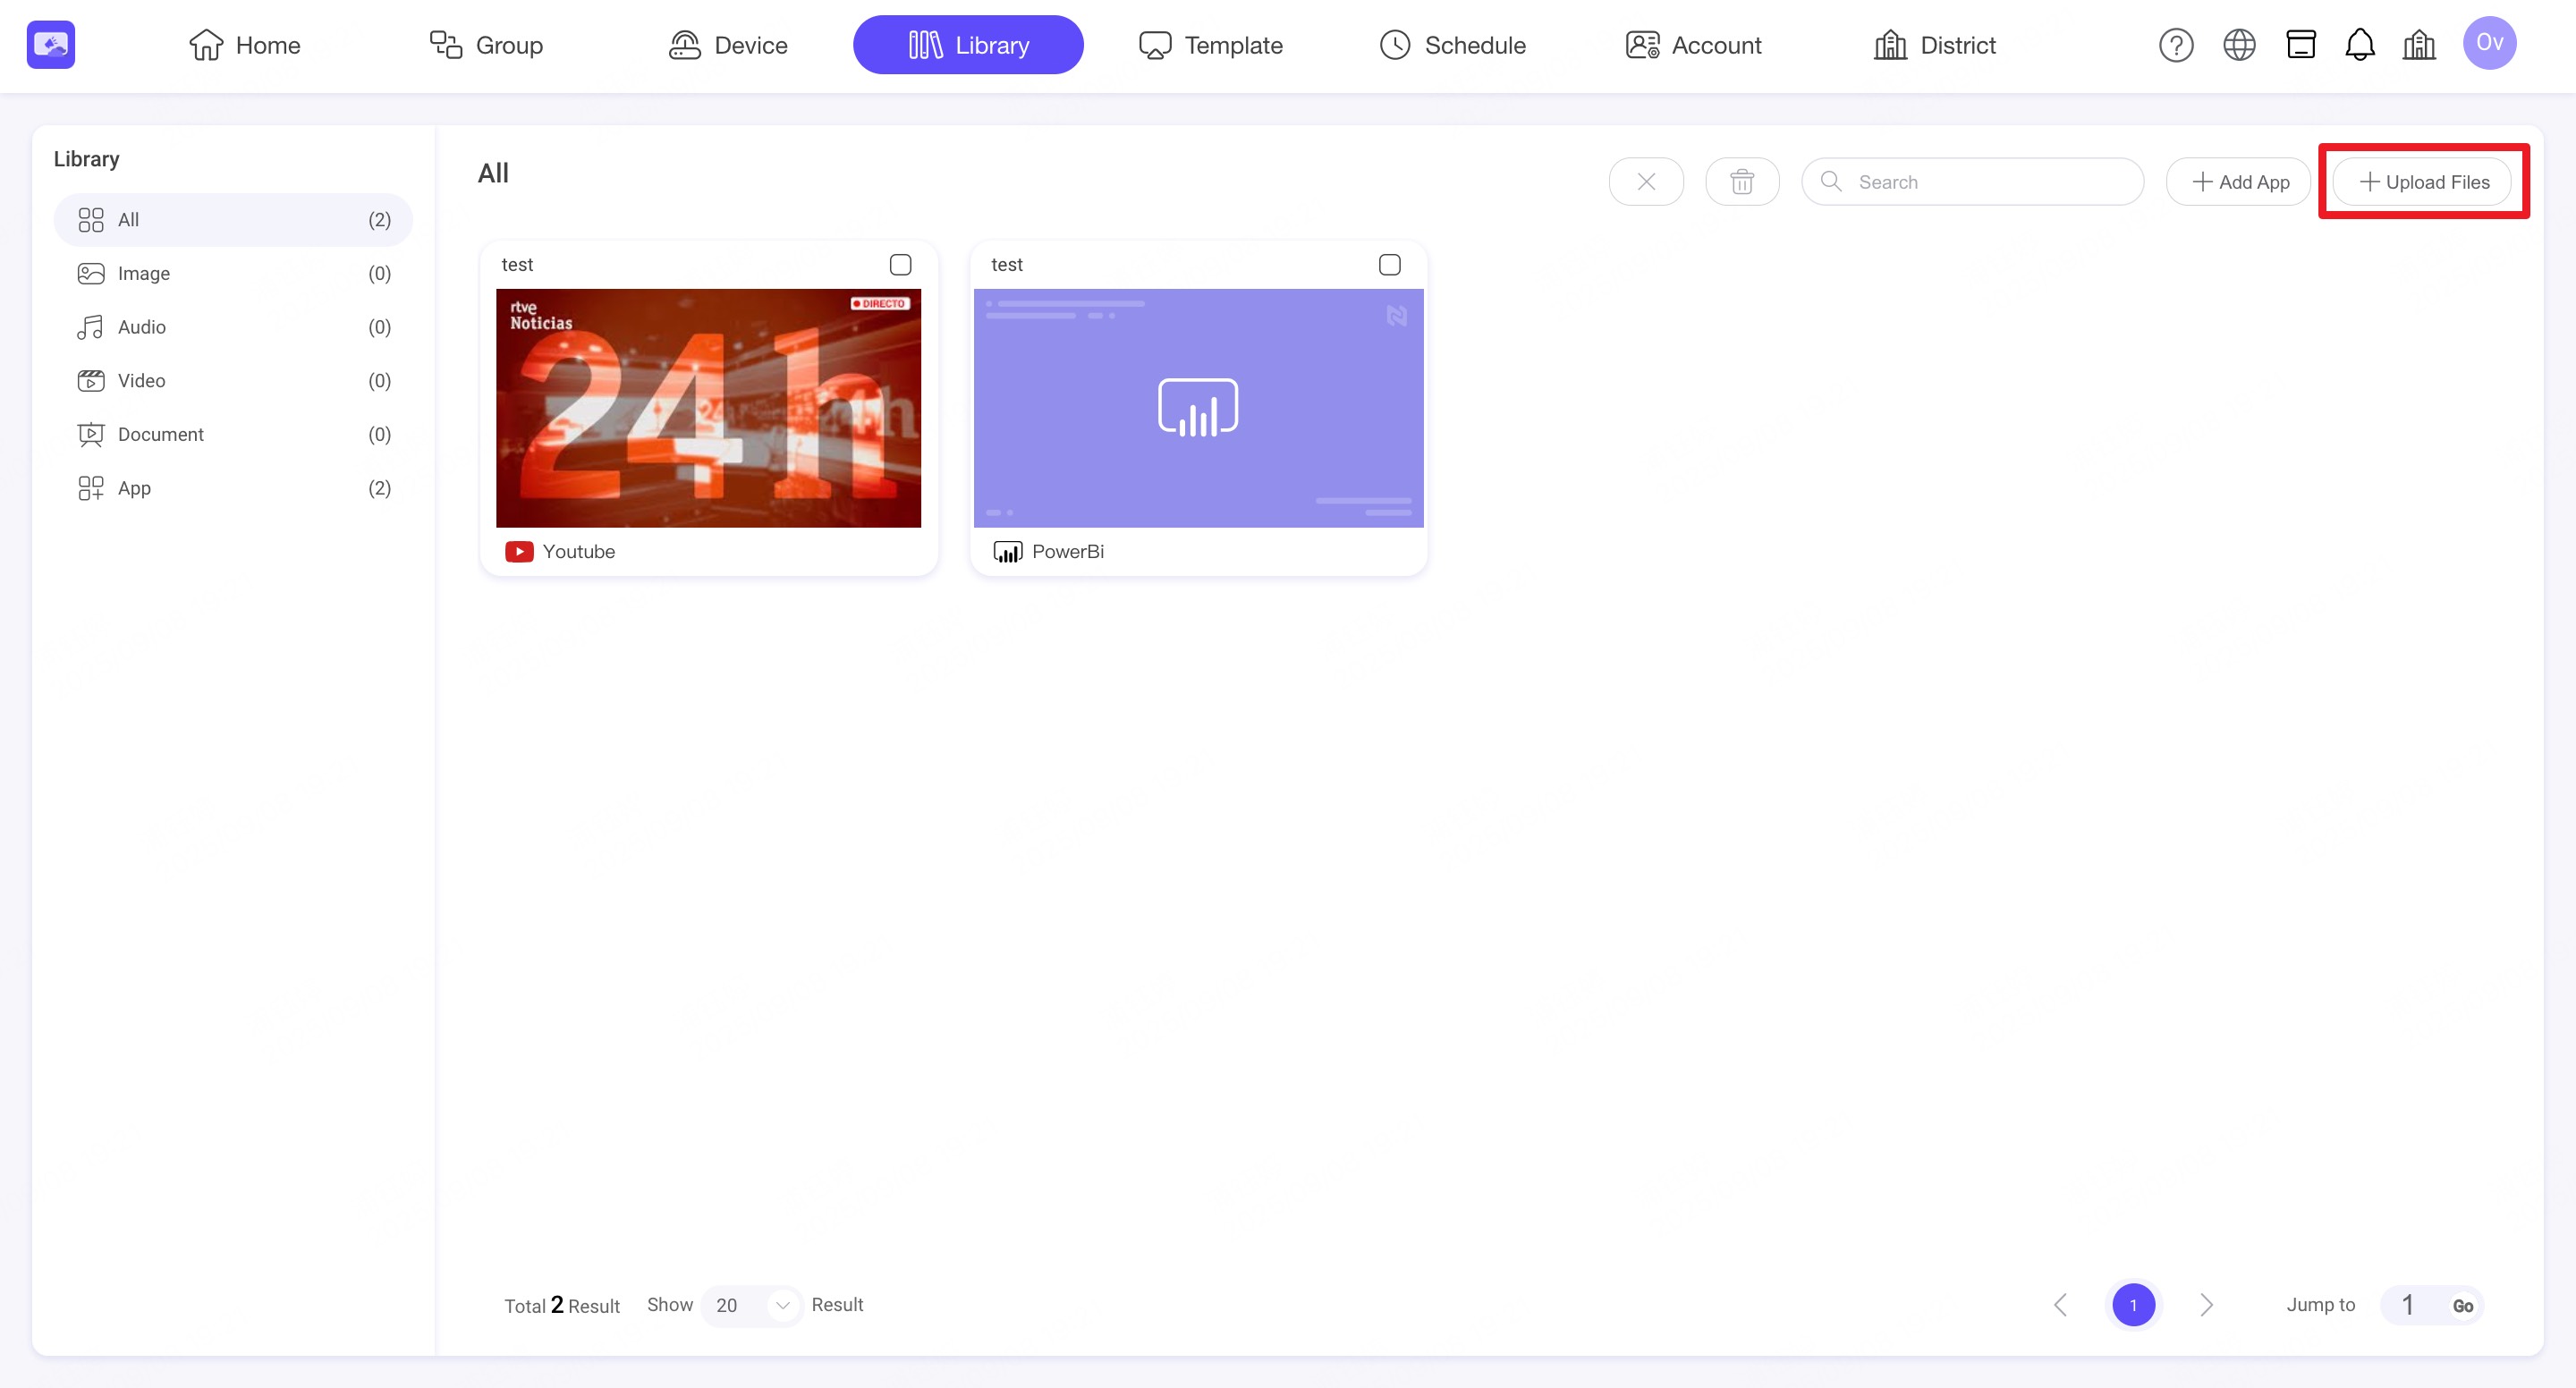
5.1 Upload files
Step1. Click 'Upload Files' button.
Step2. Choose one of the following methods:
- Drag and Drop: Drag your files directly into the upload area.
- Browse: Click inside the upload area to open your file browser and select files manually.
Supported file formats include:
- Images: JPG, PNG, GIF
- Videos: MP4, MOV, AVI, MPEG
- Audio: MP3, WAV
- Documents: PDF, PPT, PPTX, and more
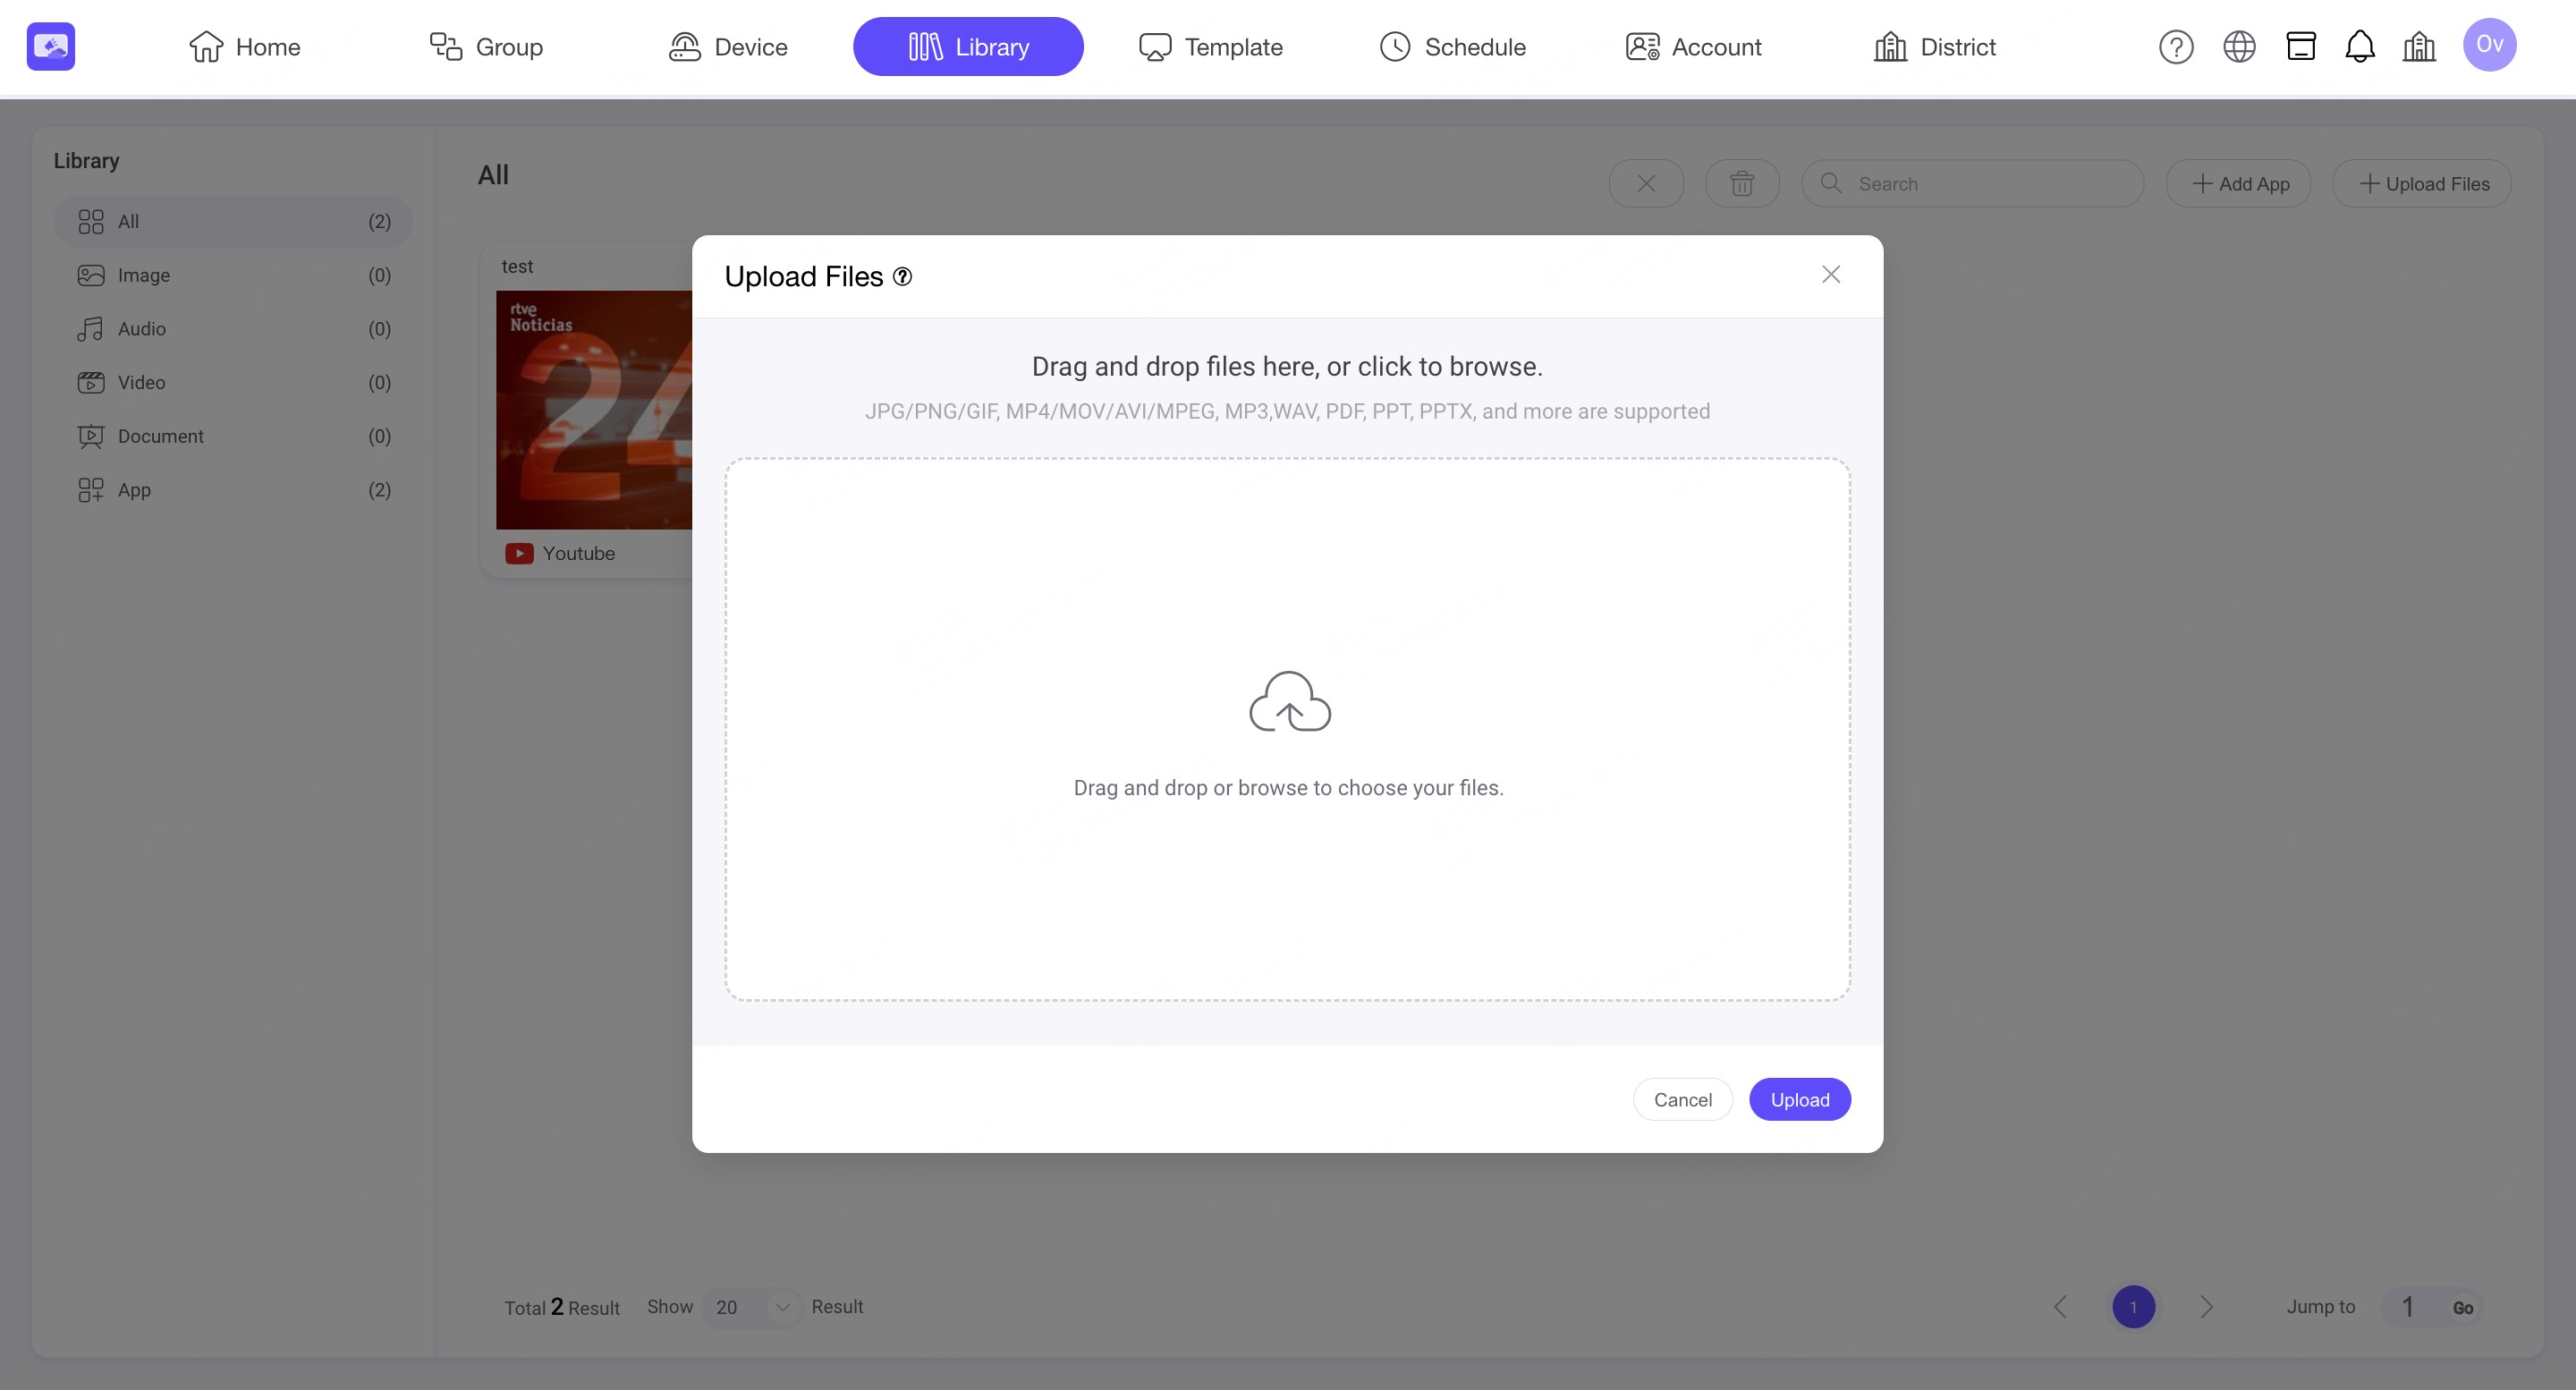
Step3. Once your files are selected, they will appear in the upload list.
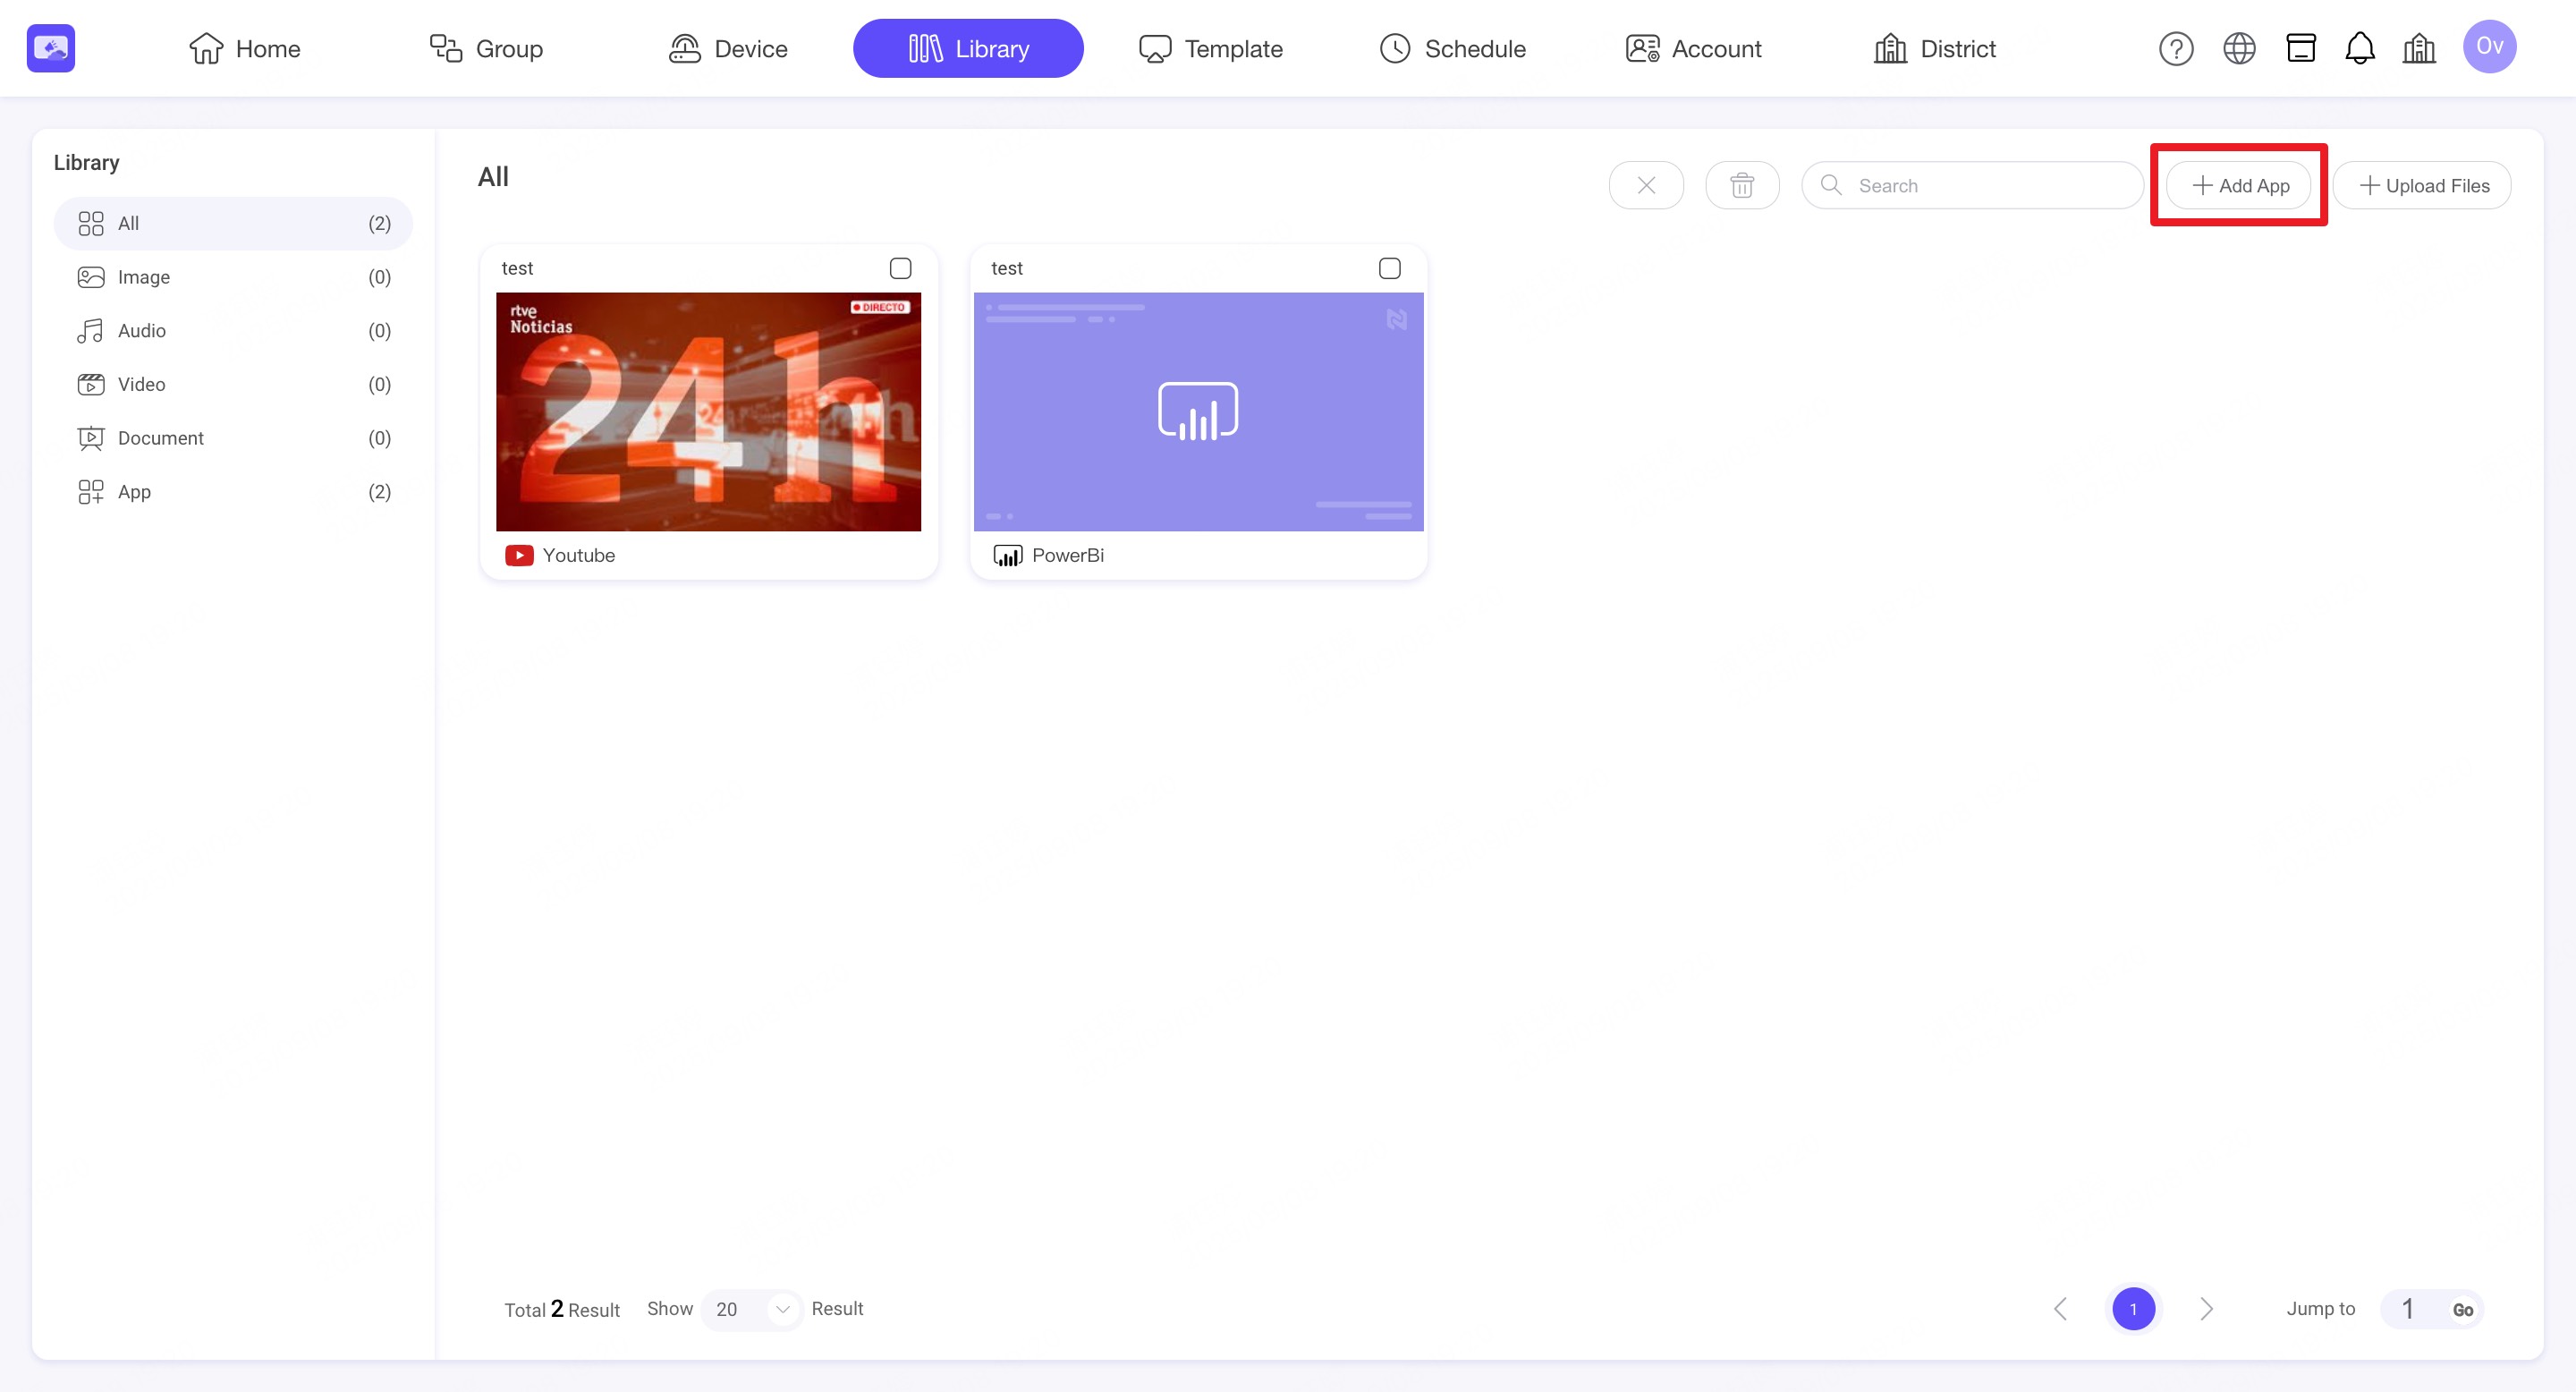
5.2 Add App
Step1. Click 'Add App' button. NSP support many apps for user to sync content. A pop-up window will appear showing available apps.
Step2. Browse or search for the app you want to add:
- Feature Apps: Popular apps such as Canva, YouTube, Power BI, Google Slides.
- All Apps: Utilities such as Clock, Time & Date, Weather, QR Code, RSS, Google Calendar, Microsoft PowerPoint, and more.
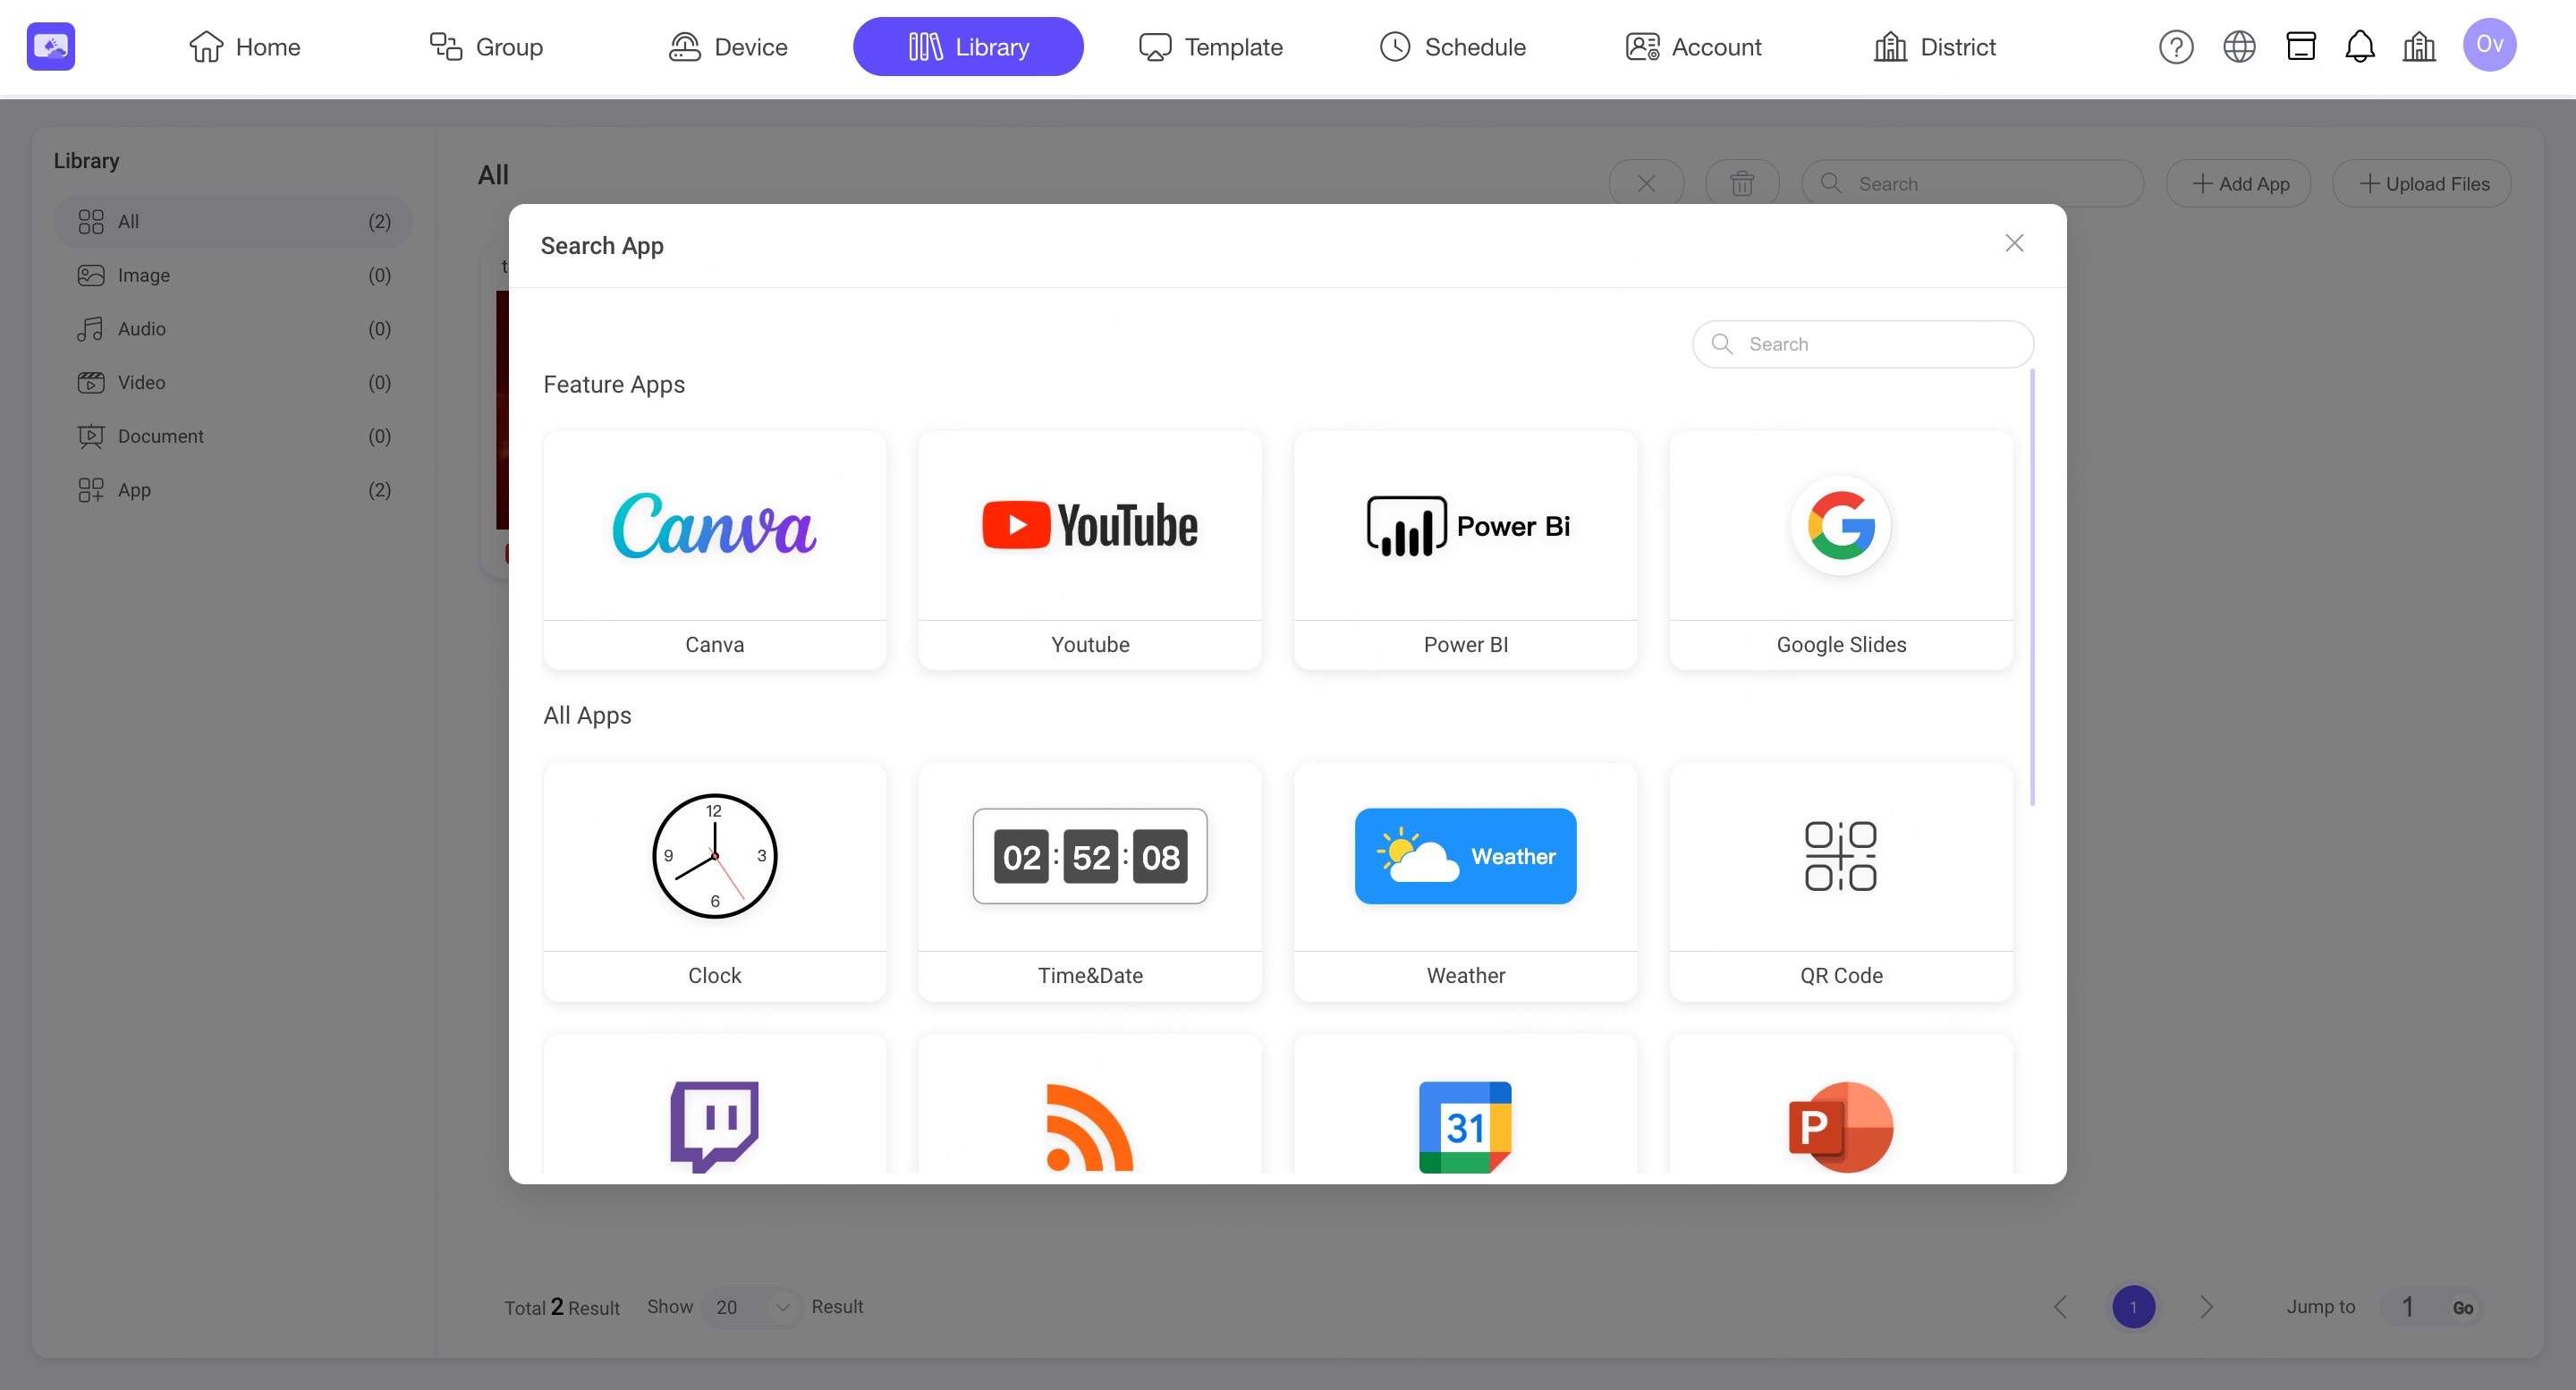
Step3. Select the desired app by clicking its icon.
5.3 Canvas
INFO
The Newline Signage Pro (NSP) app in Canva provides a quick and seamless way to sync your Canva designs with your NSP Library.
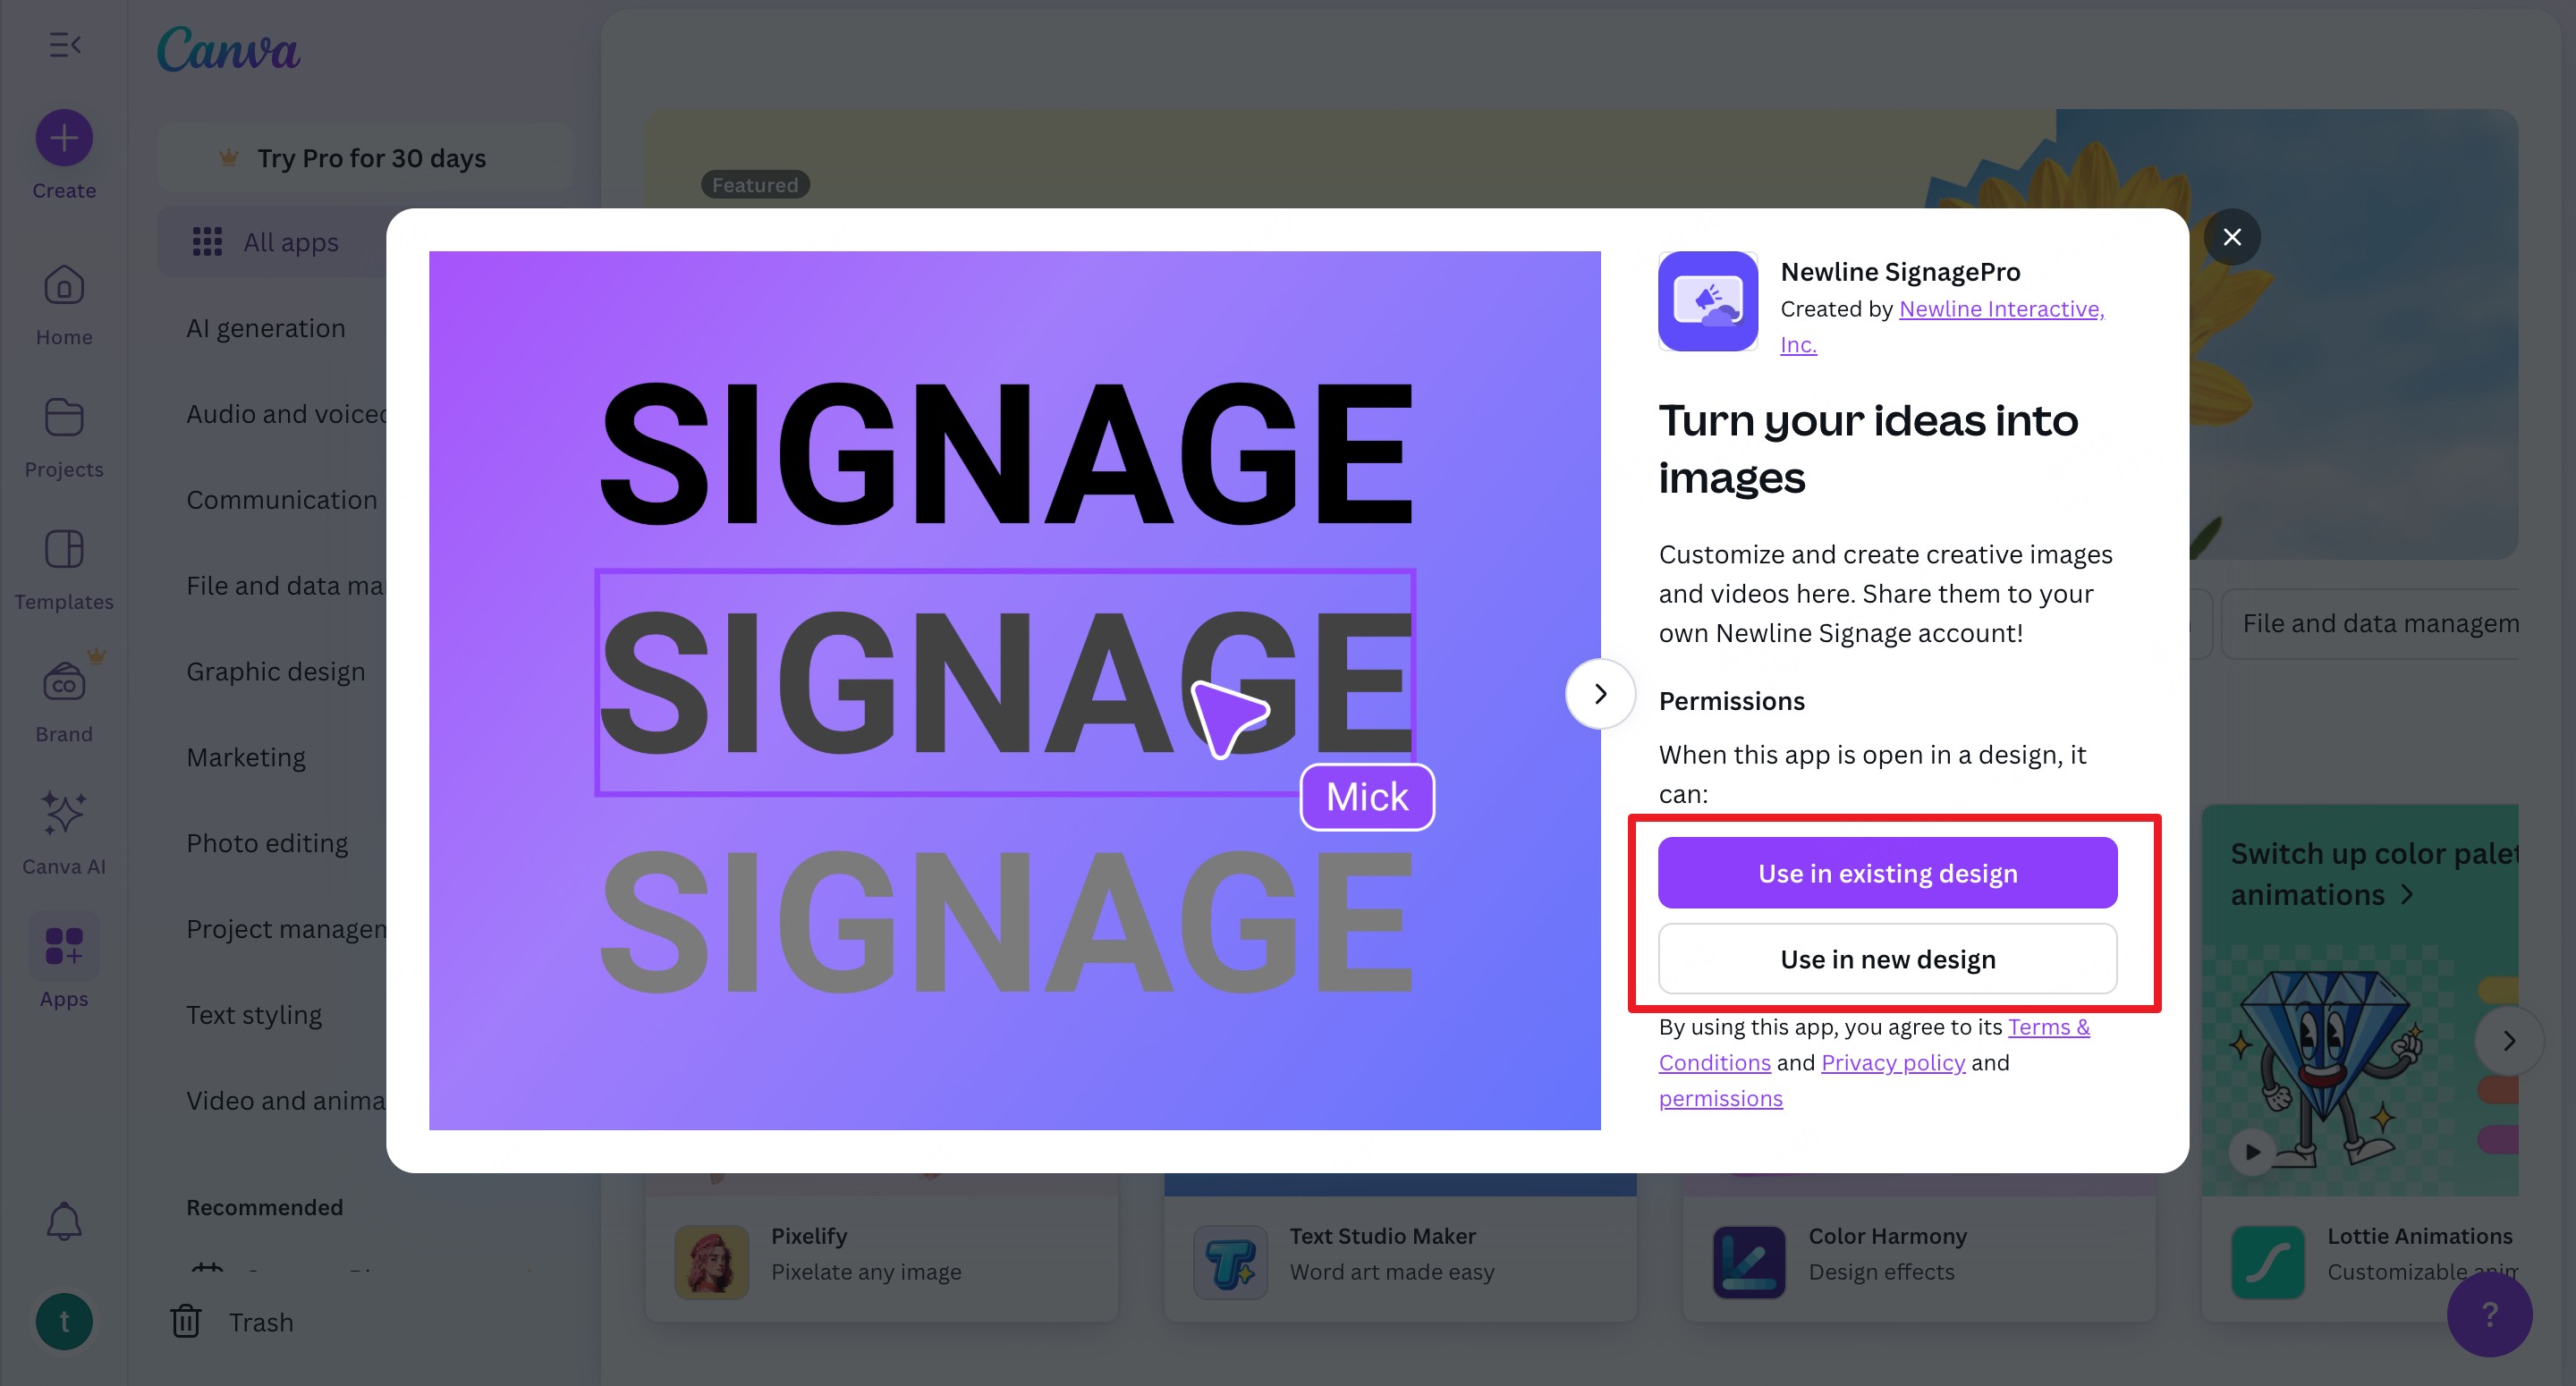
Step1. Click “Go to Canva” button to open your project with the Newline Signage Pro app ready to use.
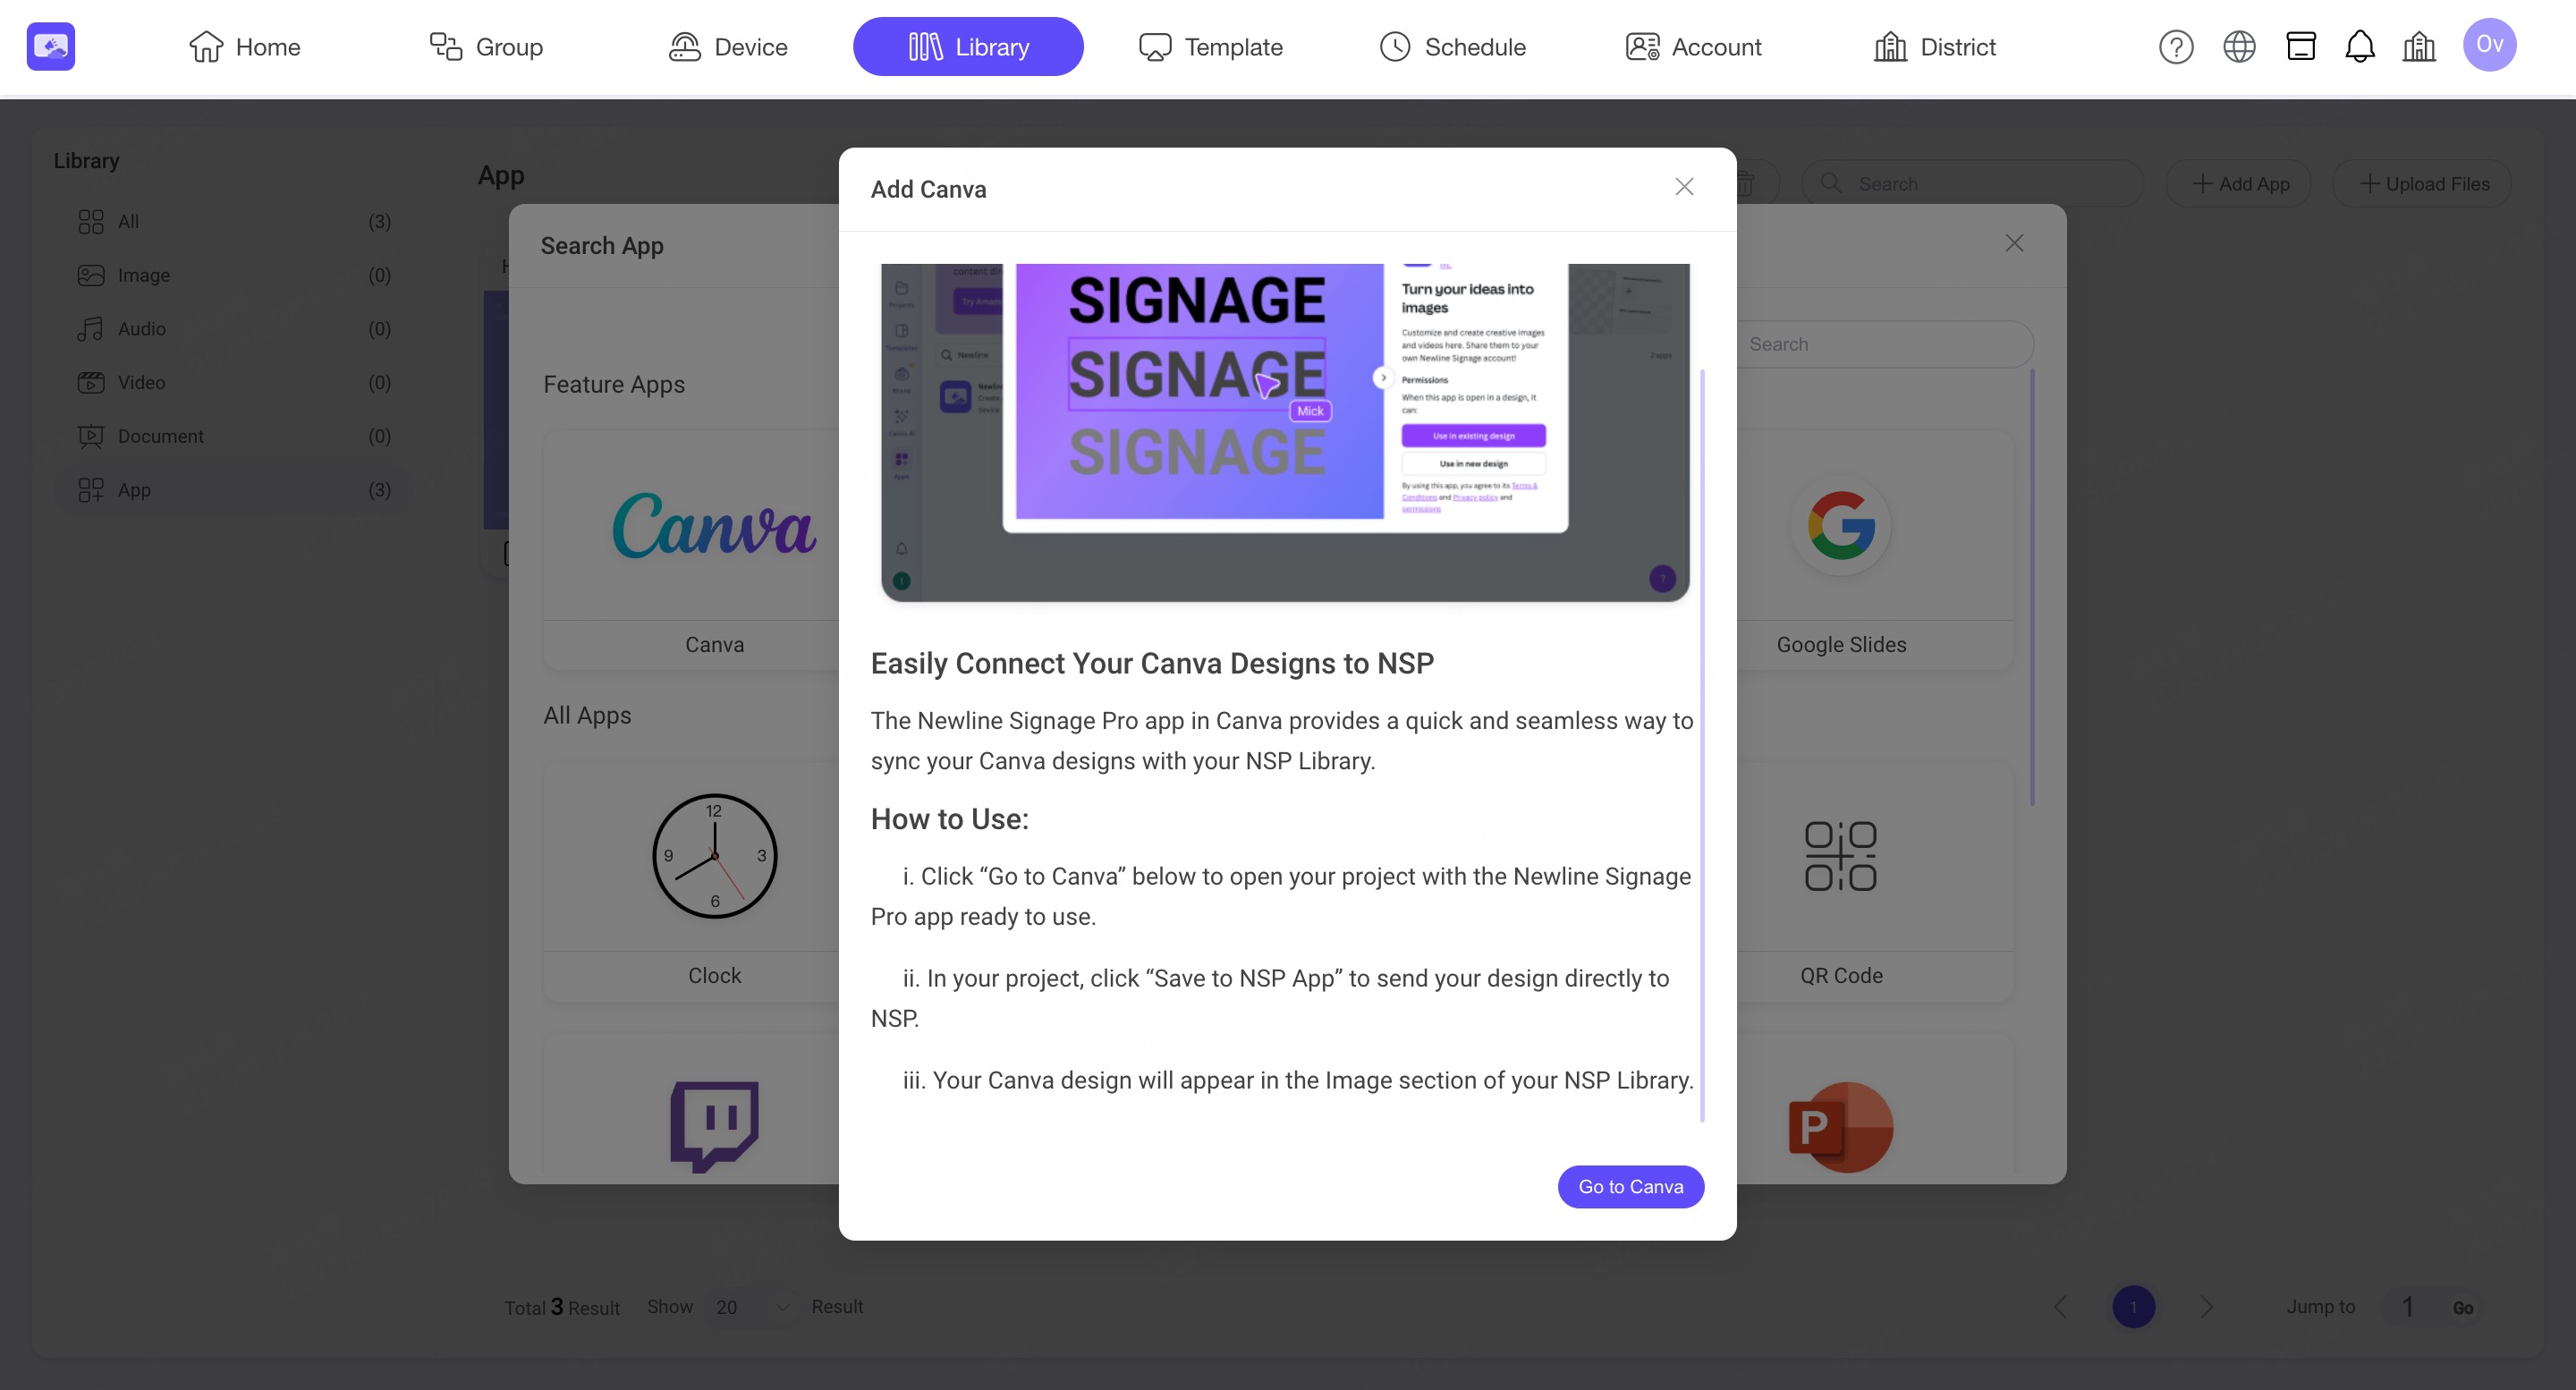
Step2. In your Canvas project, click “Save to NSP App” to send your design directly to NSP.
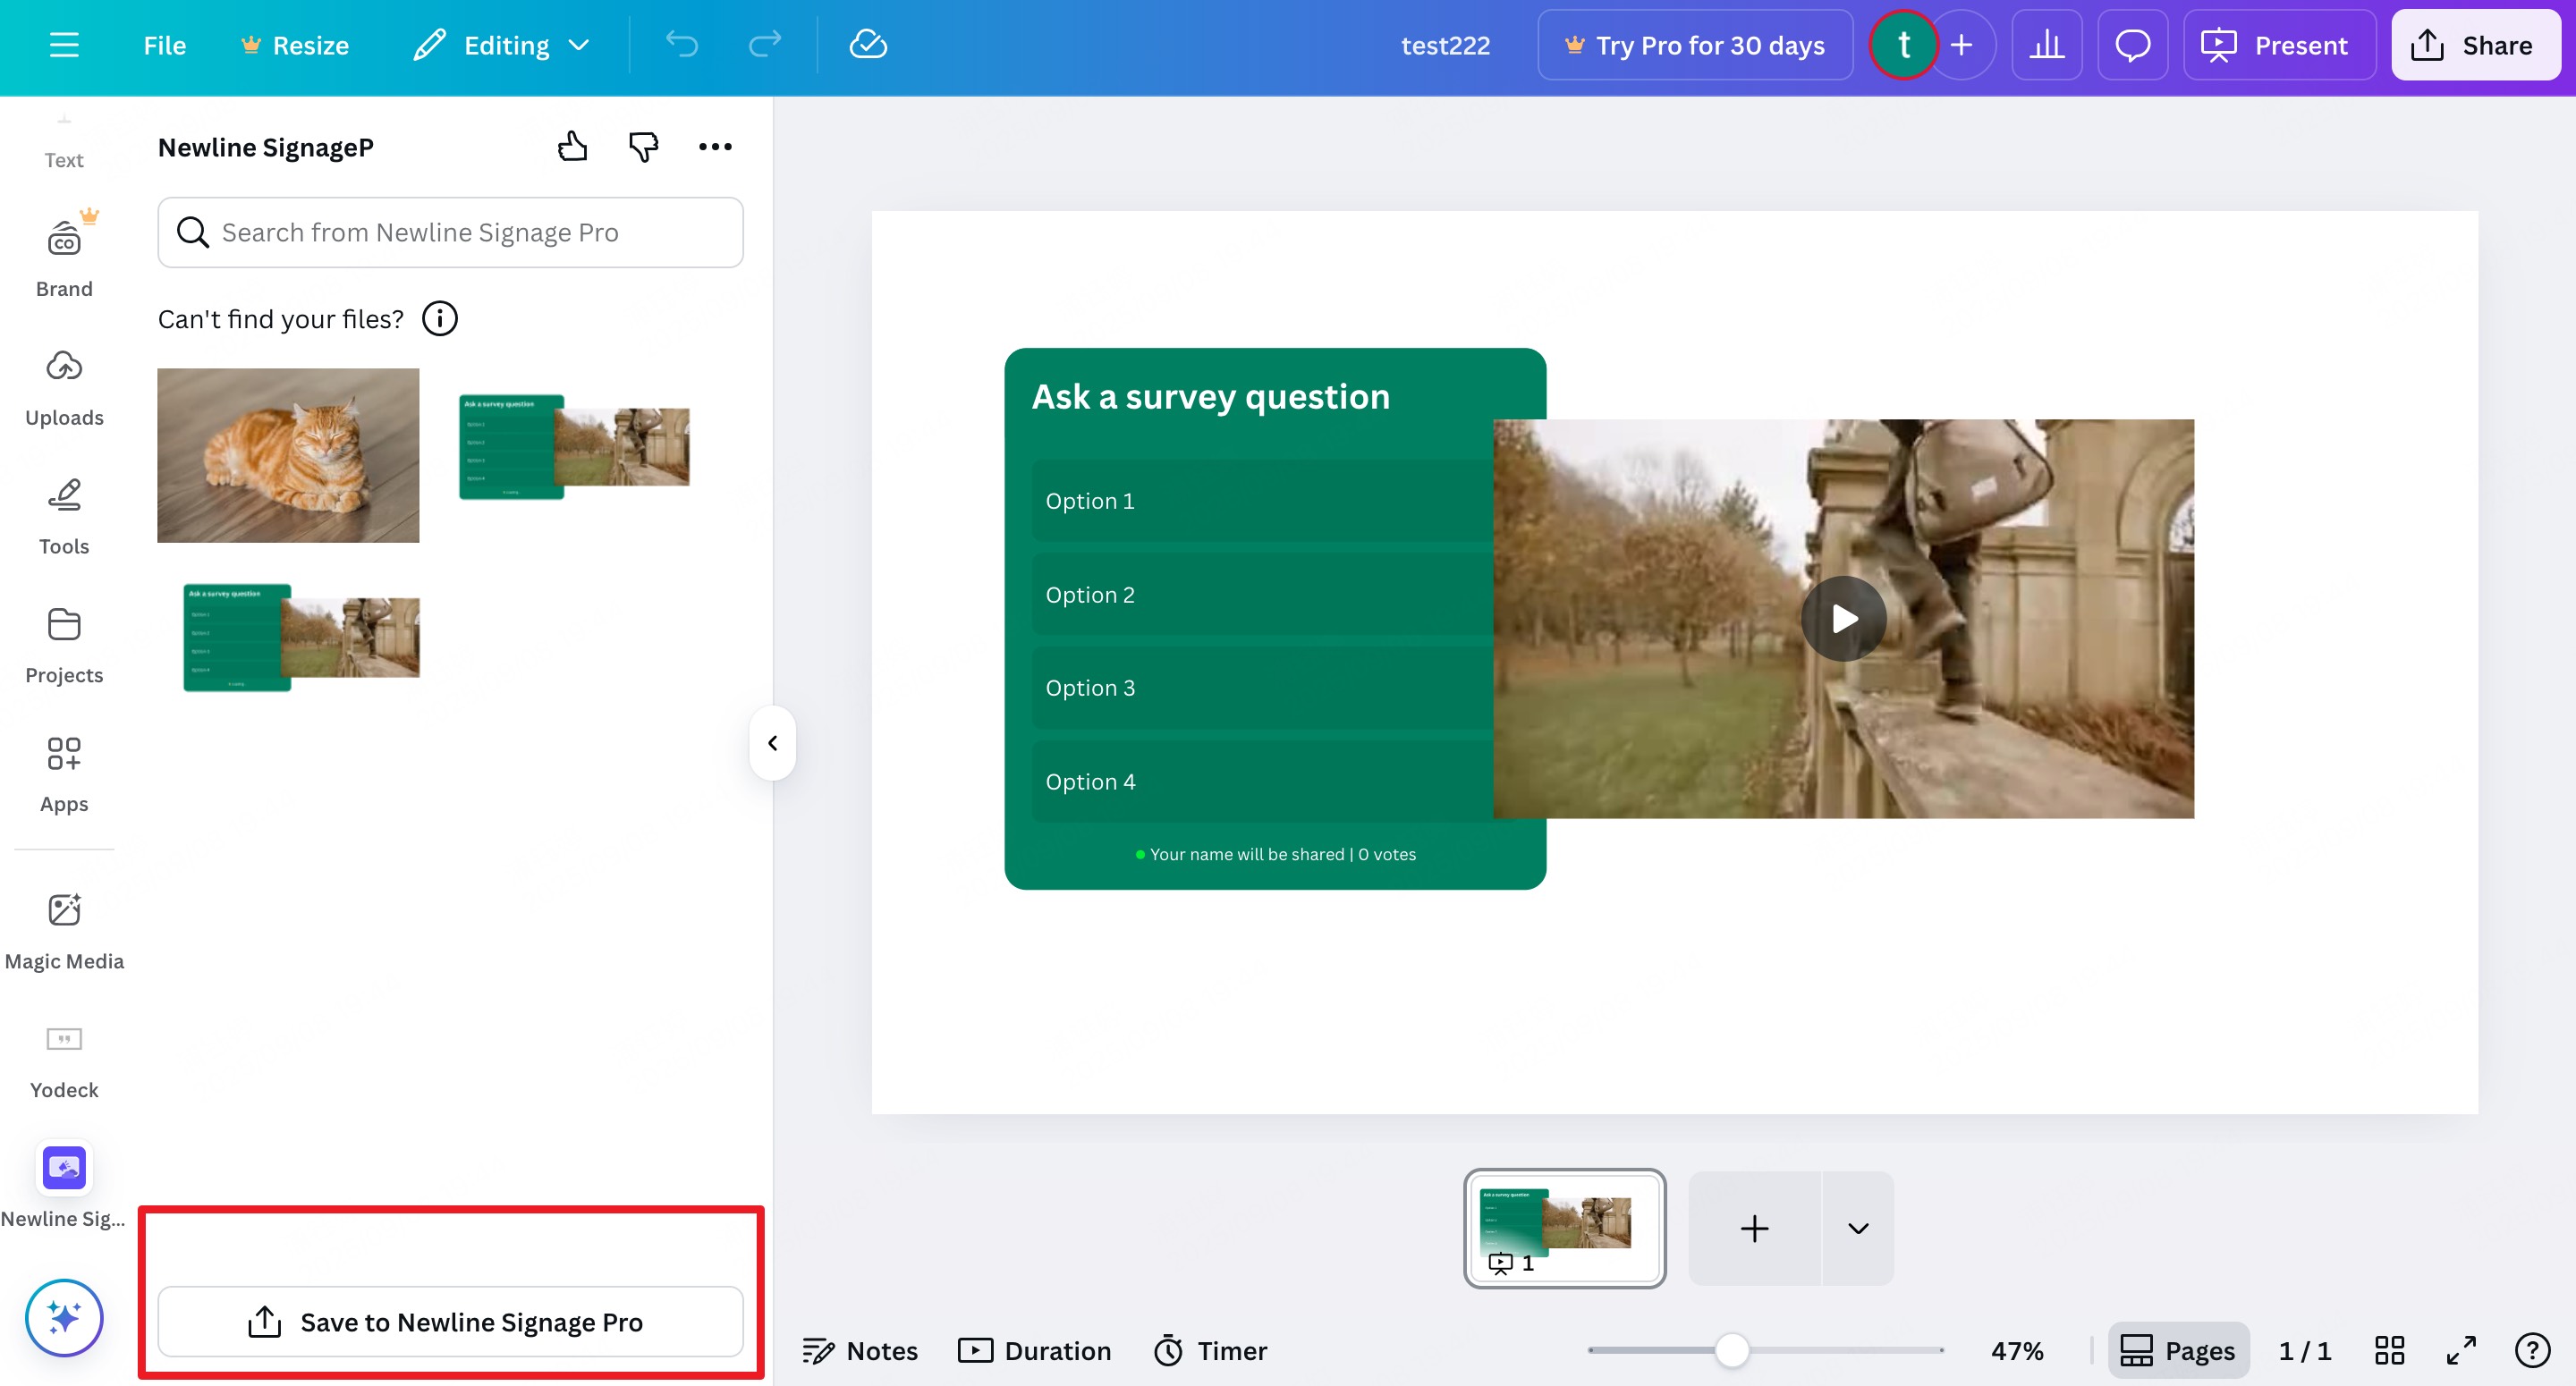
Step3. Your Canva design will appear in the Image section of your NSP Library.
5.4 Youtube
INFO
The YouTube App allows you to display both regular videos and live streams directly on your screens.
5.5 Twitch
INFO
The Twitch App allows you to display live Twitch streams directly on your screens.
5.6 RSS
INFO
The RSS App supports syncing news feeds based on scheduled update times, and it also supports displaying the main image included in the feed.
5.7 Power BI
INFO
The Power BI App allows you to showcase dynamic dashboards and reports by pasting the direct webpage link from Power BI.
5.8 Google Slides
INFO
The Google Slides App enables you to present your online presentations and keep them automatically updated.
5.9 PowerPoint Online
INFO
The PowerPoint Online App lets you import and display your online PowerPoint presentations with automatic updates.
5.10 Google Calendar
INFO
The Google Calendar App enables you to display your schedules and events directly on your screens.
5.11 Outlook Calendar
INFO
The Outlook Calendar App allows you to display events and schedules from your Microsoft Outlook calendar.
5.12 Local Calendar
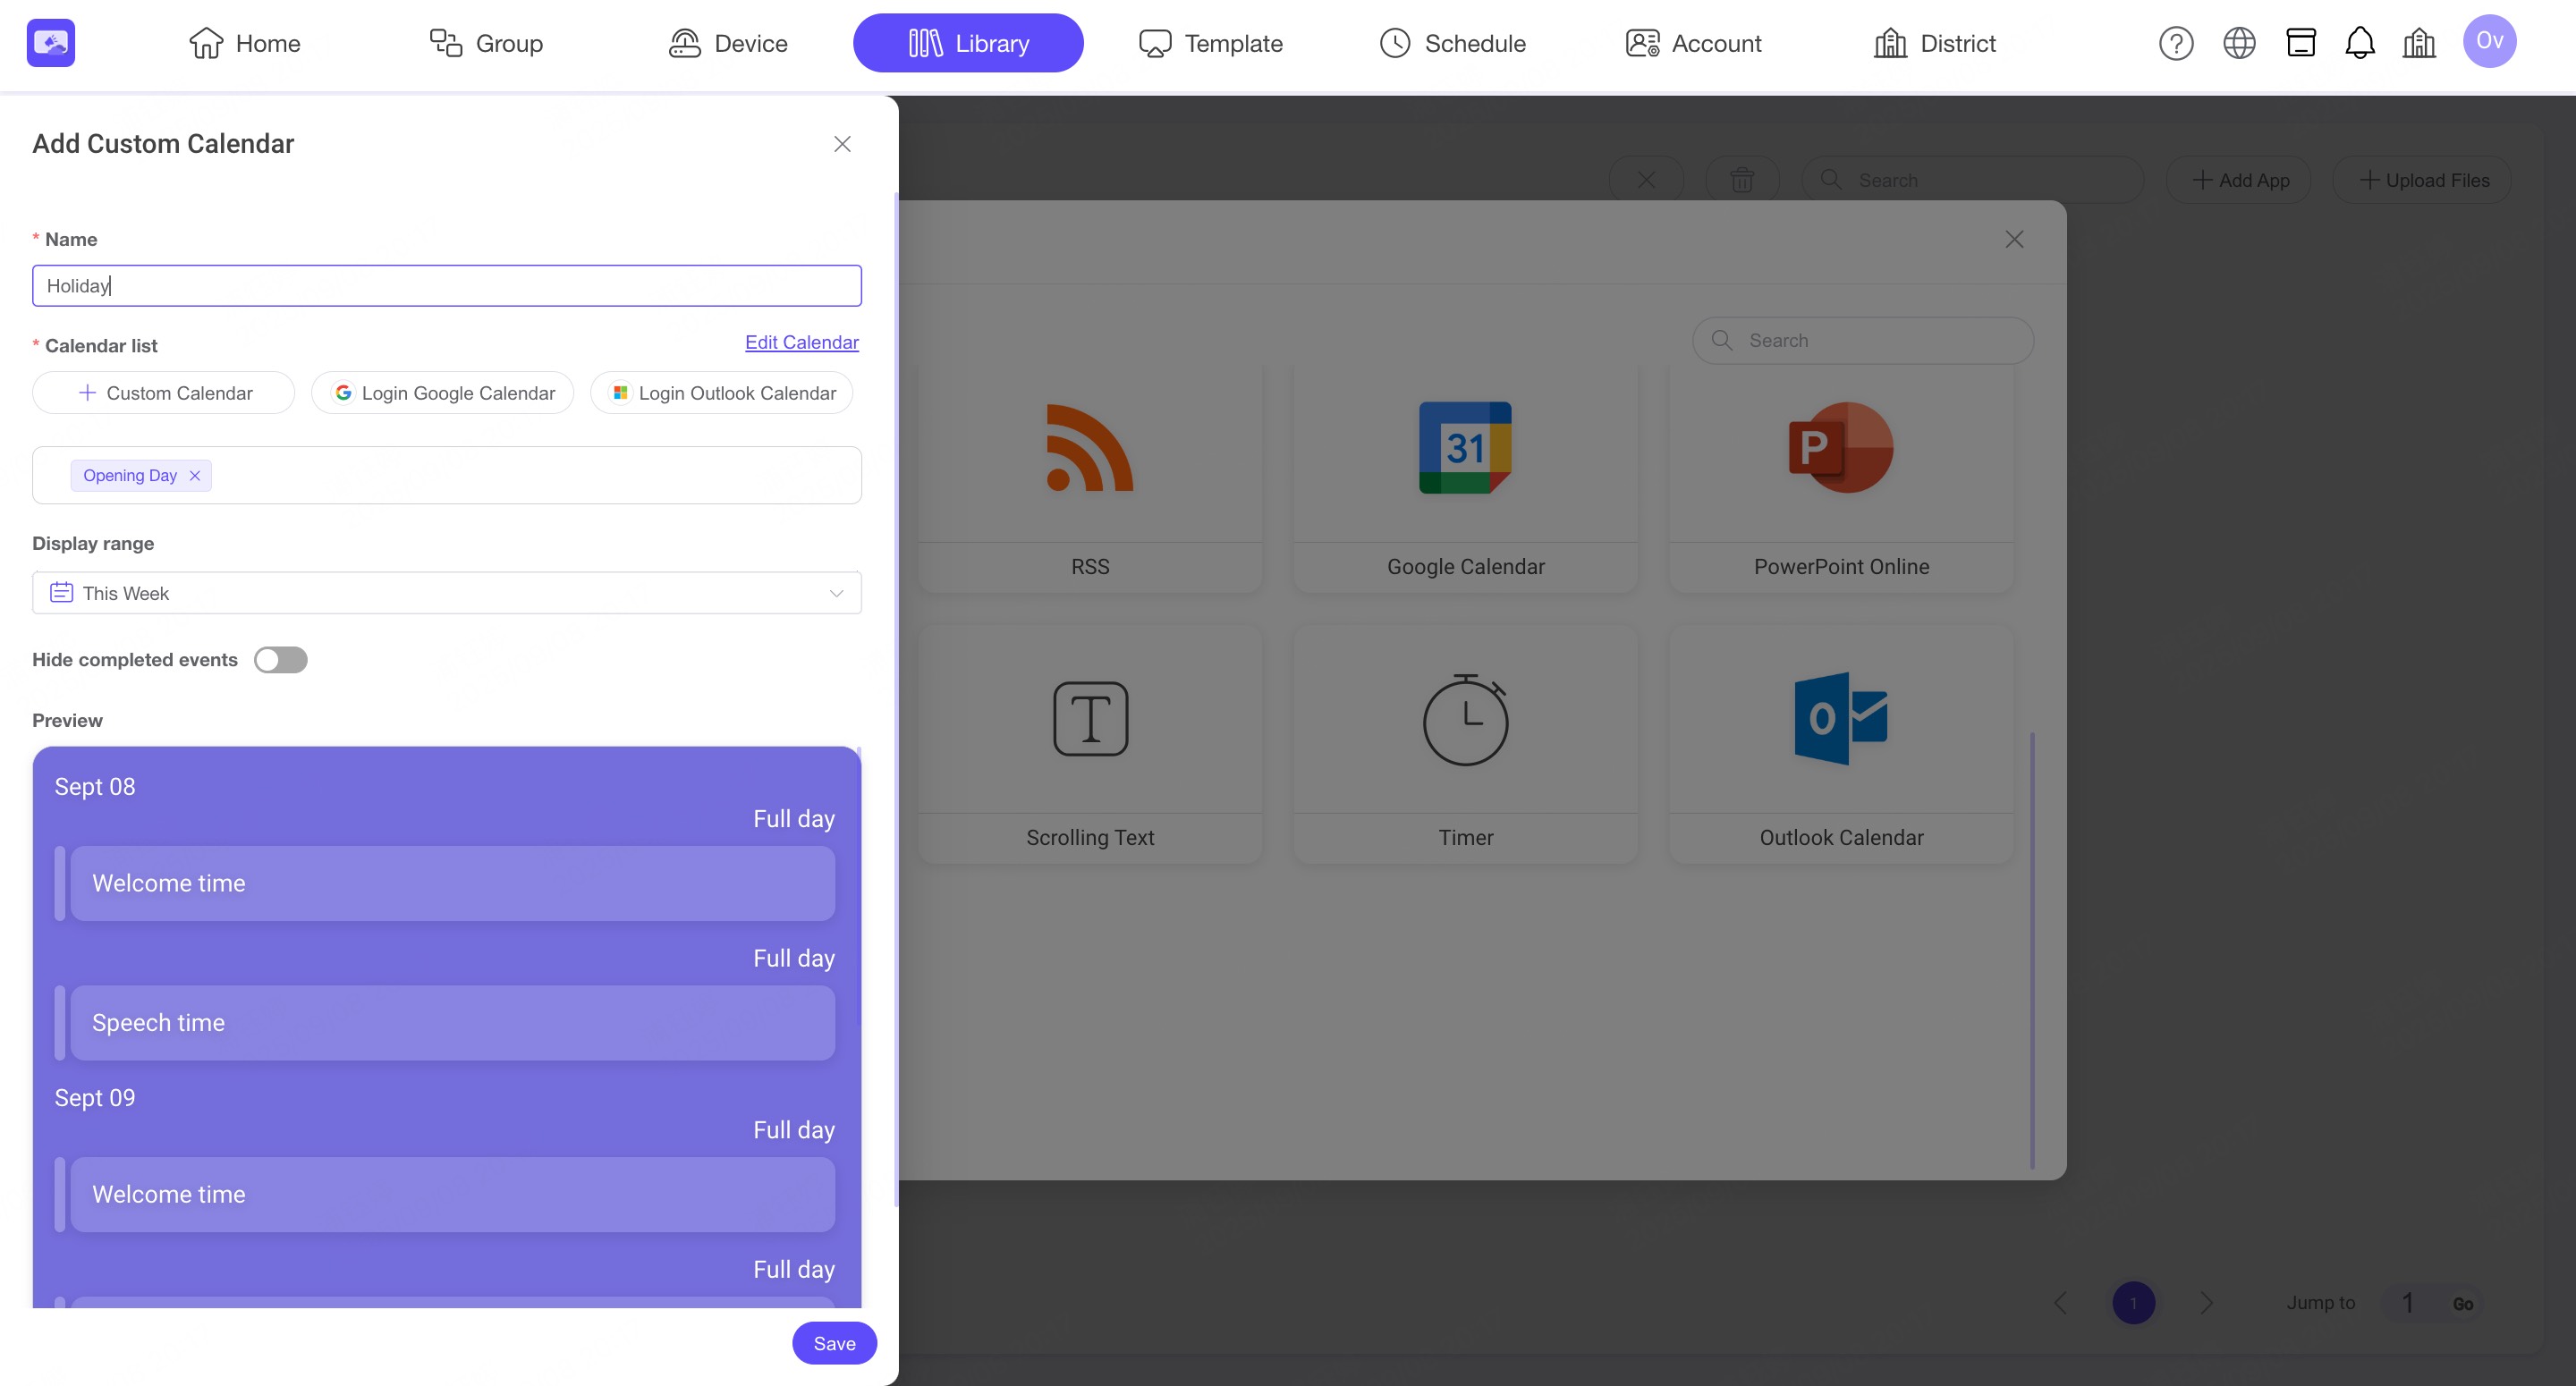
INFO
The Local Calendar App supports importing multiple Google Calendars or Outlook Calendars, and also allows you to add or edit custom events manually. Please note that imported calendars will not auto-update. For automatic updates, use the Google Calendar App or Outlook Calendar App instead.
5.13 Webpage
INFO
The Webpage App allows you to display live websites or authenticated web pages on your signage screens.
5.14 Weather
INFO
The Weather App displays the current day’s weather conditions and forecast.
5.15 Clock
INFO
The Clock App allows you to display a live clock on your screens in different styles.
5.16 Time&Date
INFO
The Time & Date App displays the current time and date with customizable styles.
5.17 QR Code
INFO
The QR Code App generates scannable QR codes for quick access to links or information.
5.18 Scrolling Text
INFO
The Scrolling Text App displays custom text messages with flexible scrolling effects.
You can choose between horizontal or vertical scrolling during template editing.
5.19 Timer
INFO
The Timer App allows you to set countdowns or timers for events and activities.
6. Template
INFO
Template module is available for creating and managing your templates.
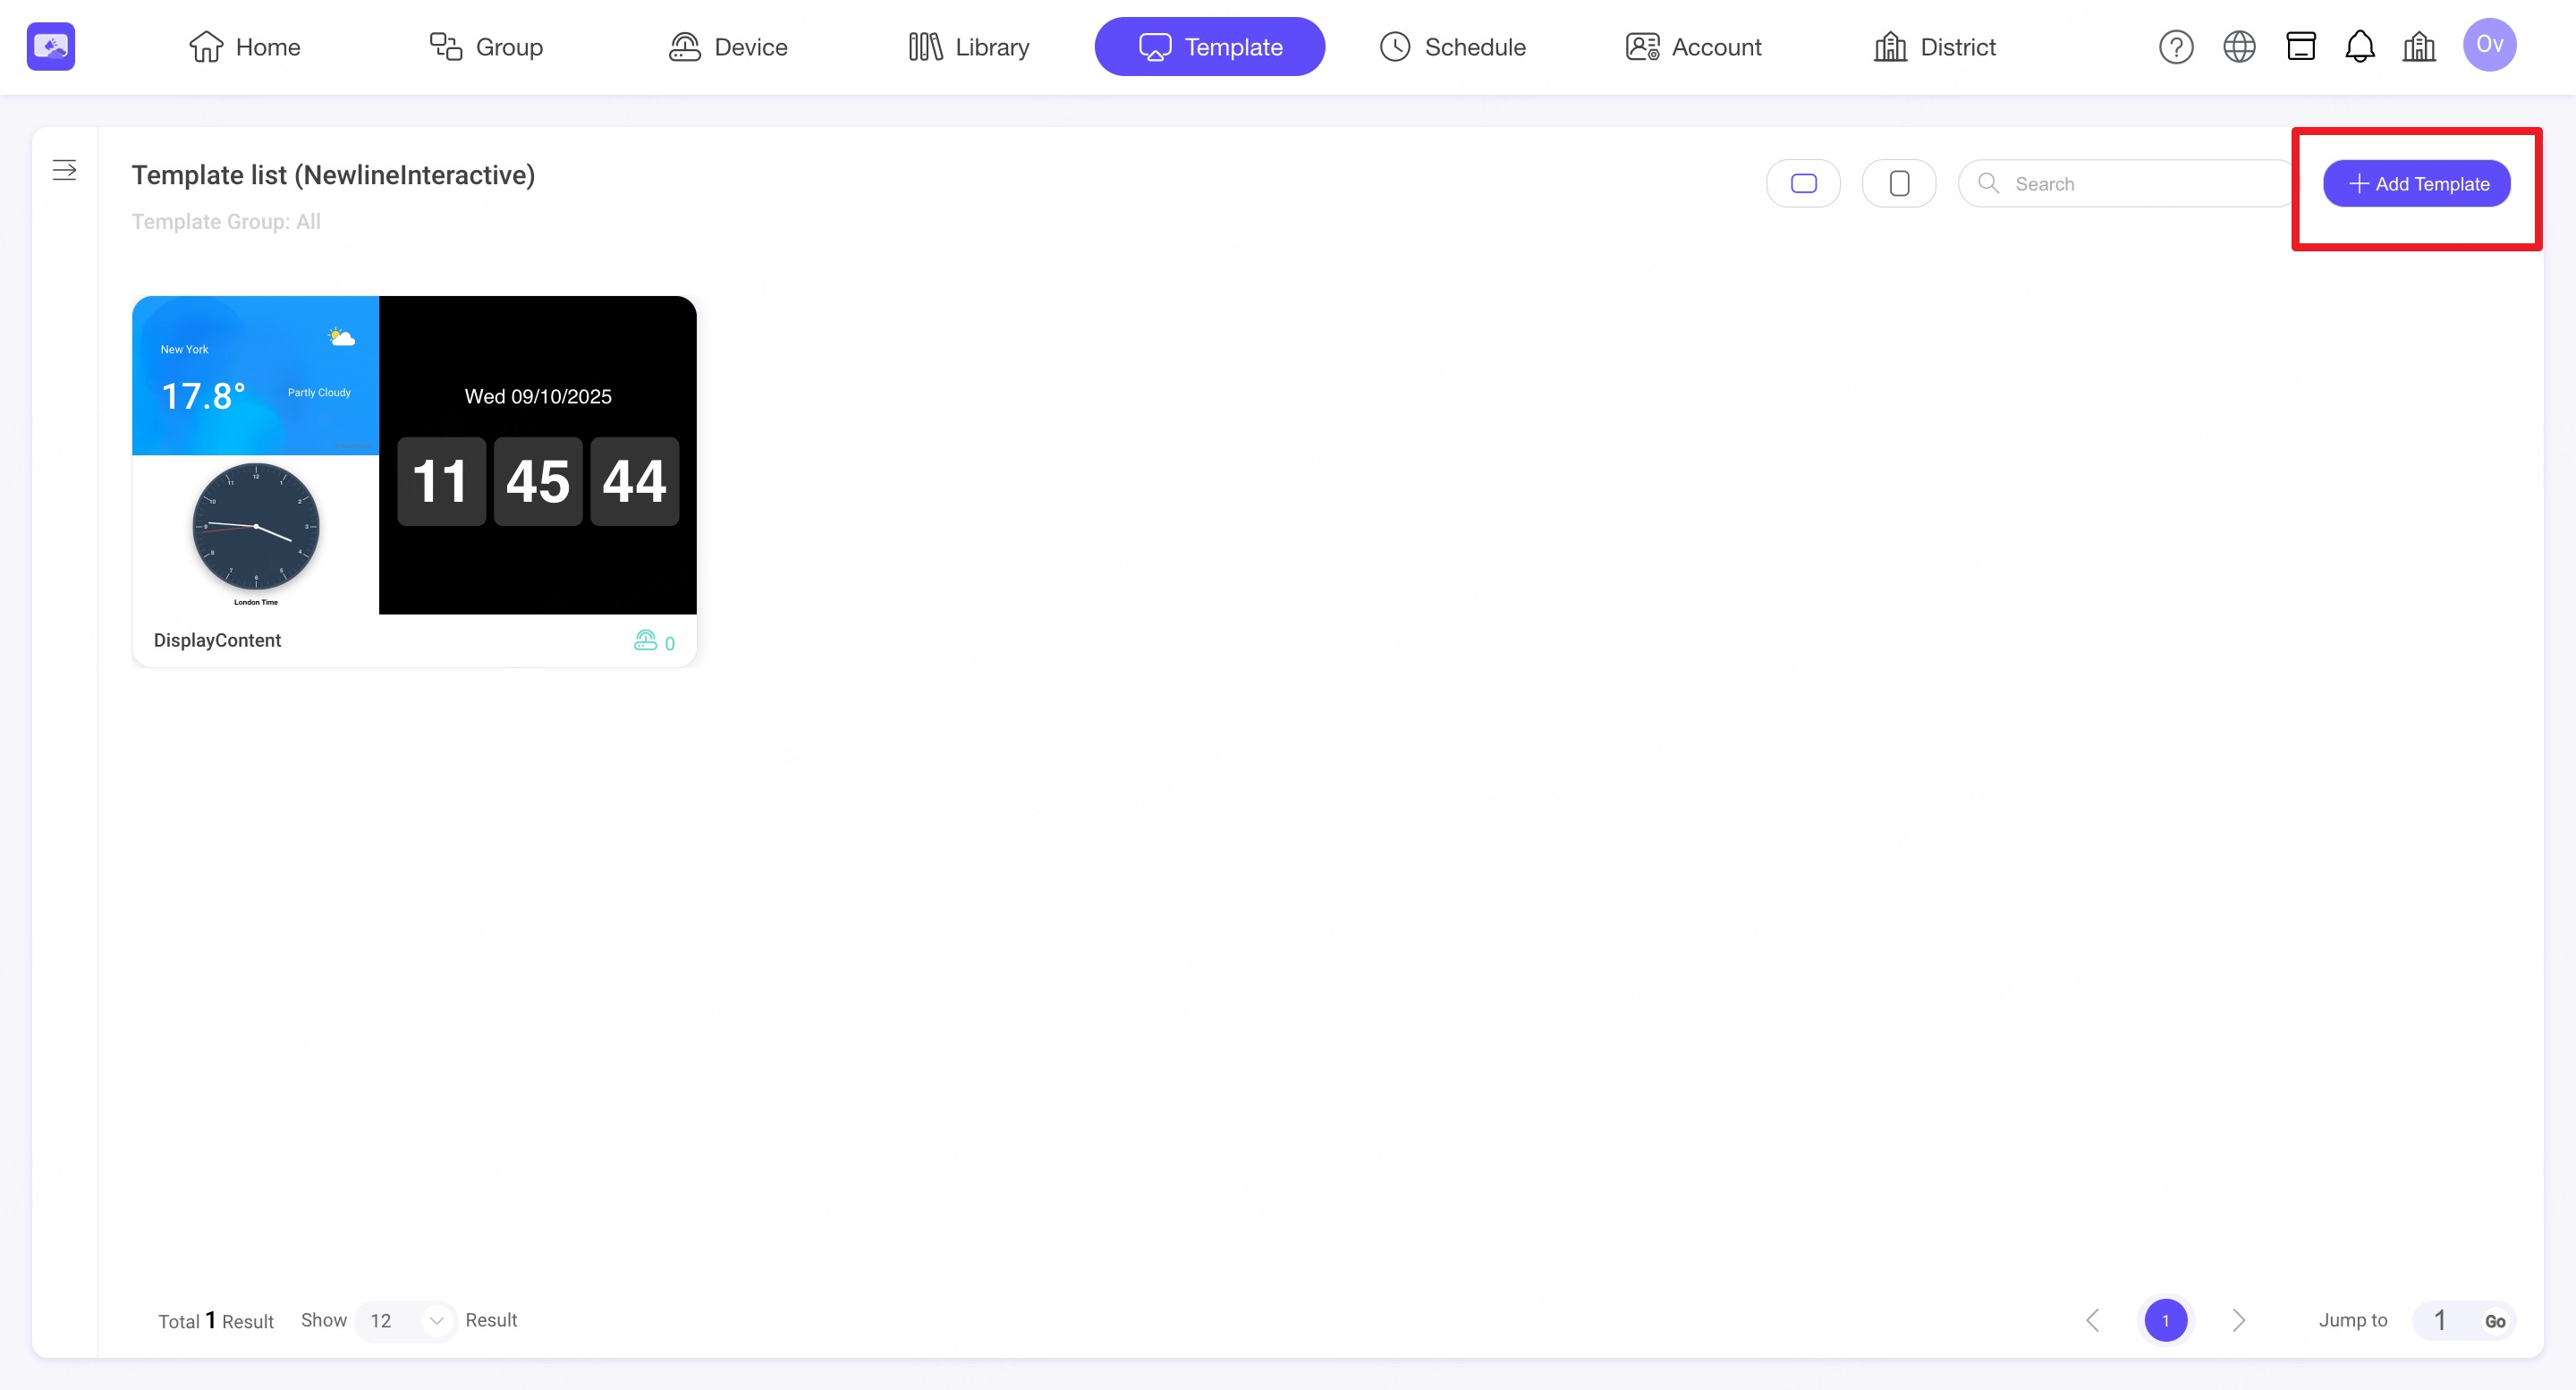
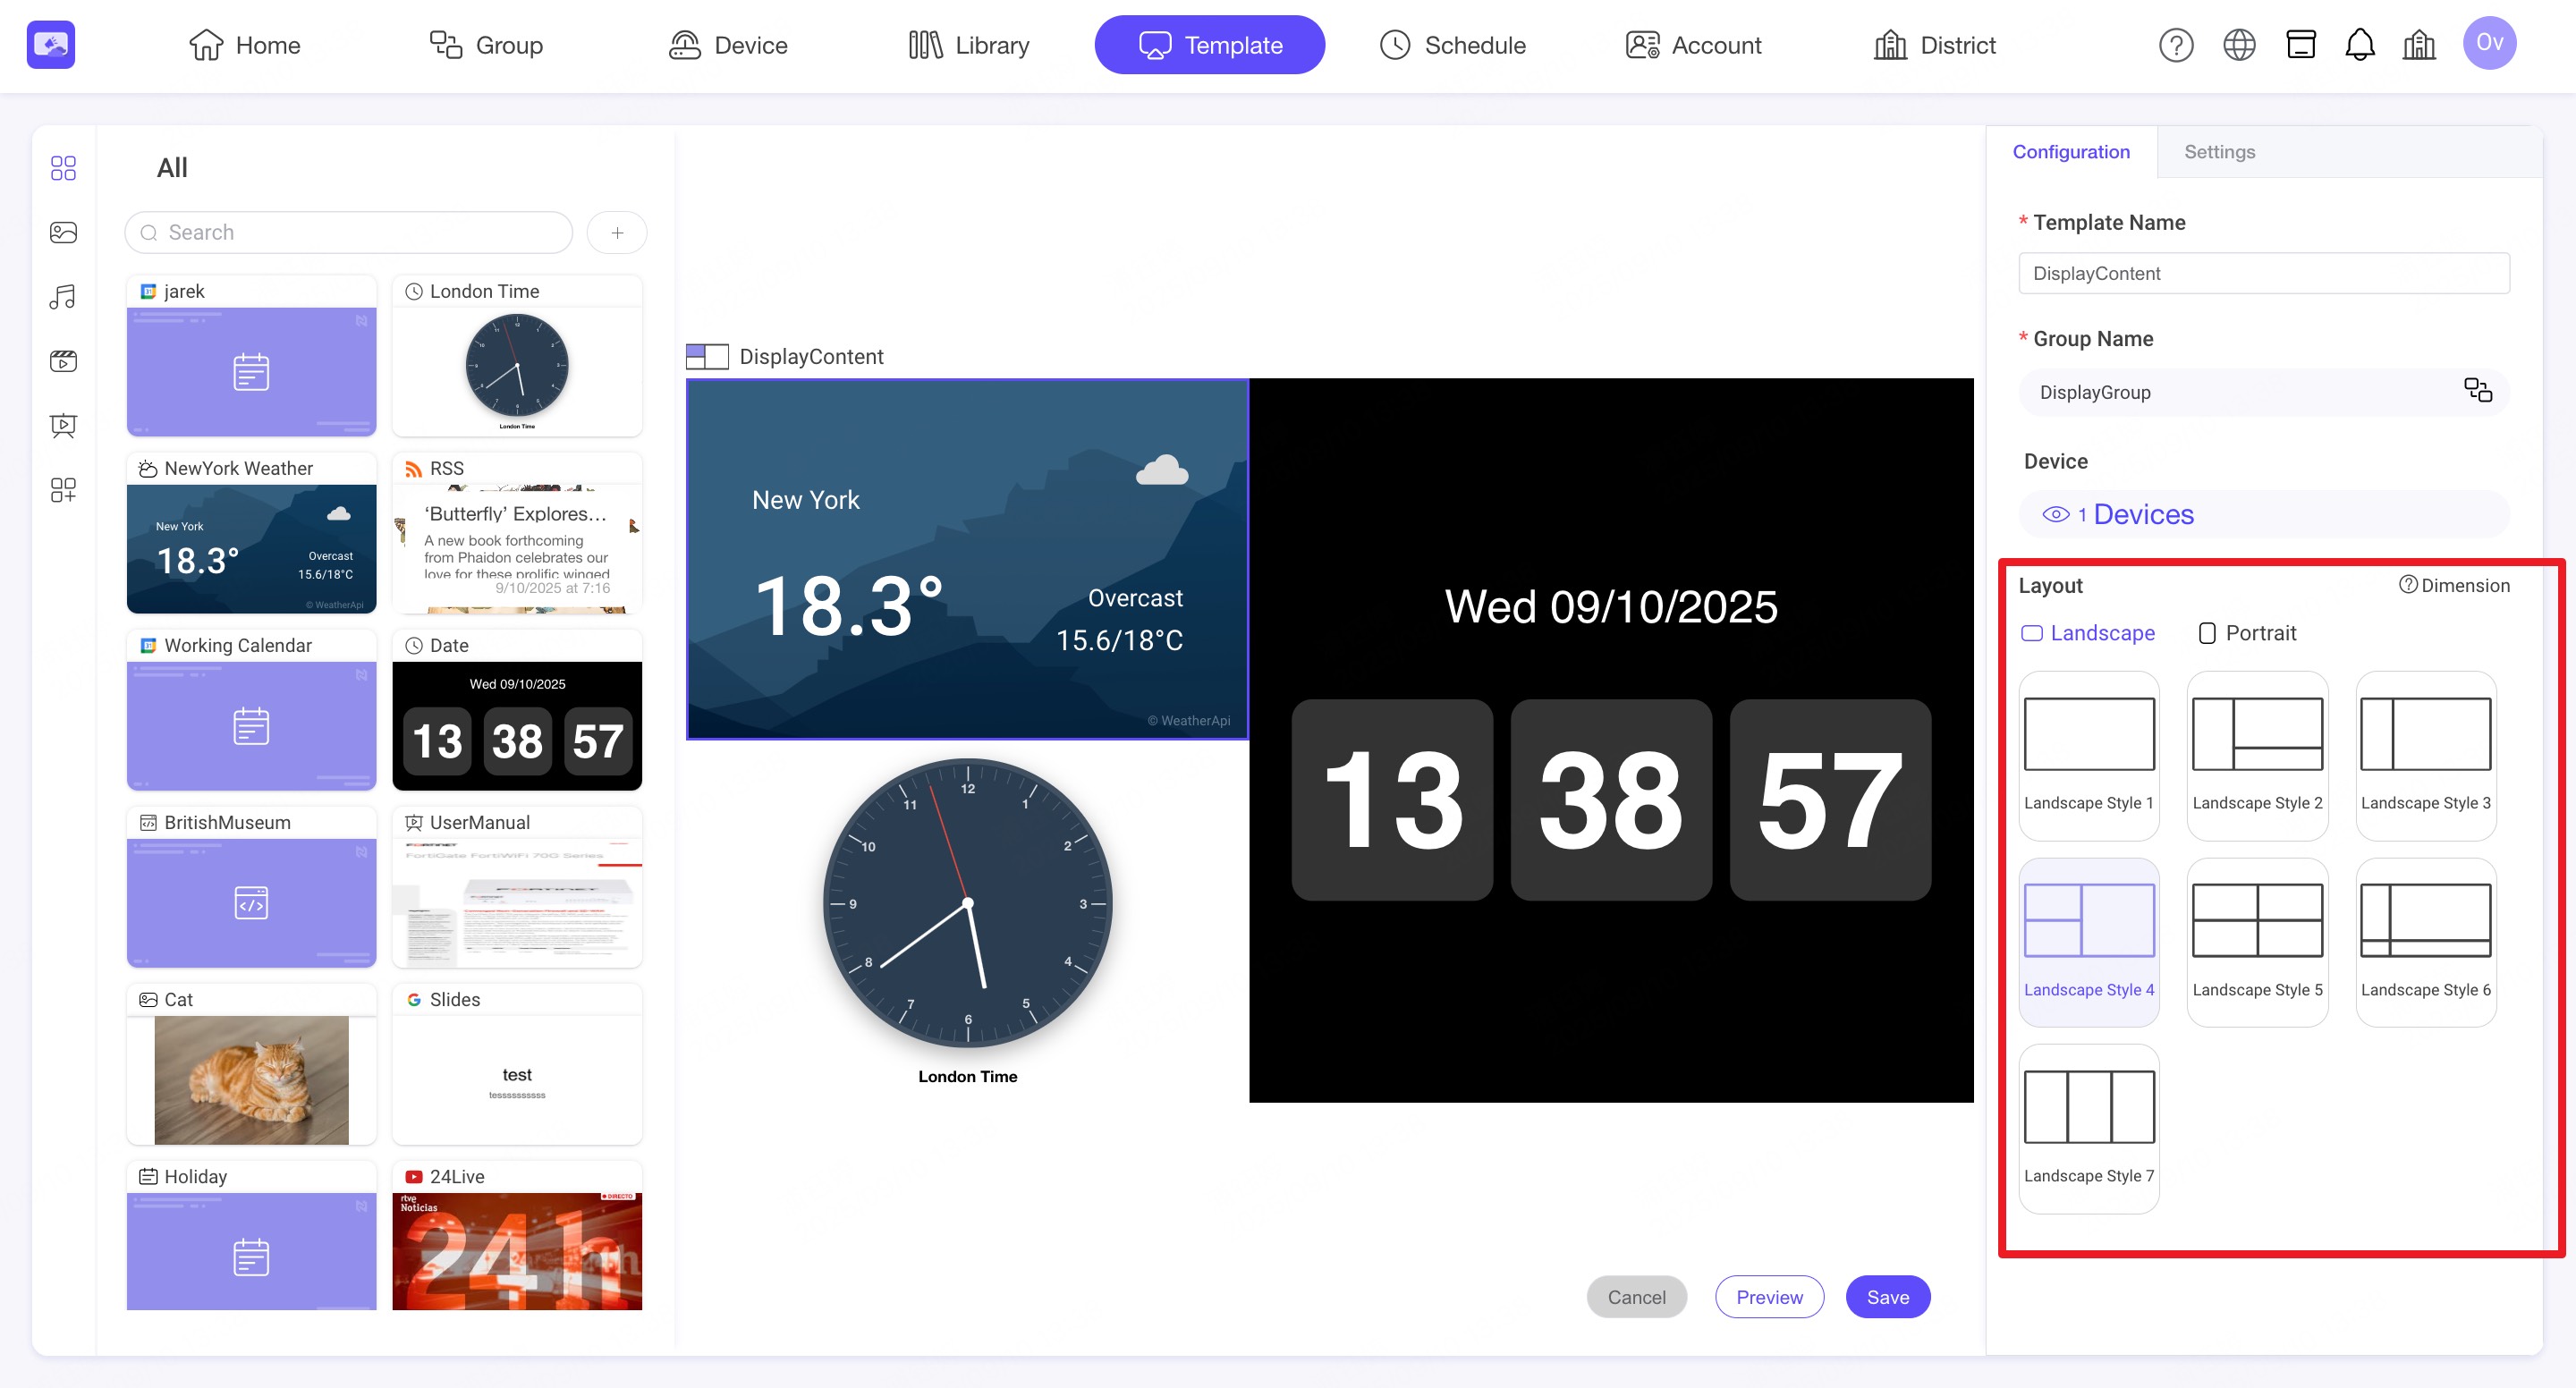
6.1. Create a template
Step1. Click 'Add Template' button.
Step2. Enter Template Name.
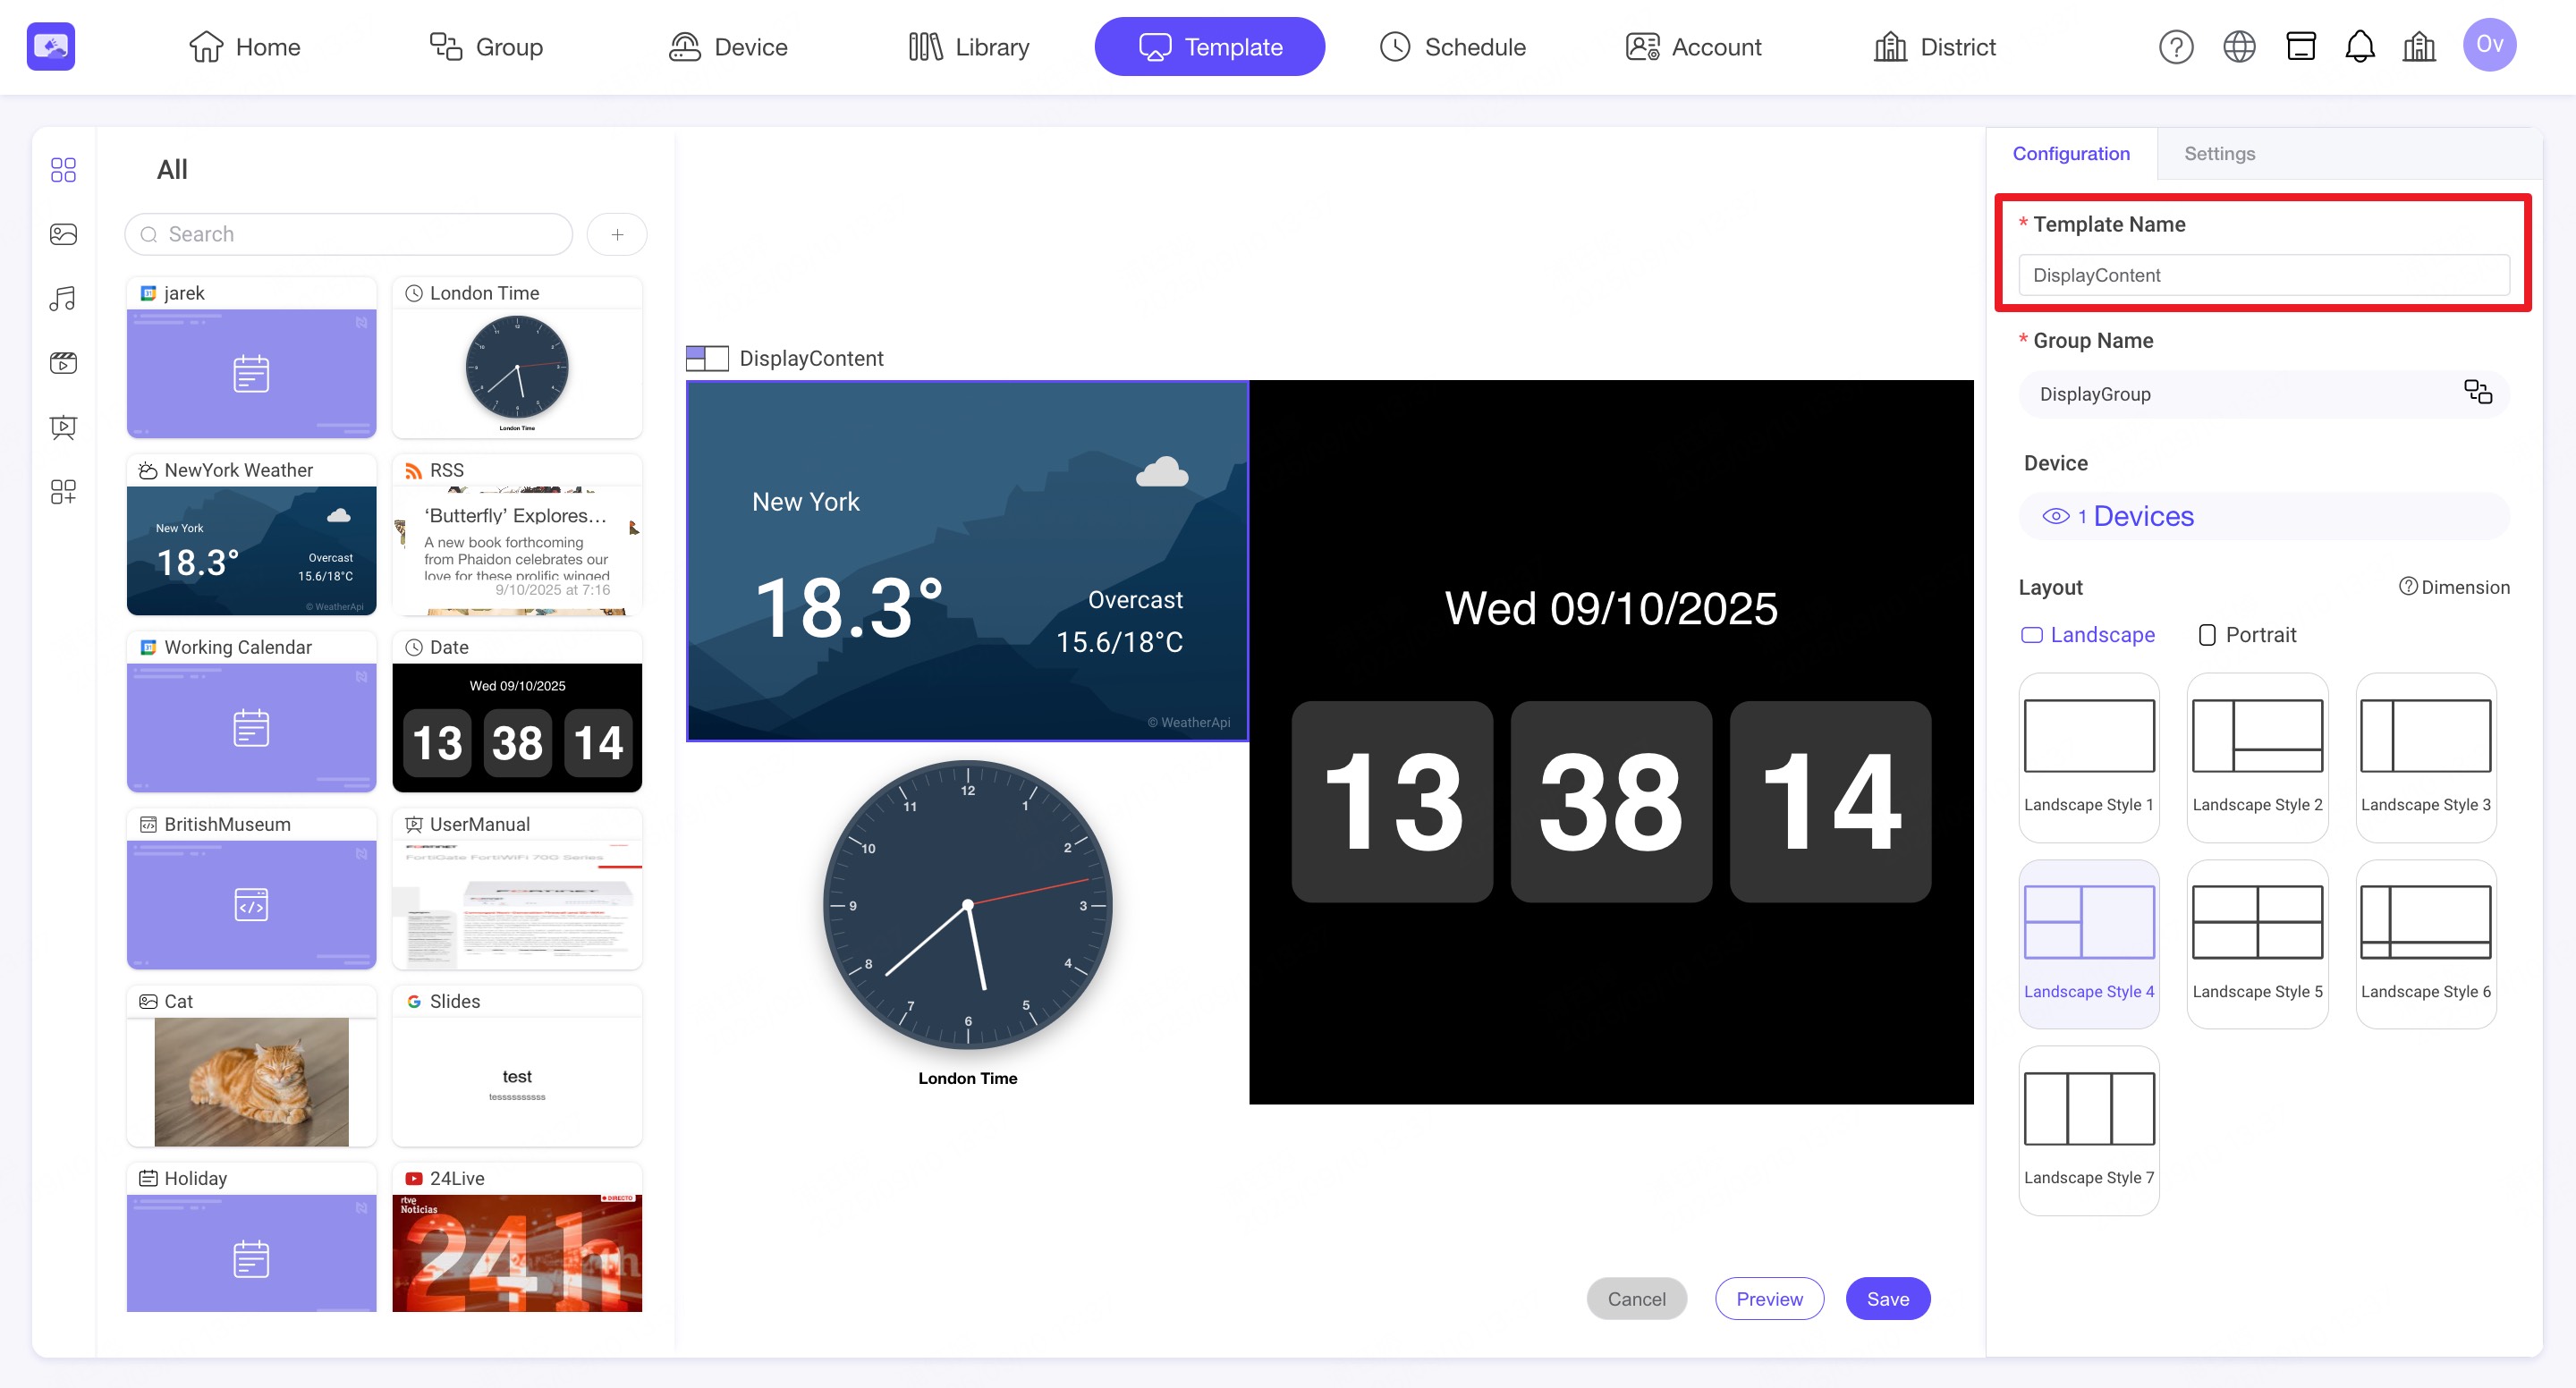
Step3. Select Template Group.

Step4. Select Layout, there are 7 landscape and 5 vertical layouts available.
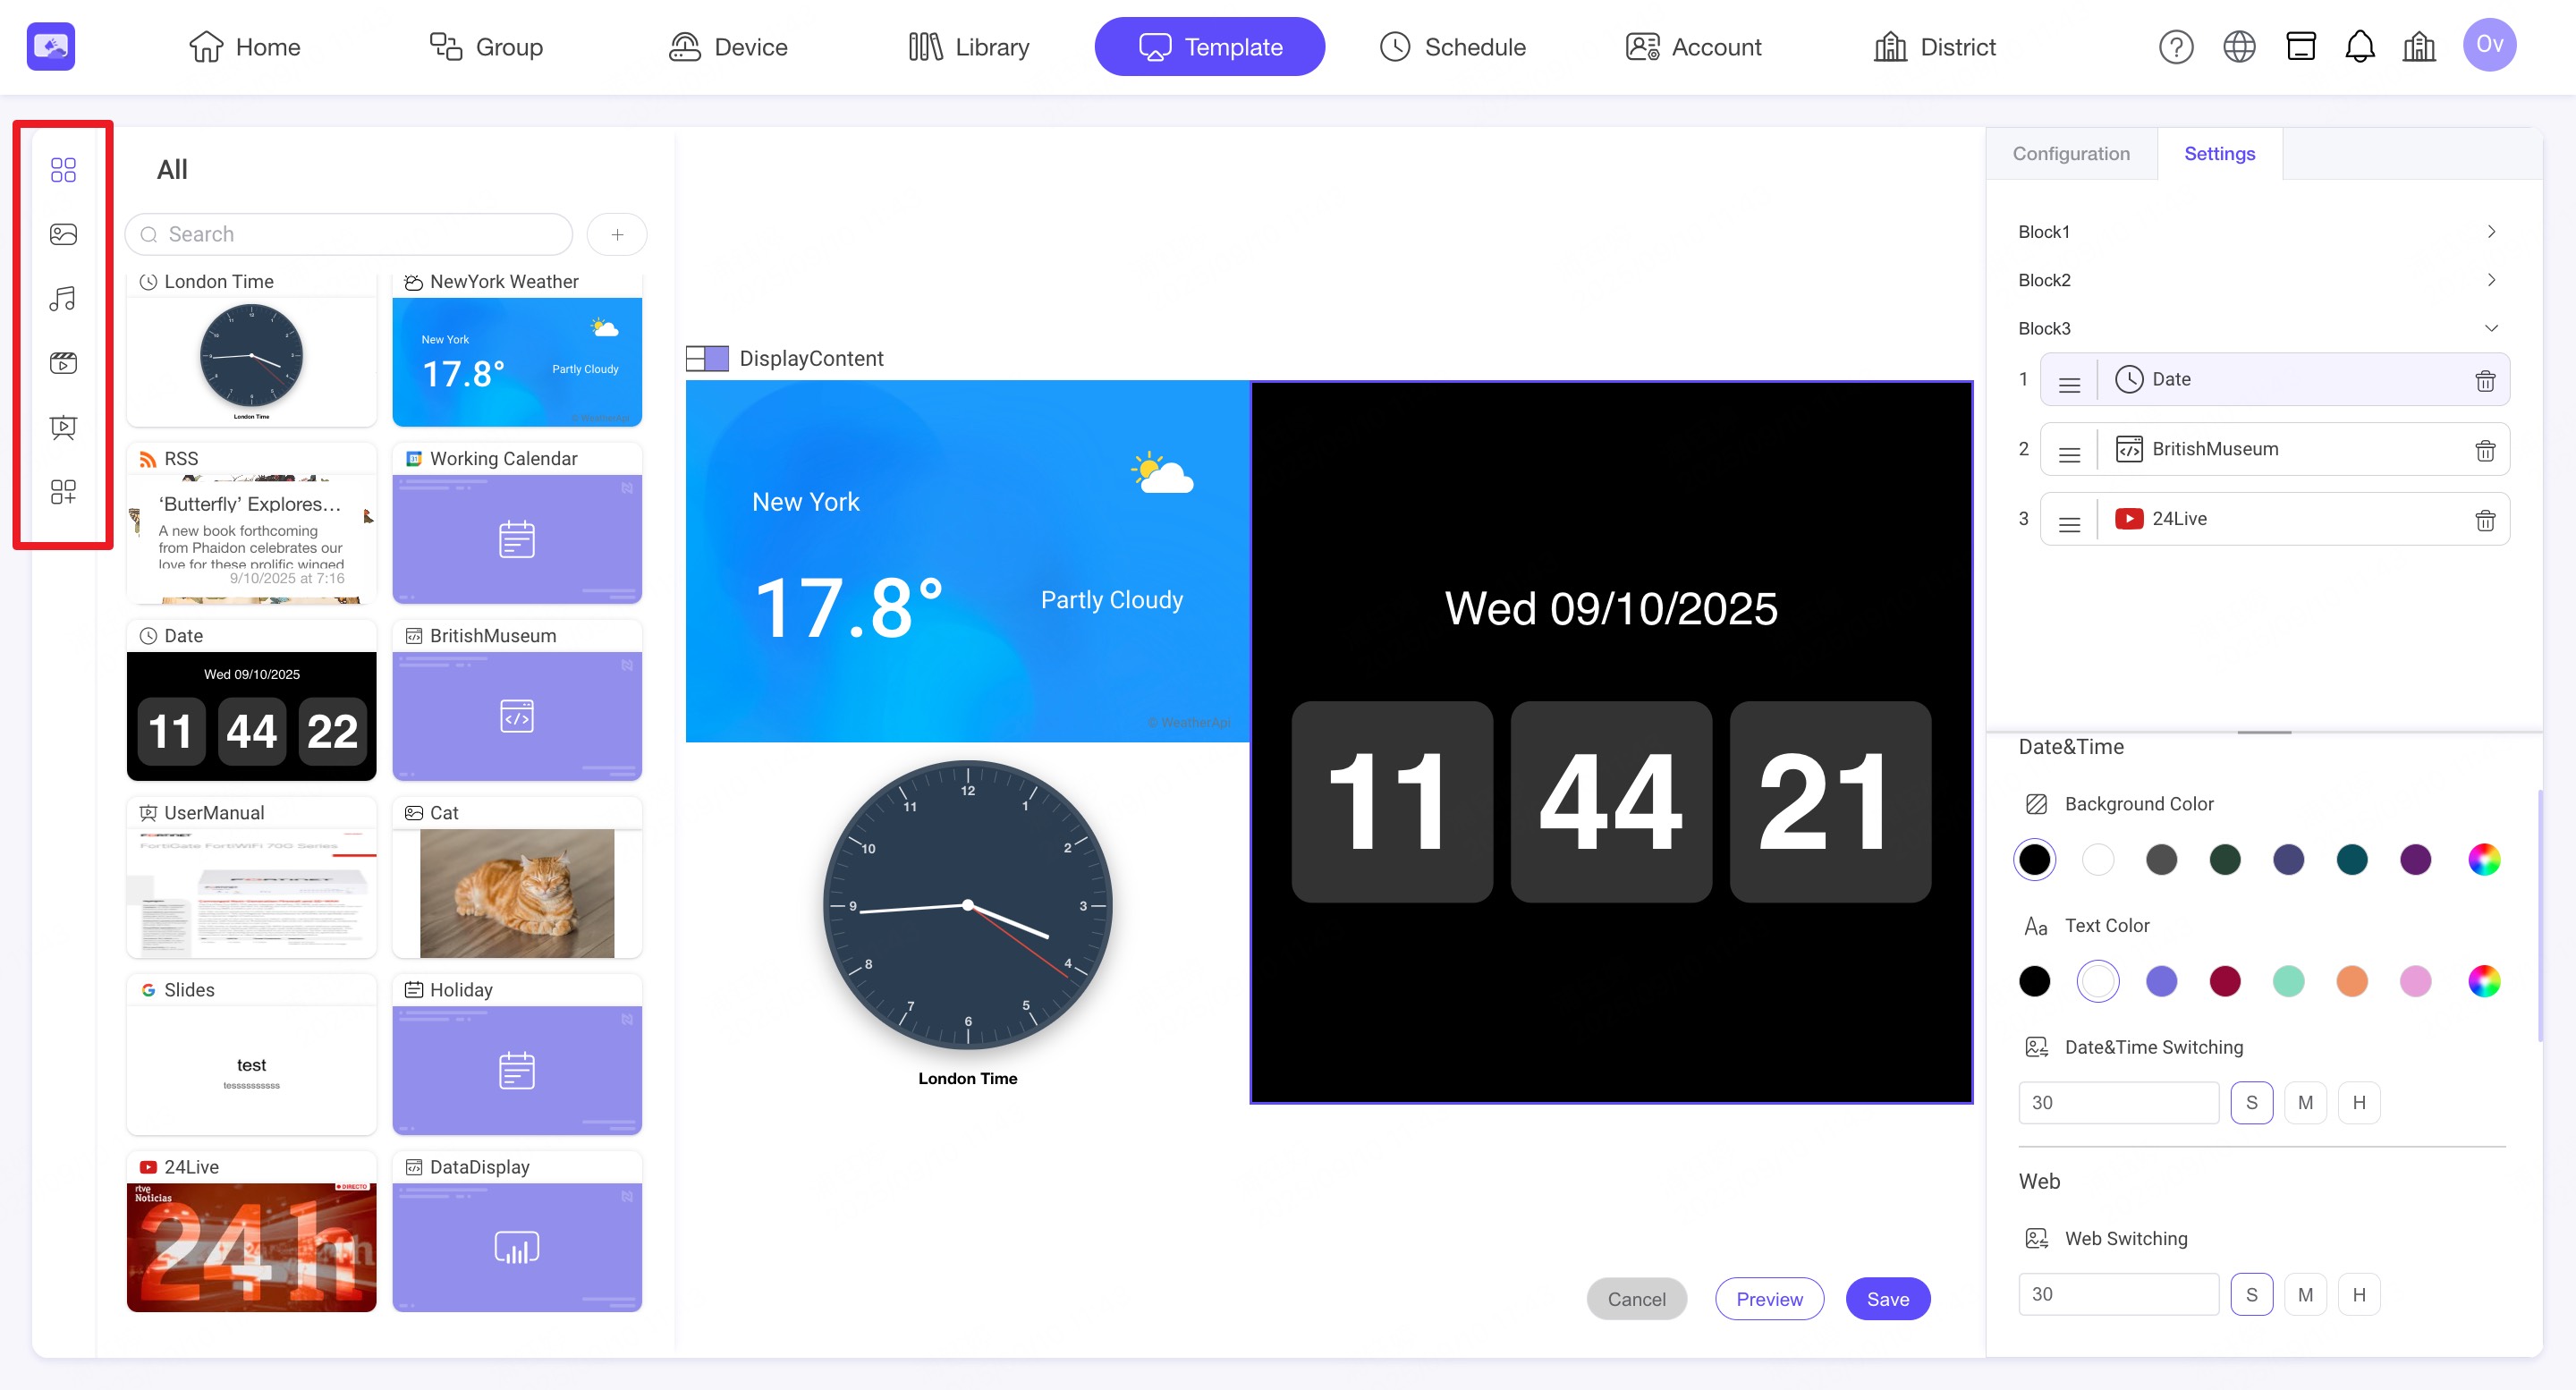
6.2. Edit Template Content
Content Categories: There are plenty types of content that you can add, you can drag and drop the content from the left side of the library into the center template. You can add more than one content to each template block.
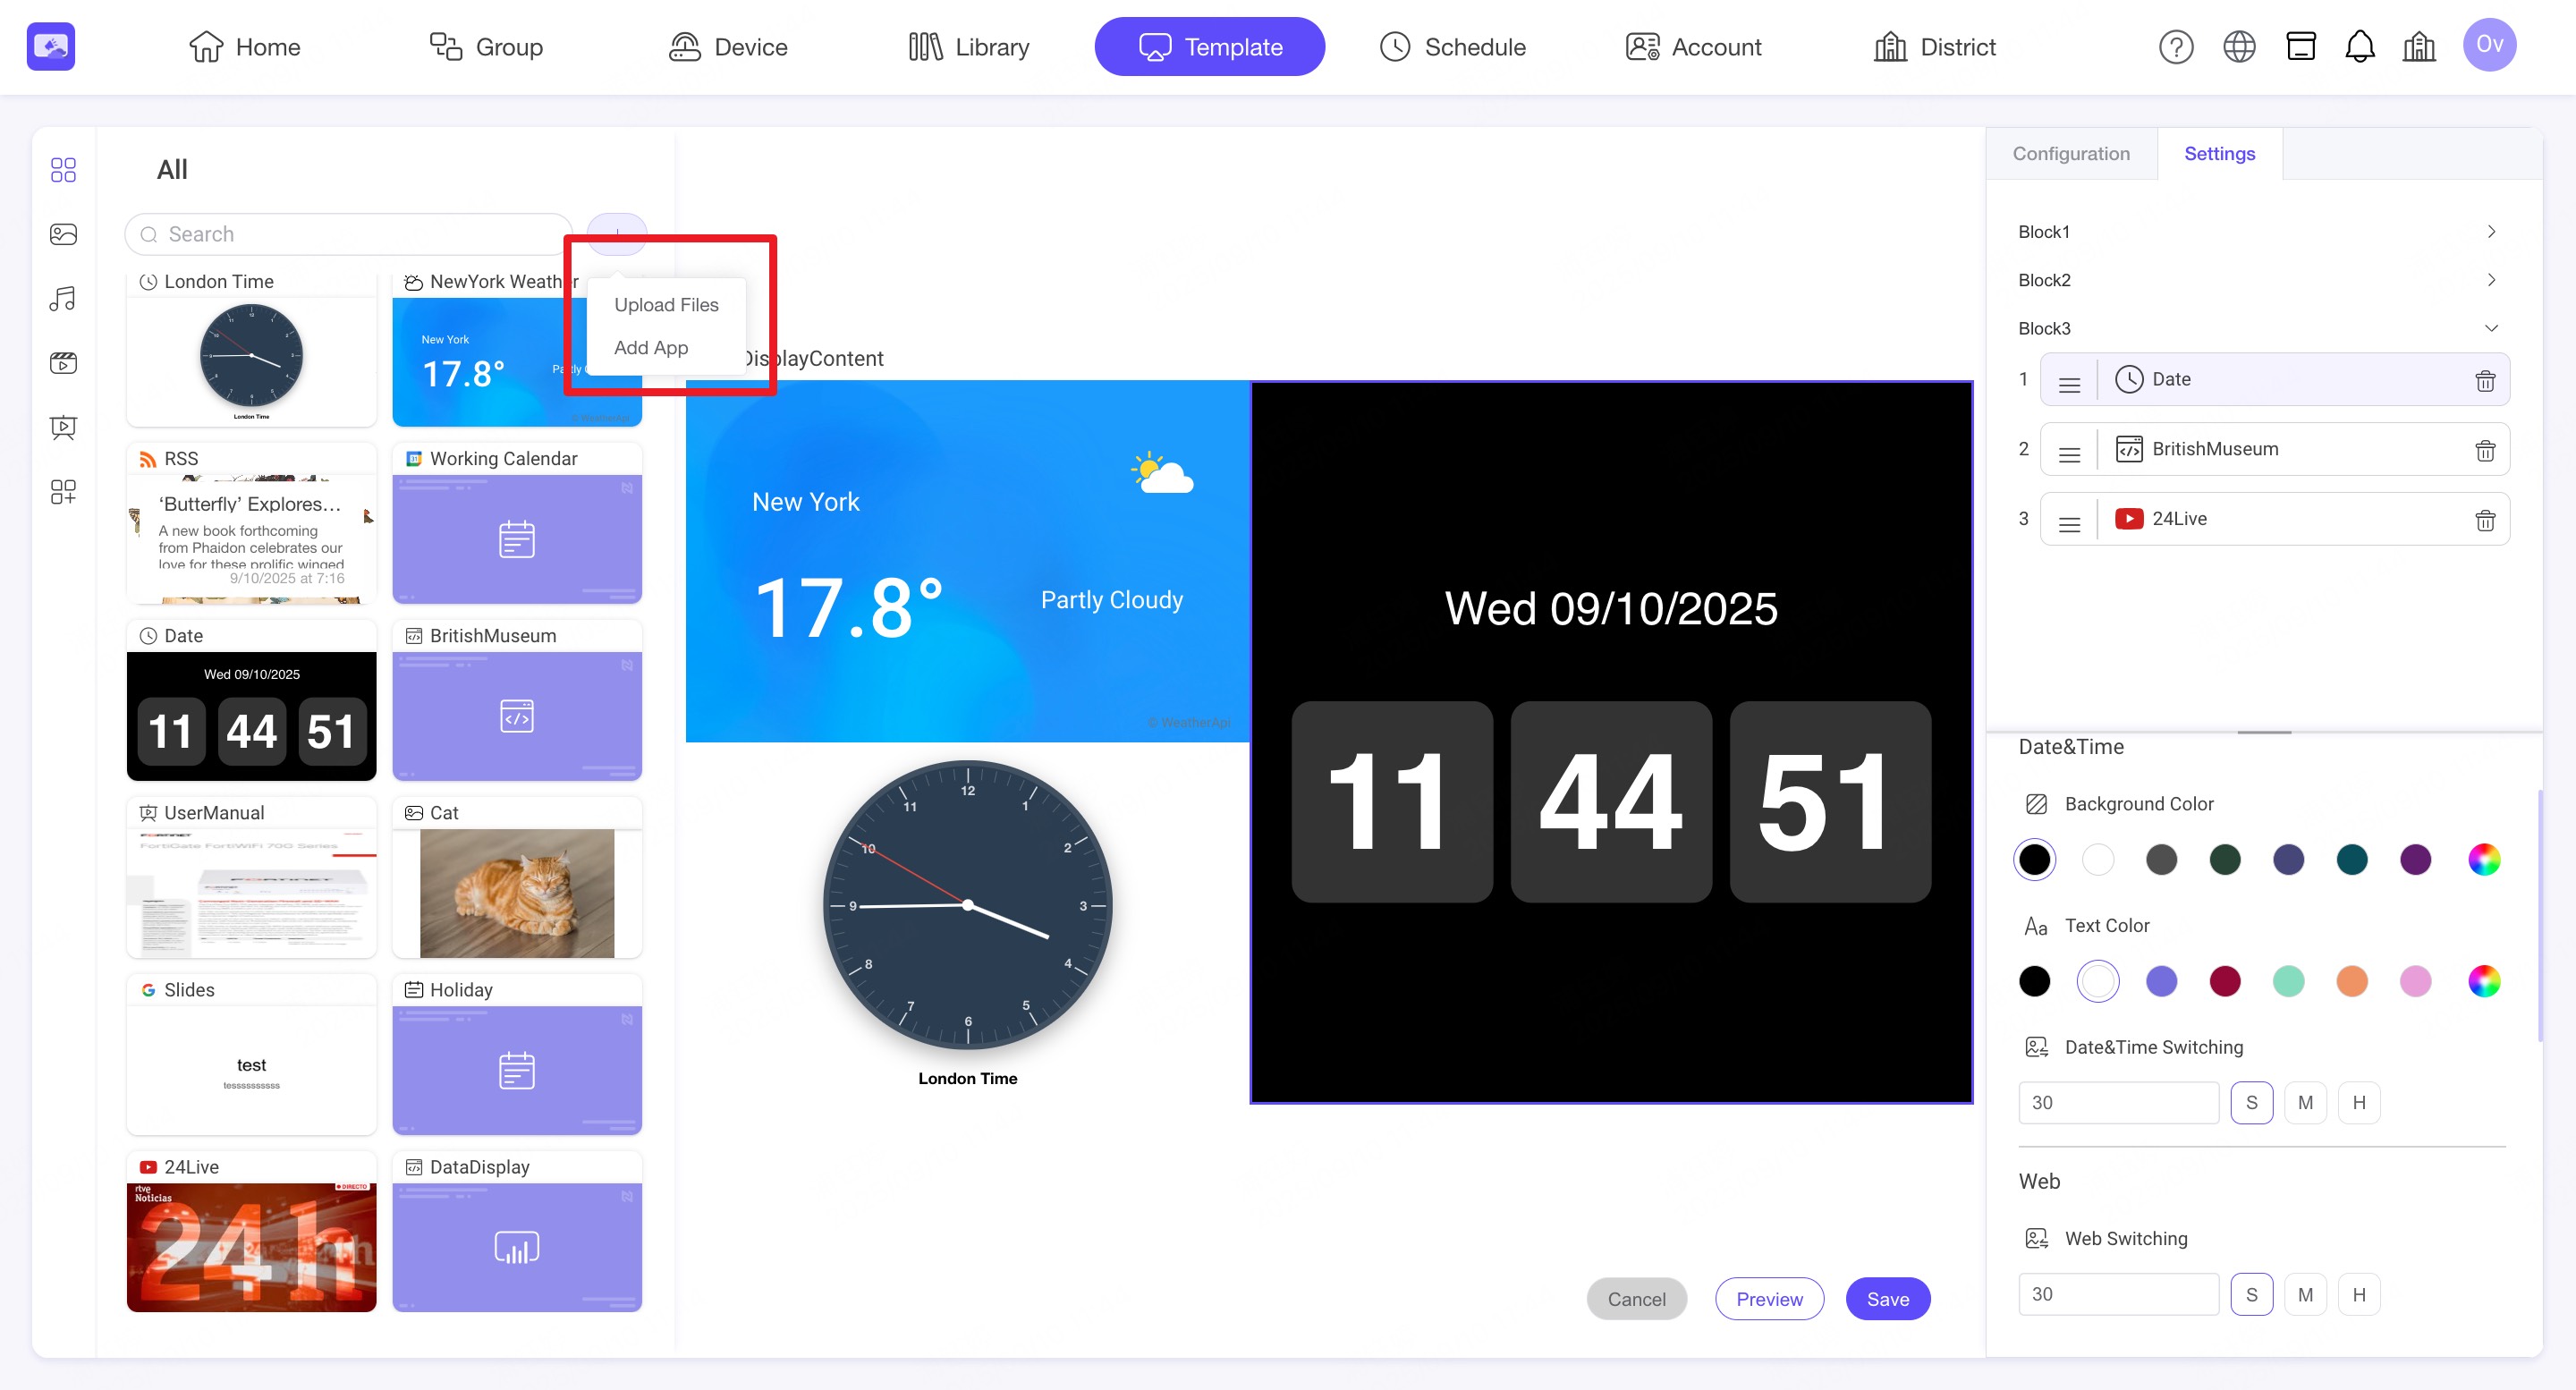
Add Content: When editing a template, you can add resources such as images, videos, or apps.
This allows you to build richer content directly within the template.
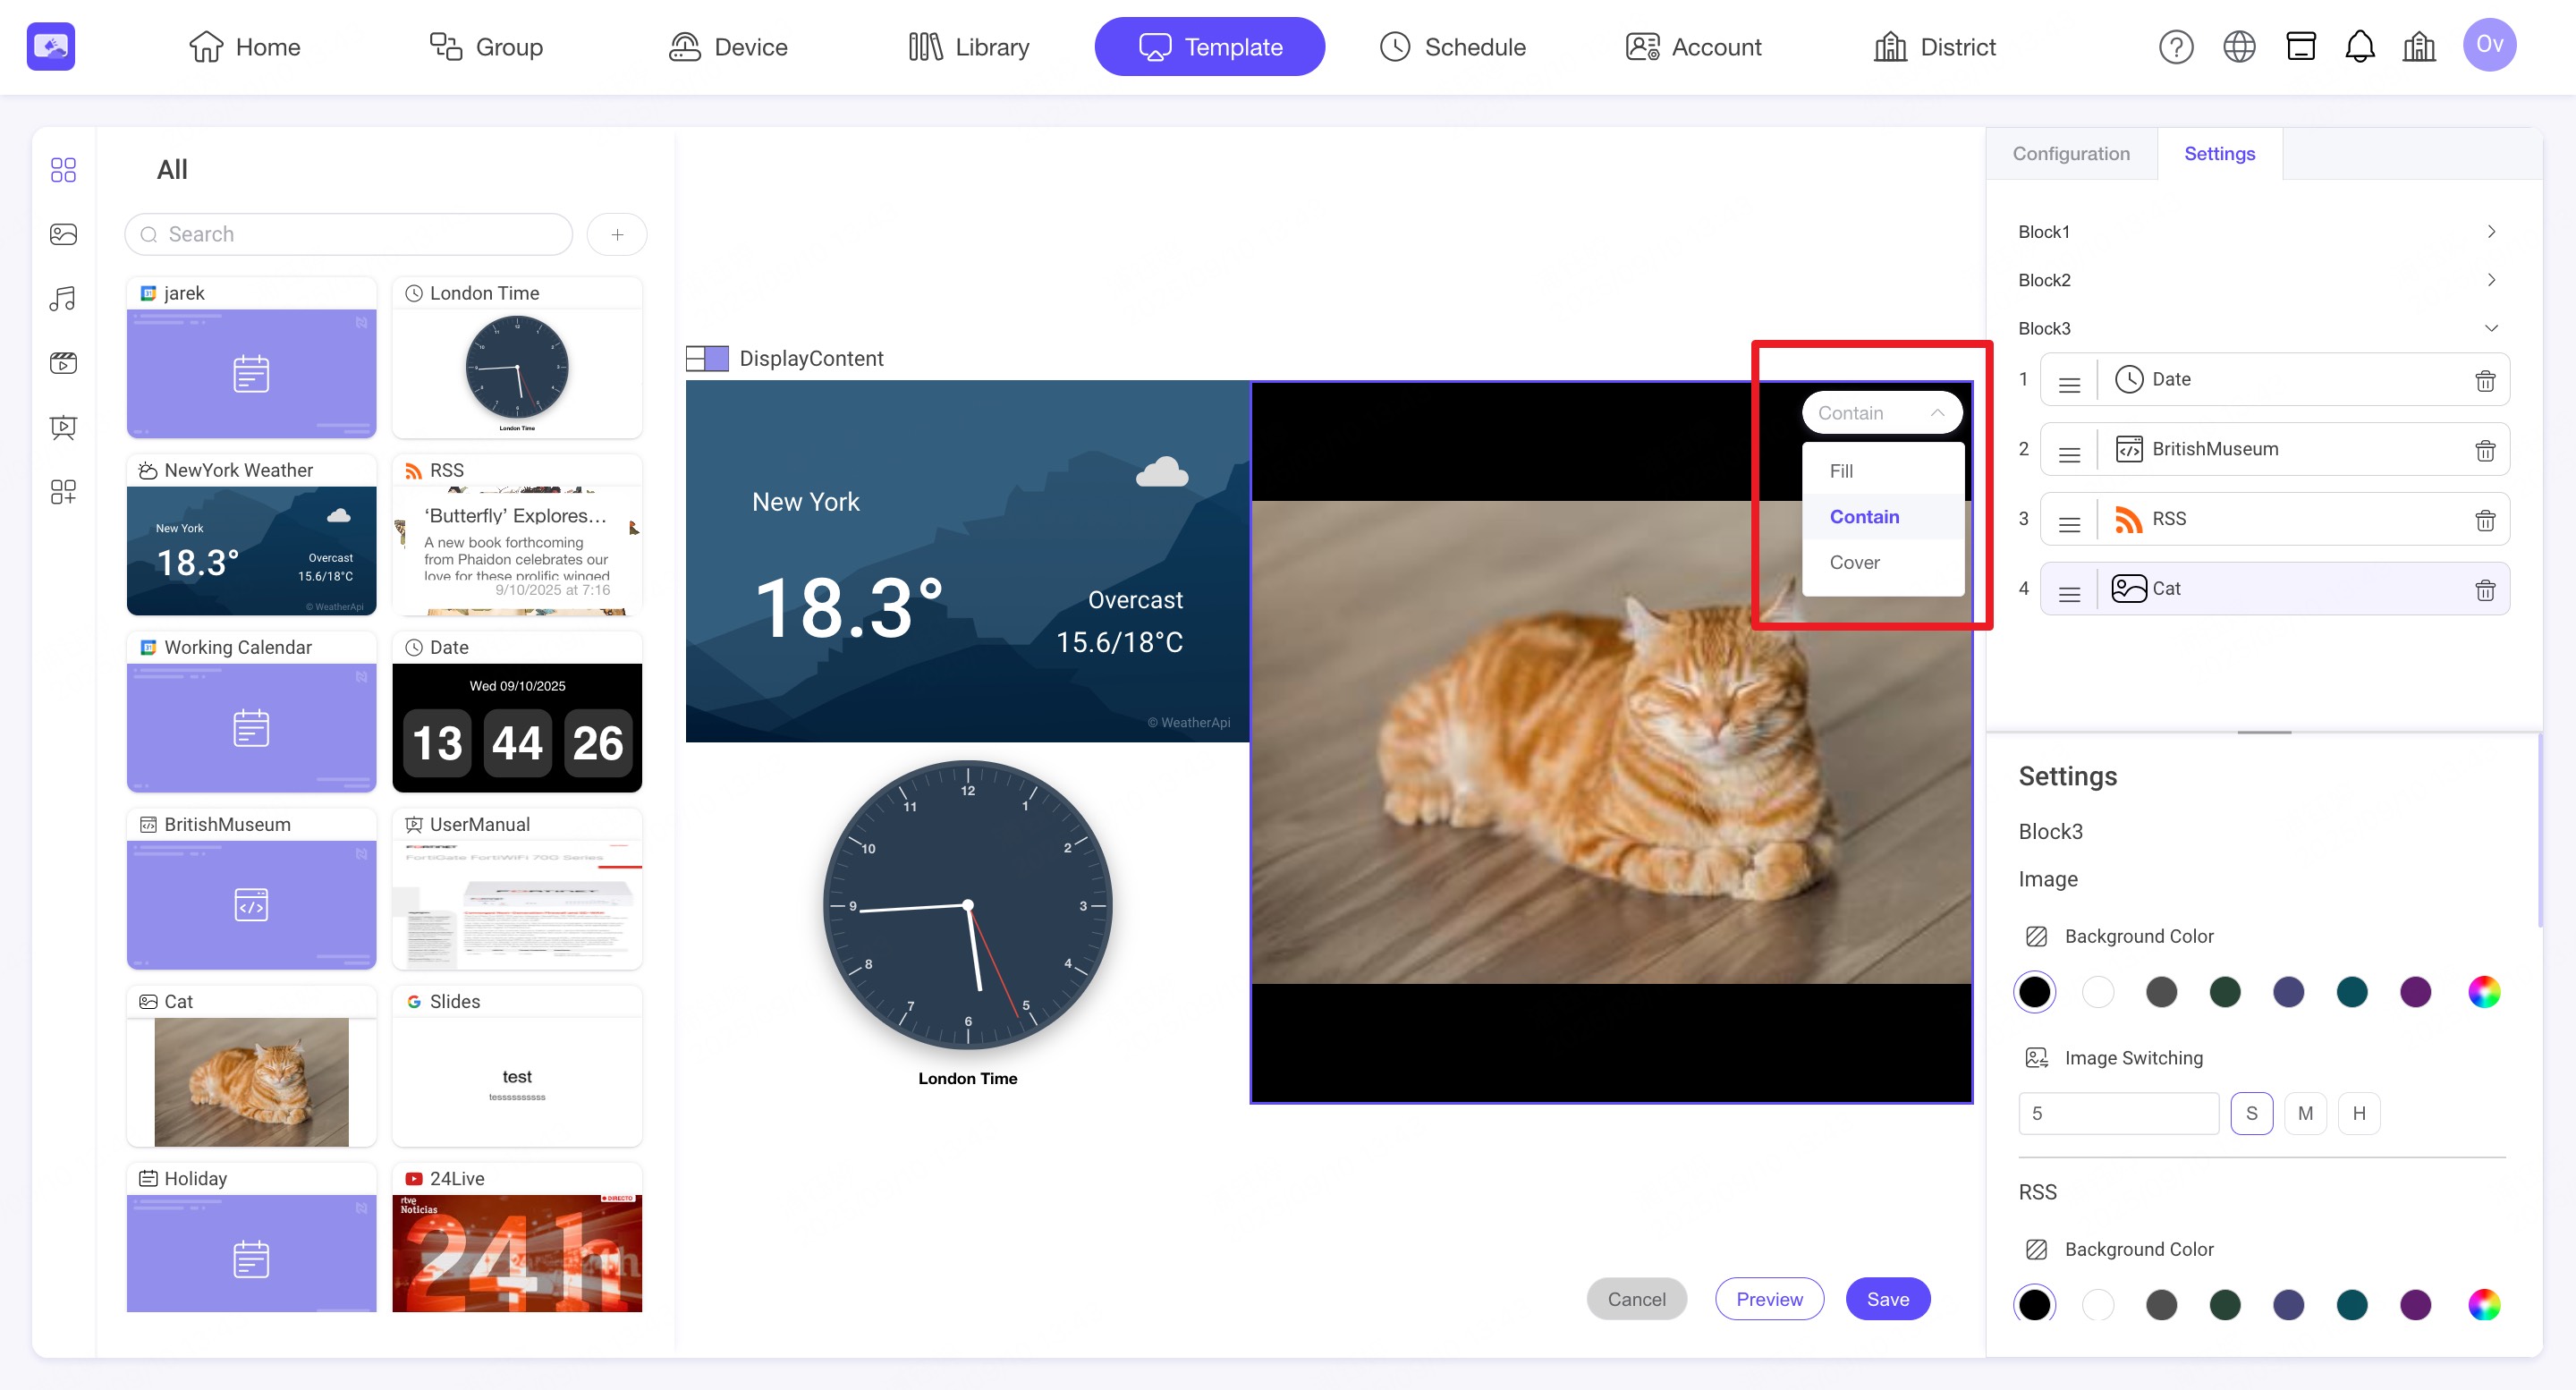
Content Layout Settings: Picture and video content can be laid out in three ways, including fill, contain and cover.
Content Sequence: You can sort the content of each module on the right side, and you can also remove the content.
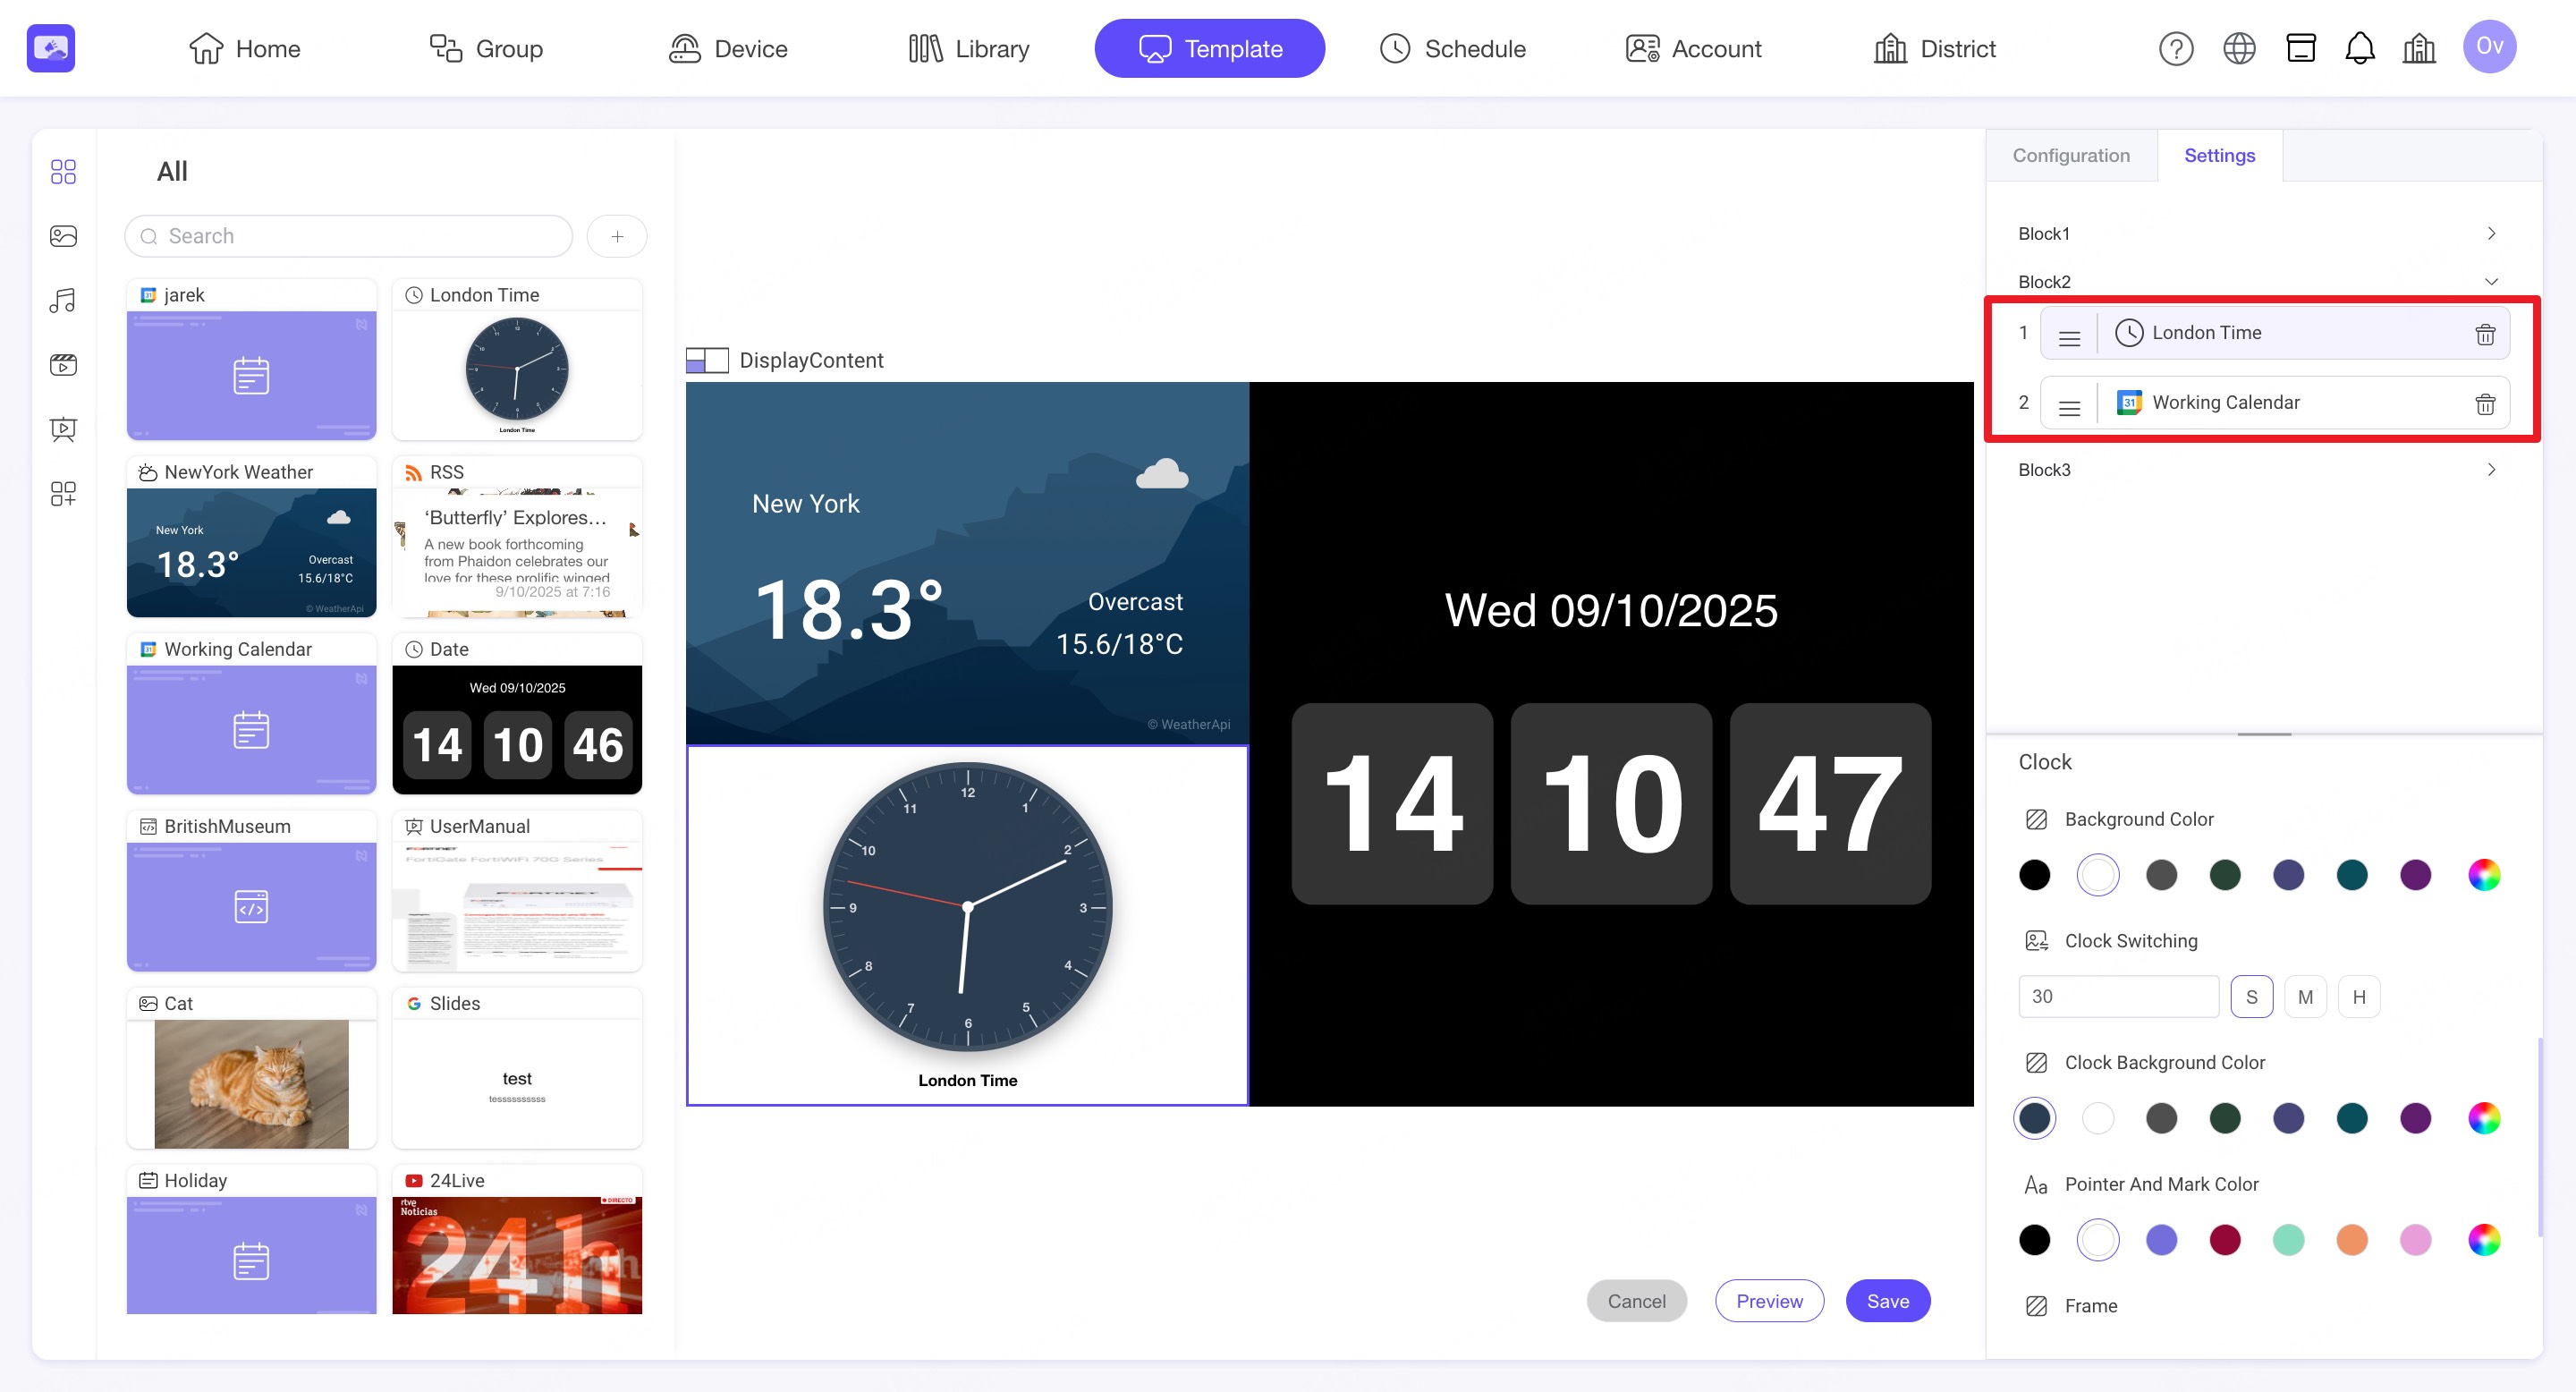
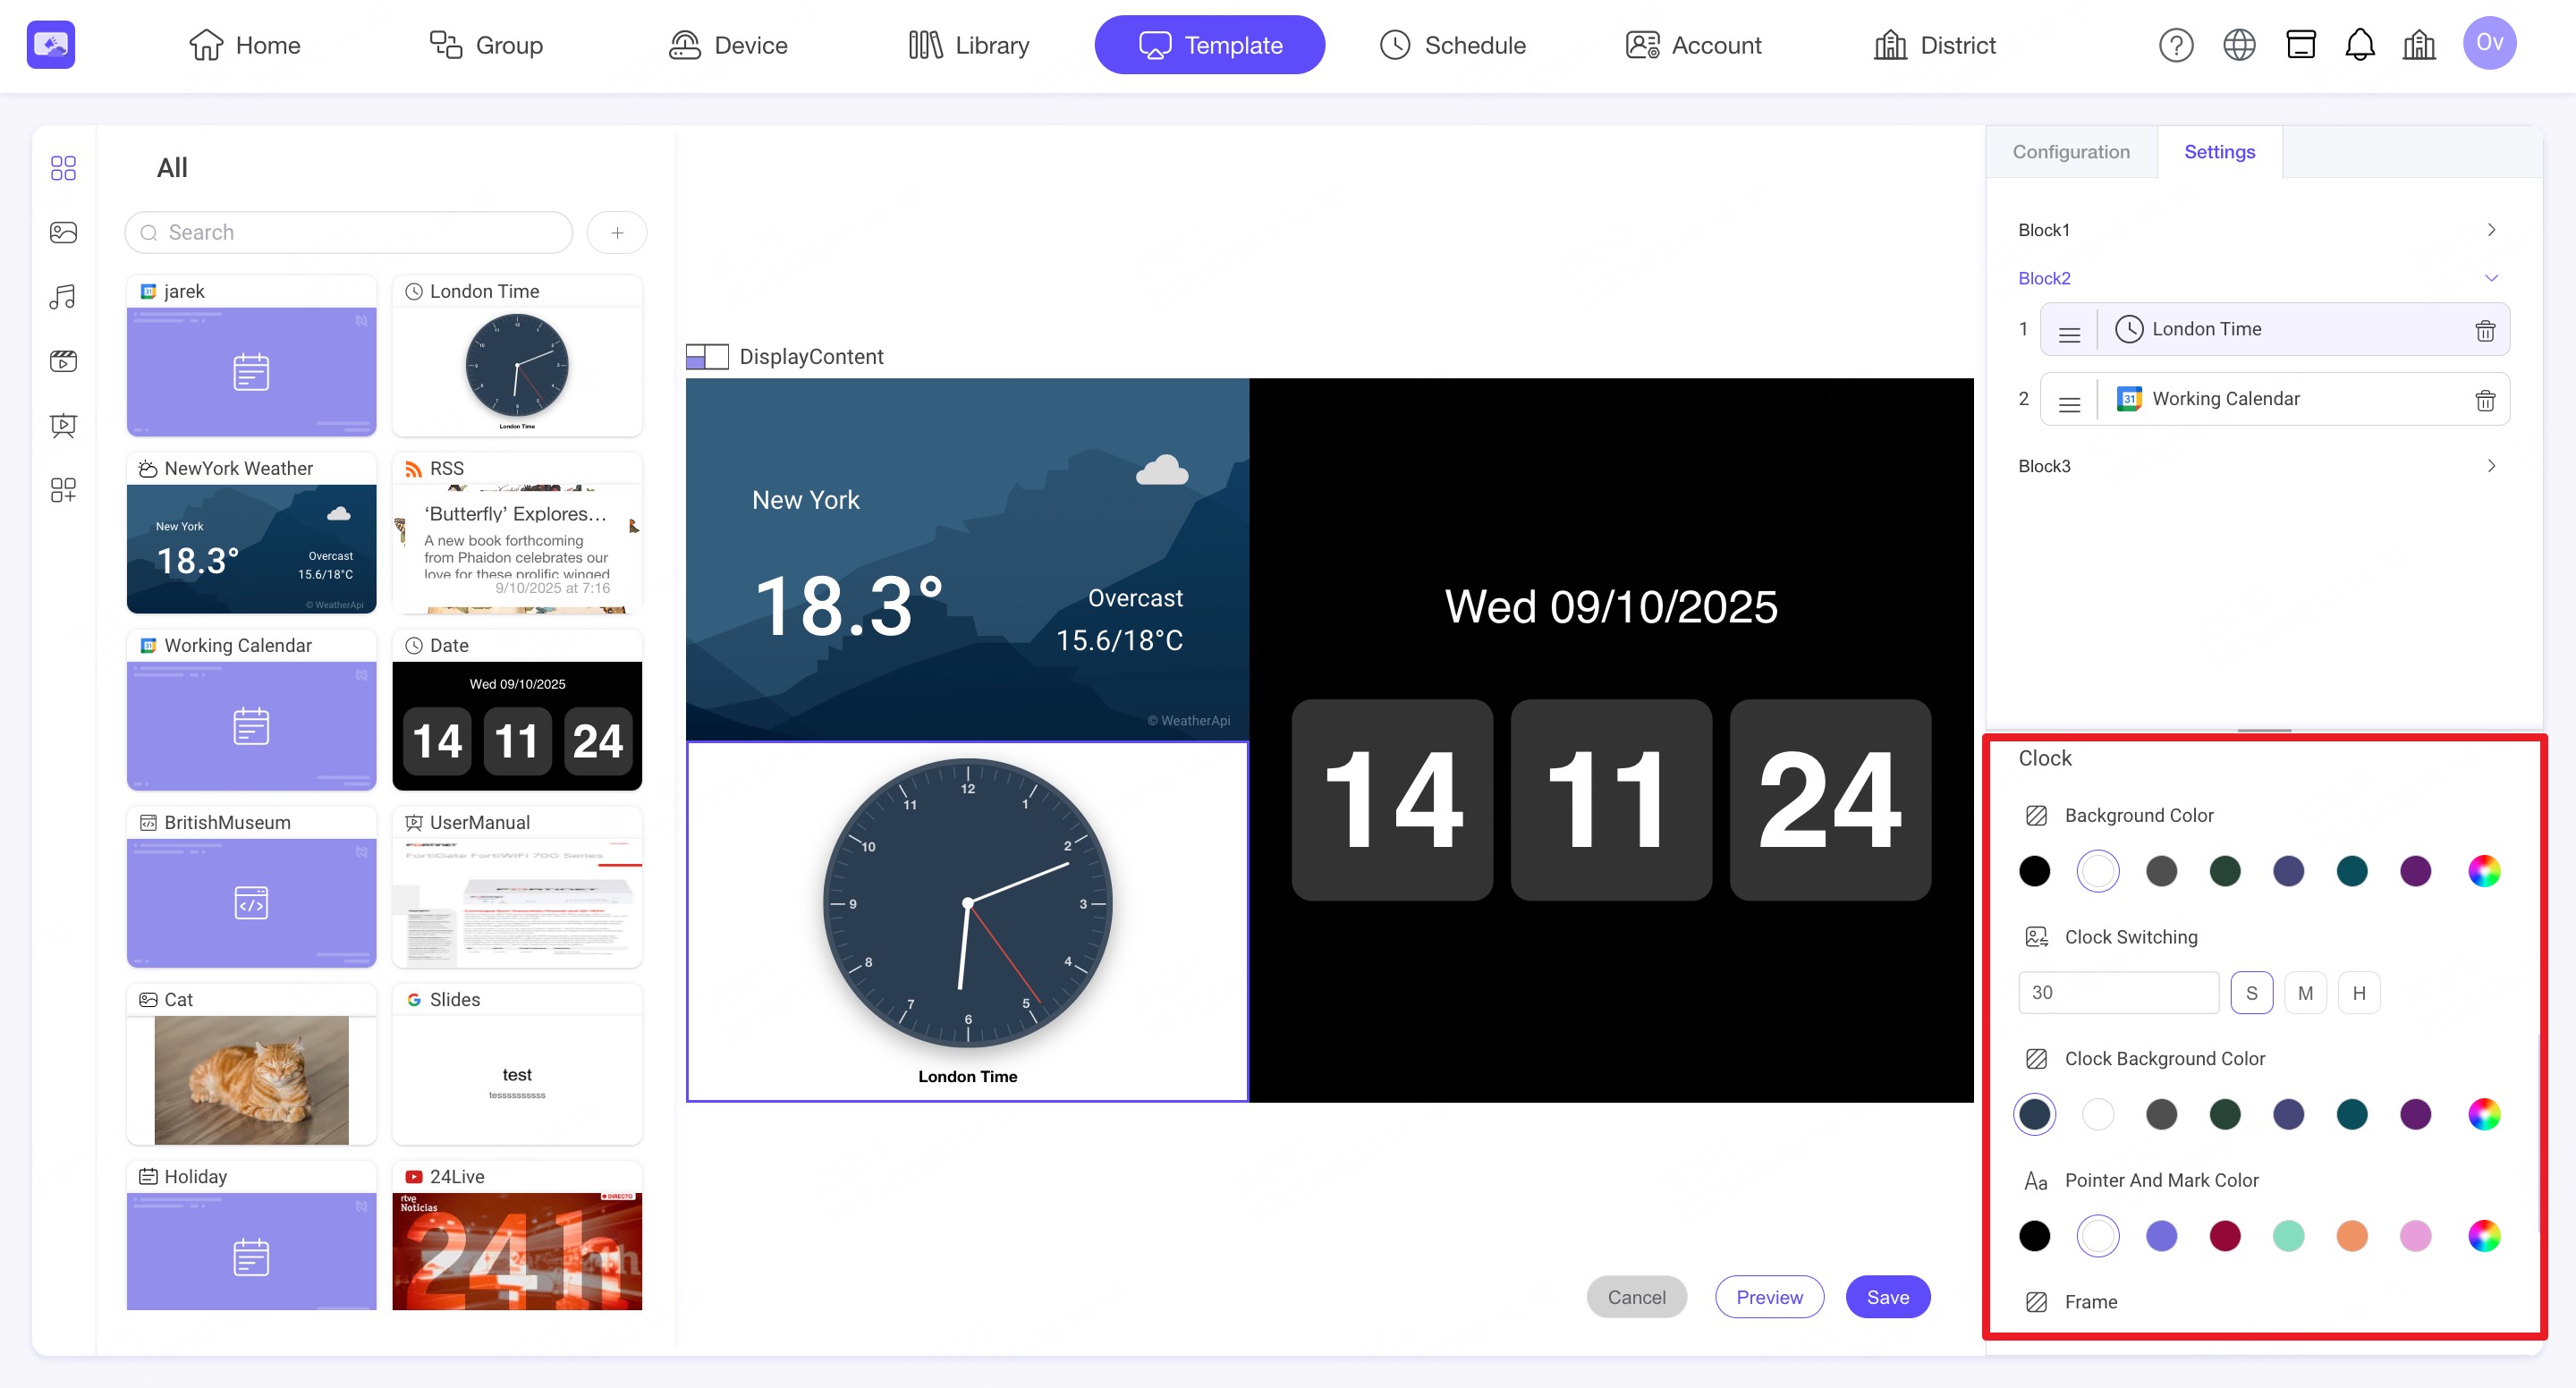
Settings: You can set play settings for each module, such as background color, text color, font, font size, play speed and switching time, etc.
6.3. Edit or preview a template
You can select a template in the template list to edit, preview or remove.

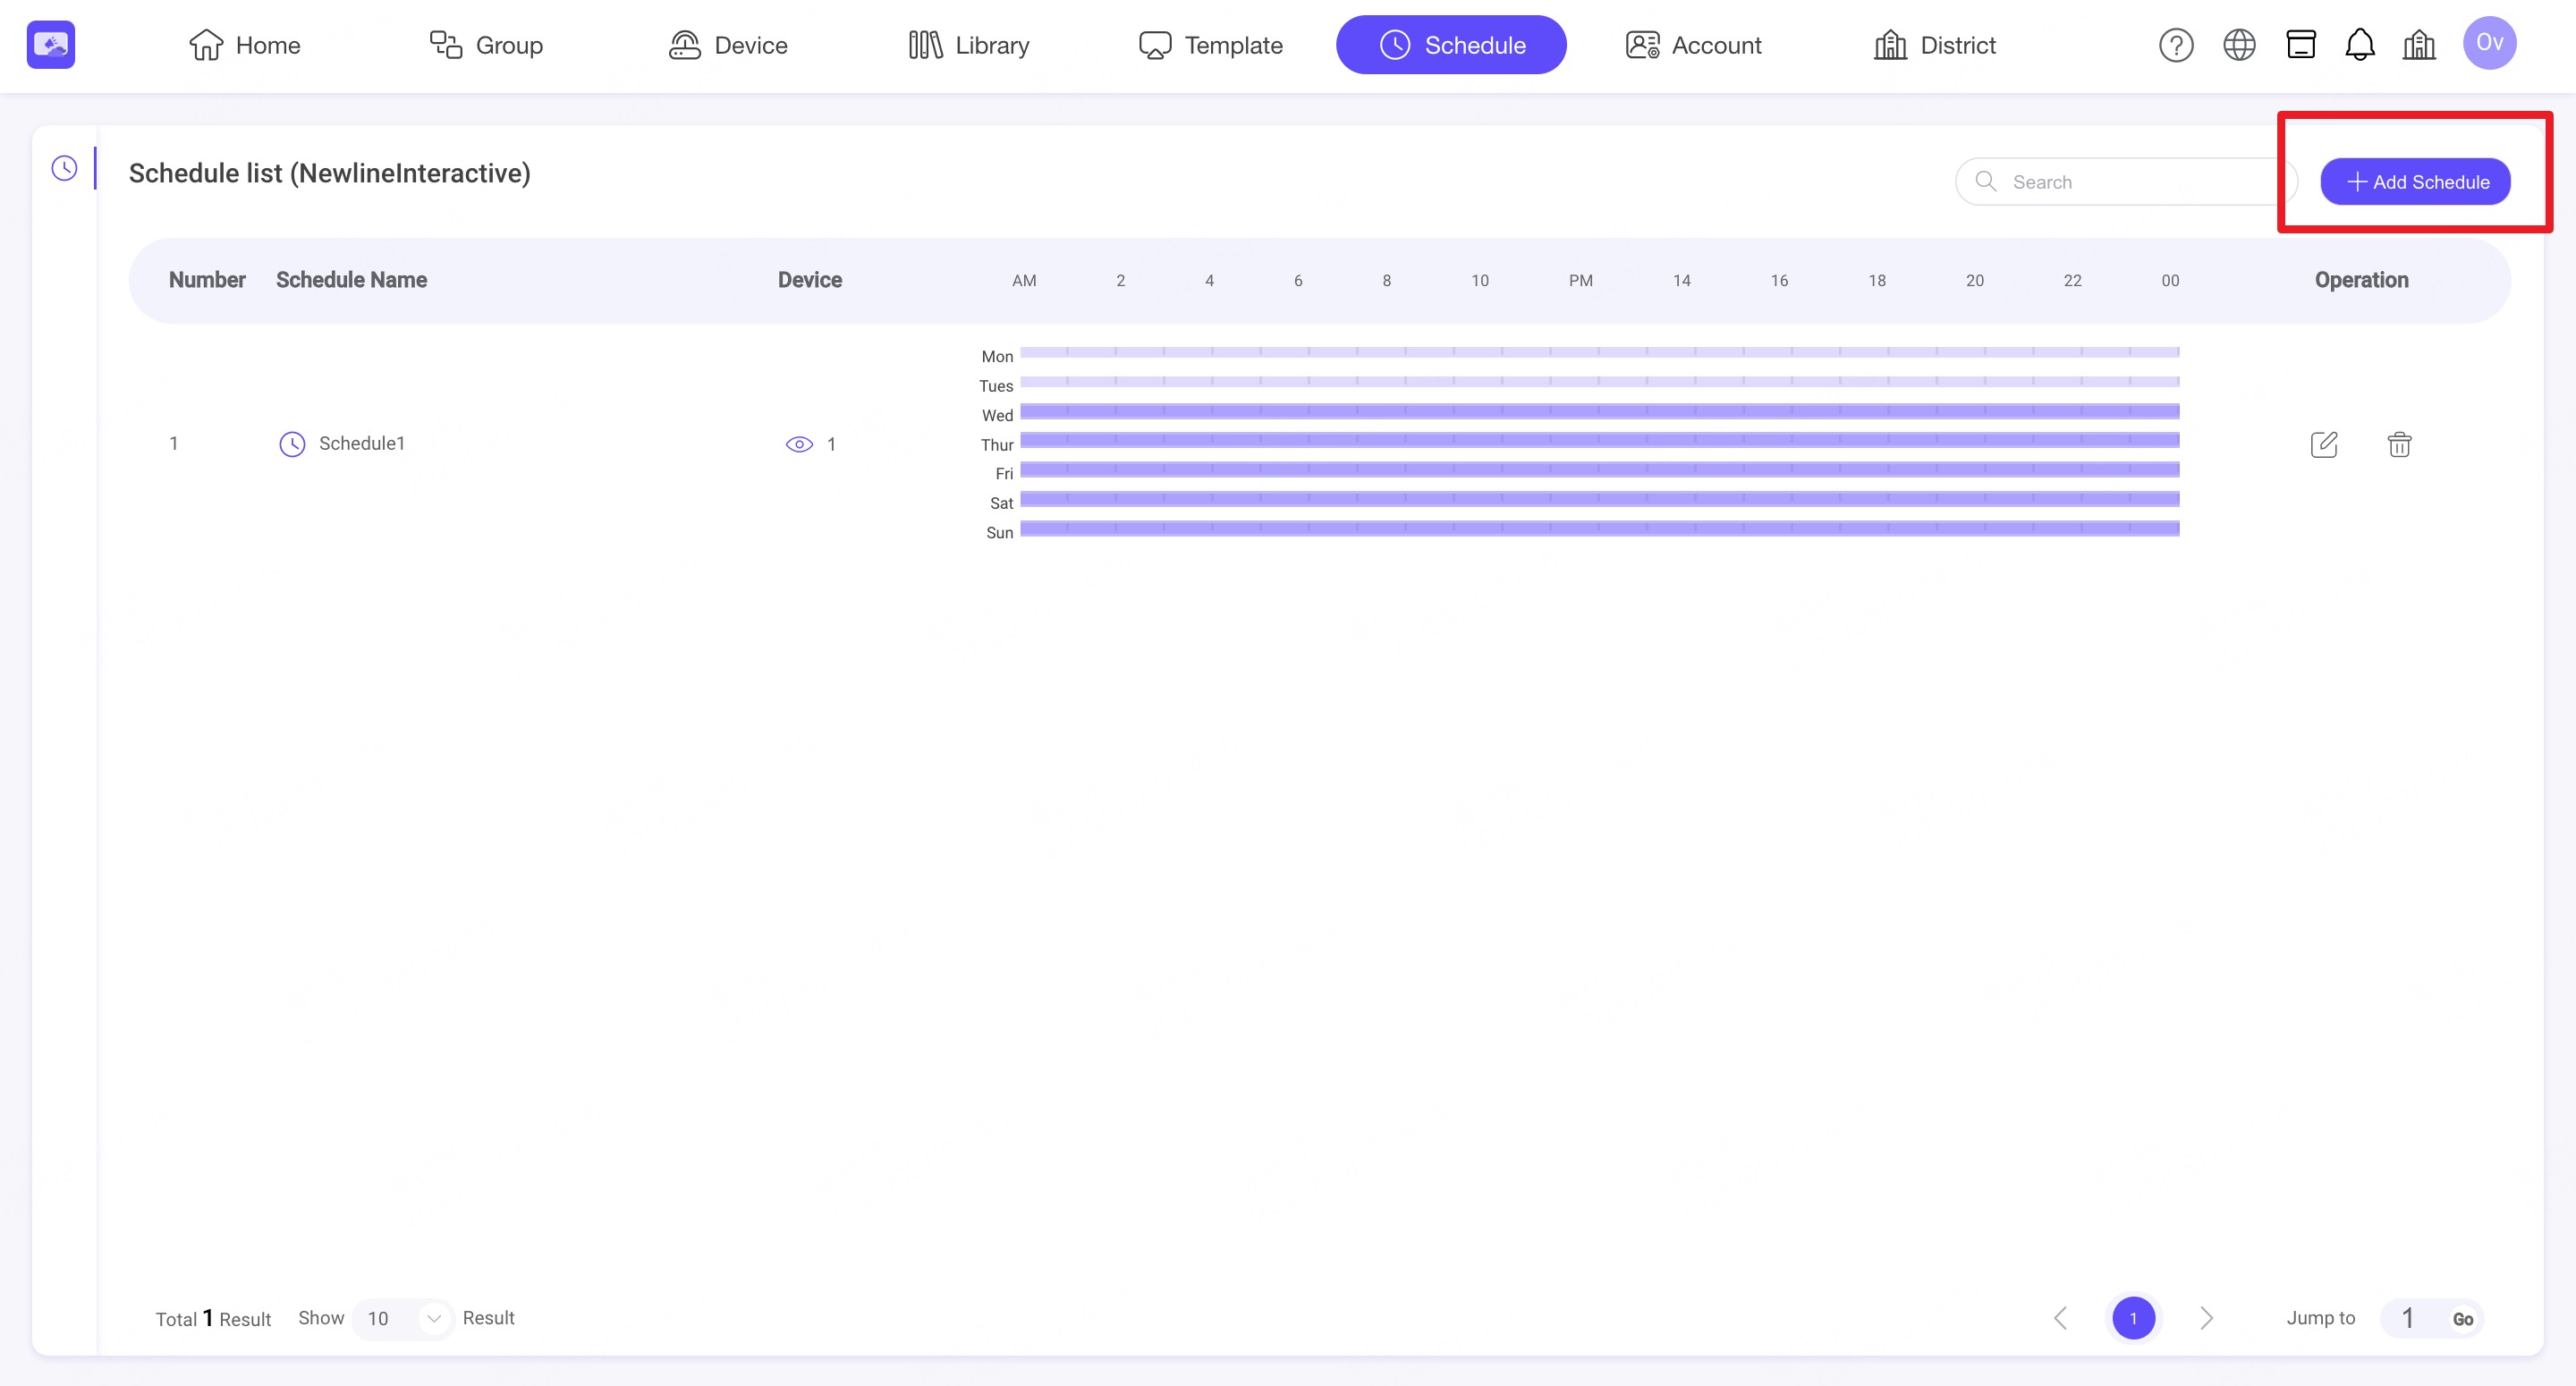
7. Schedule
INFO
Schedule module is available for setting the play time for your devices. You can set multiple time schedules for your device. The app will automatically launch and play the template you configured when the preset schedule time is reached.
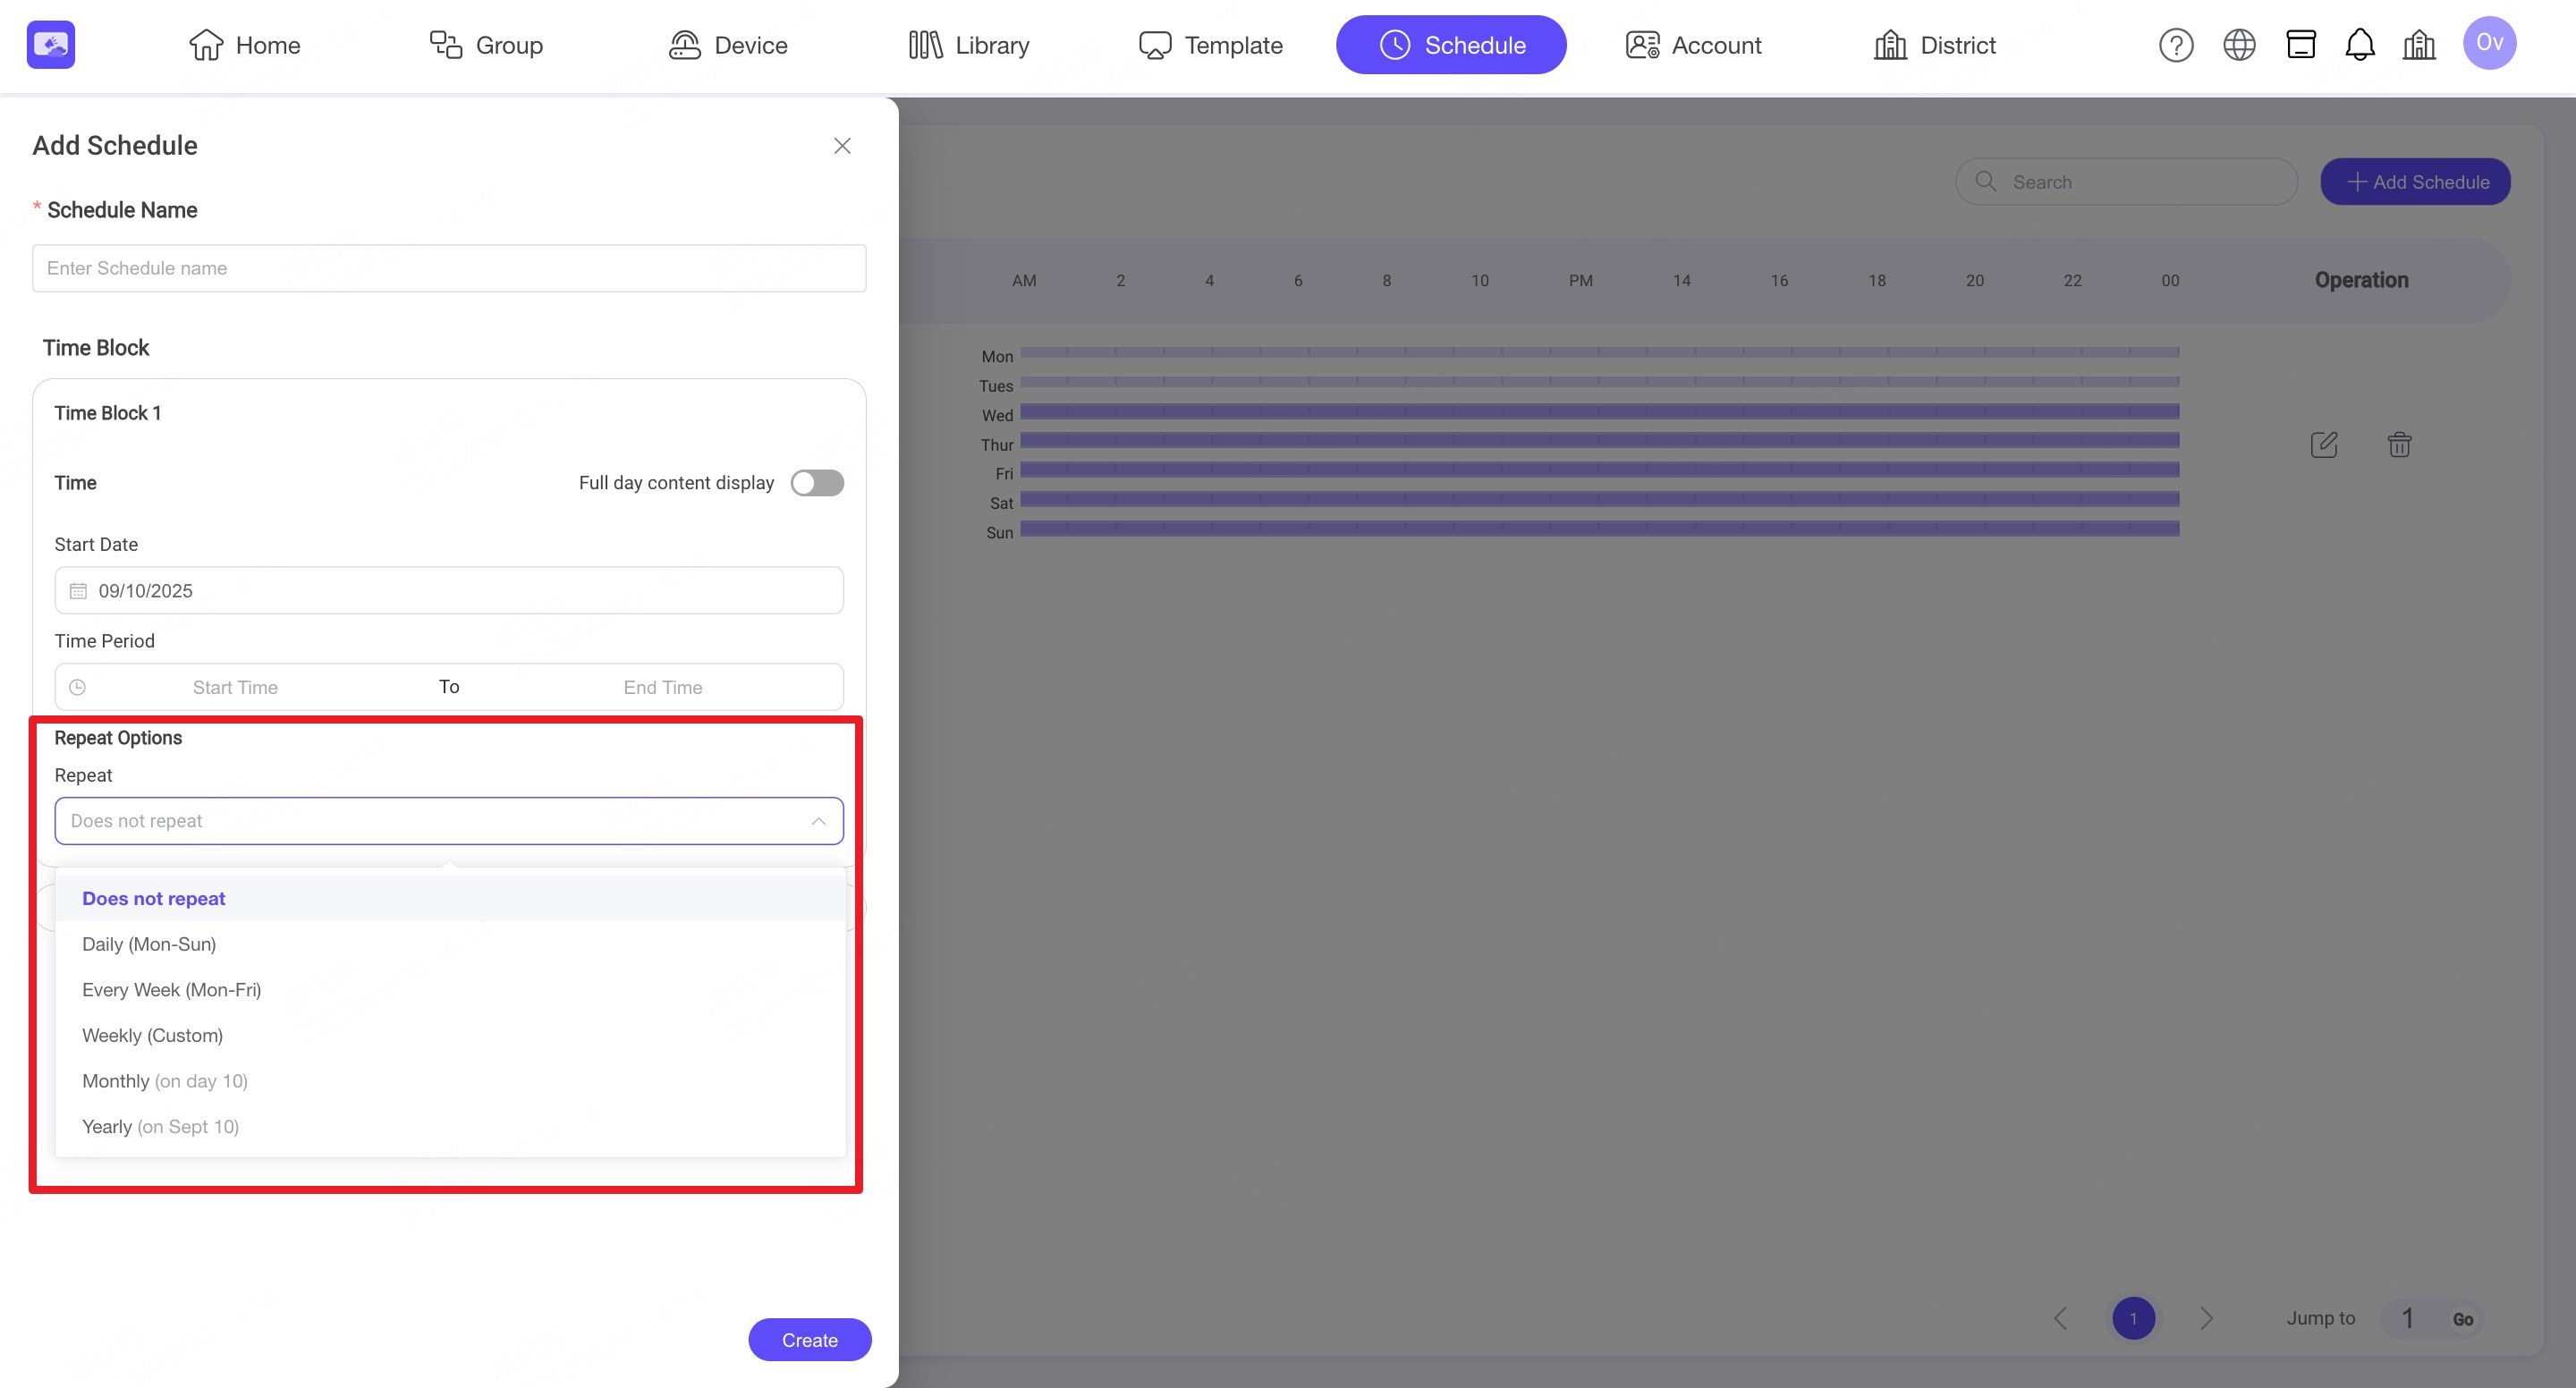
7.1. Create a schedule
Step1. Click 'Add Schedule' button.
Step2. Enter Schedule Name.
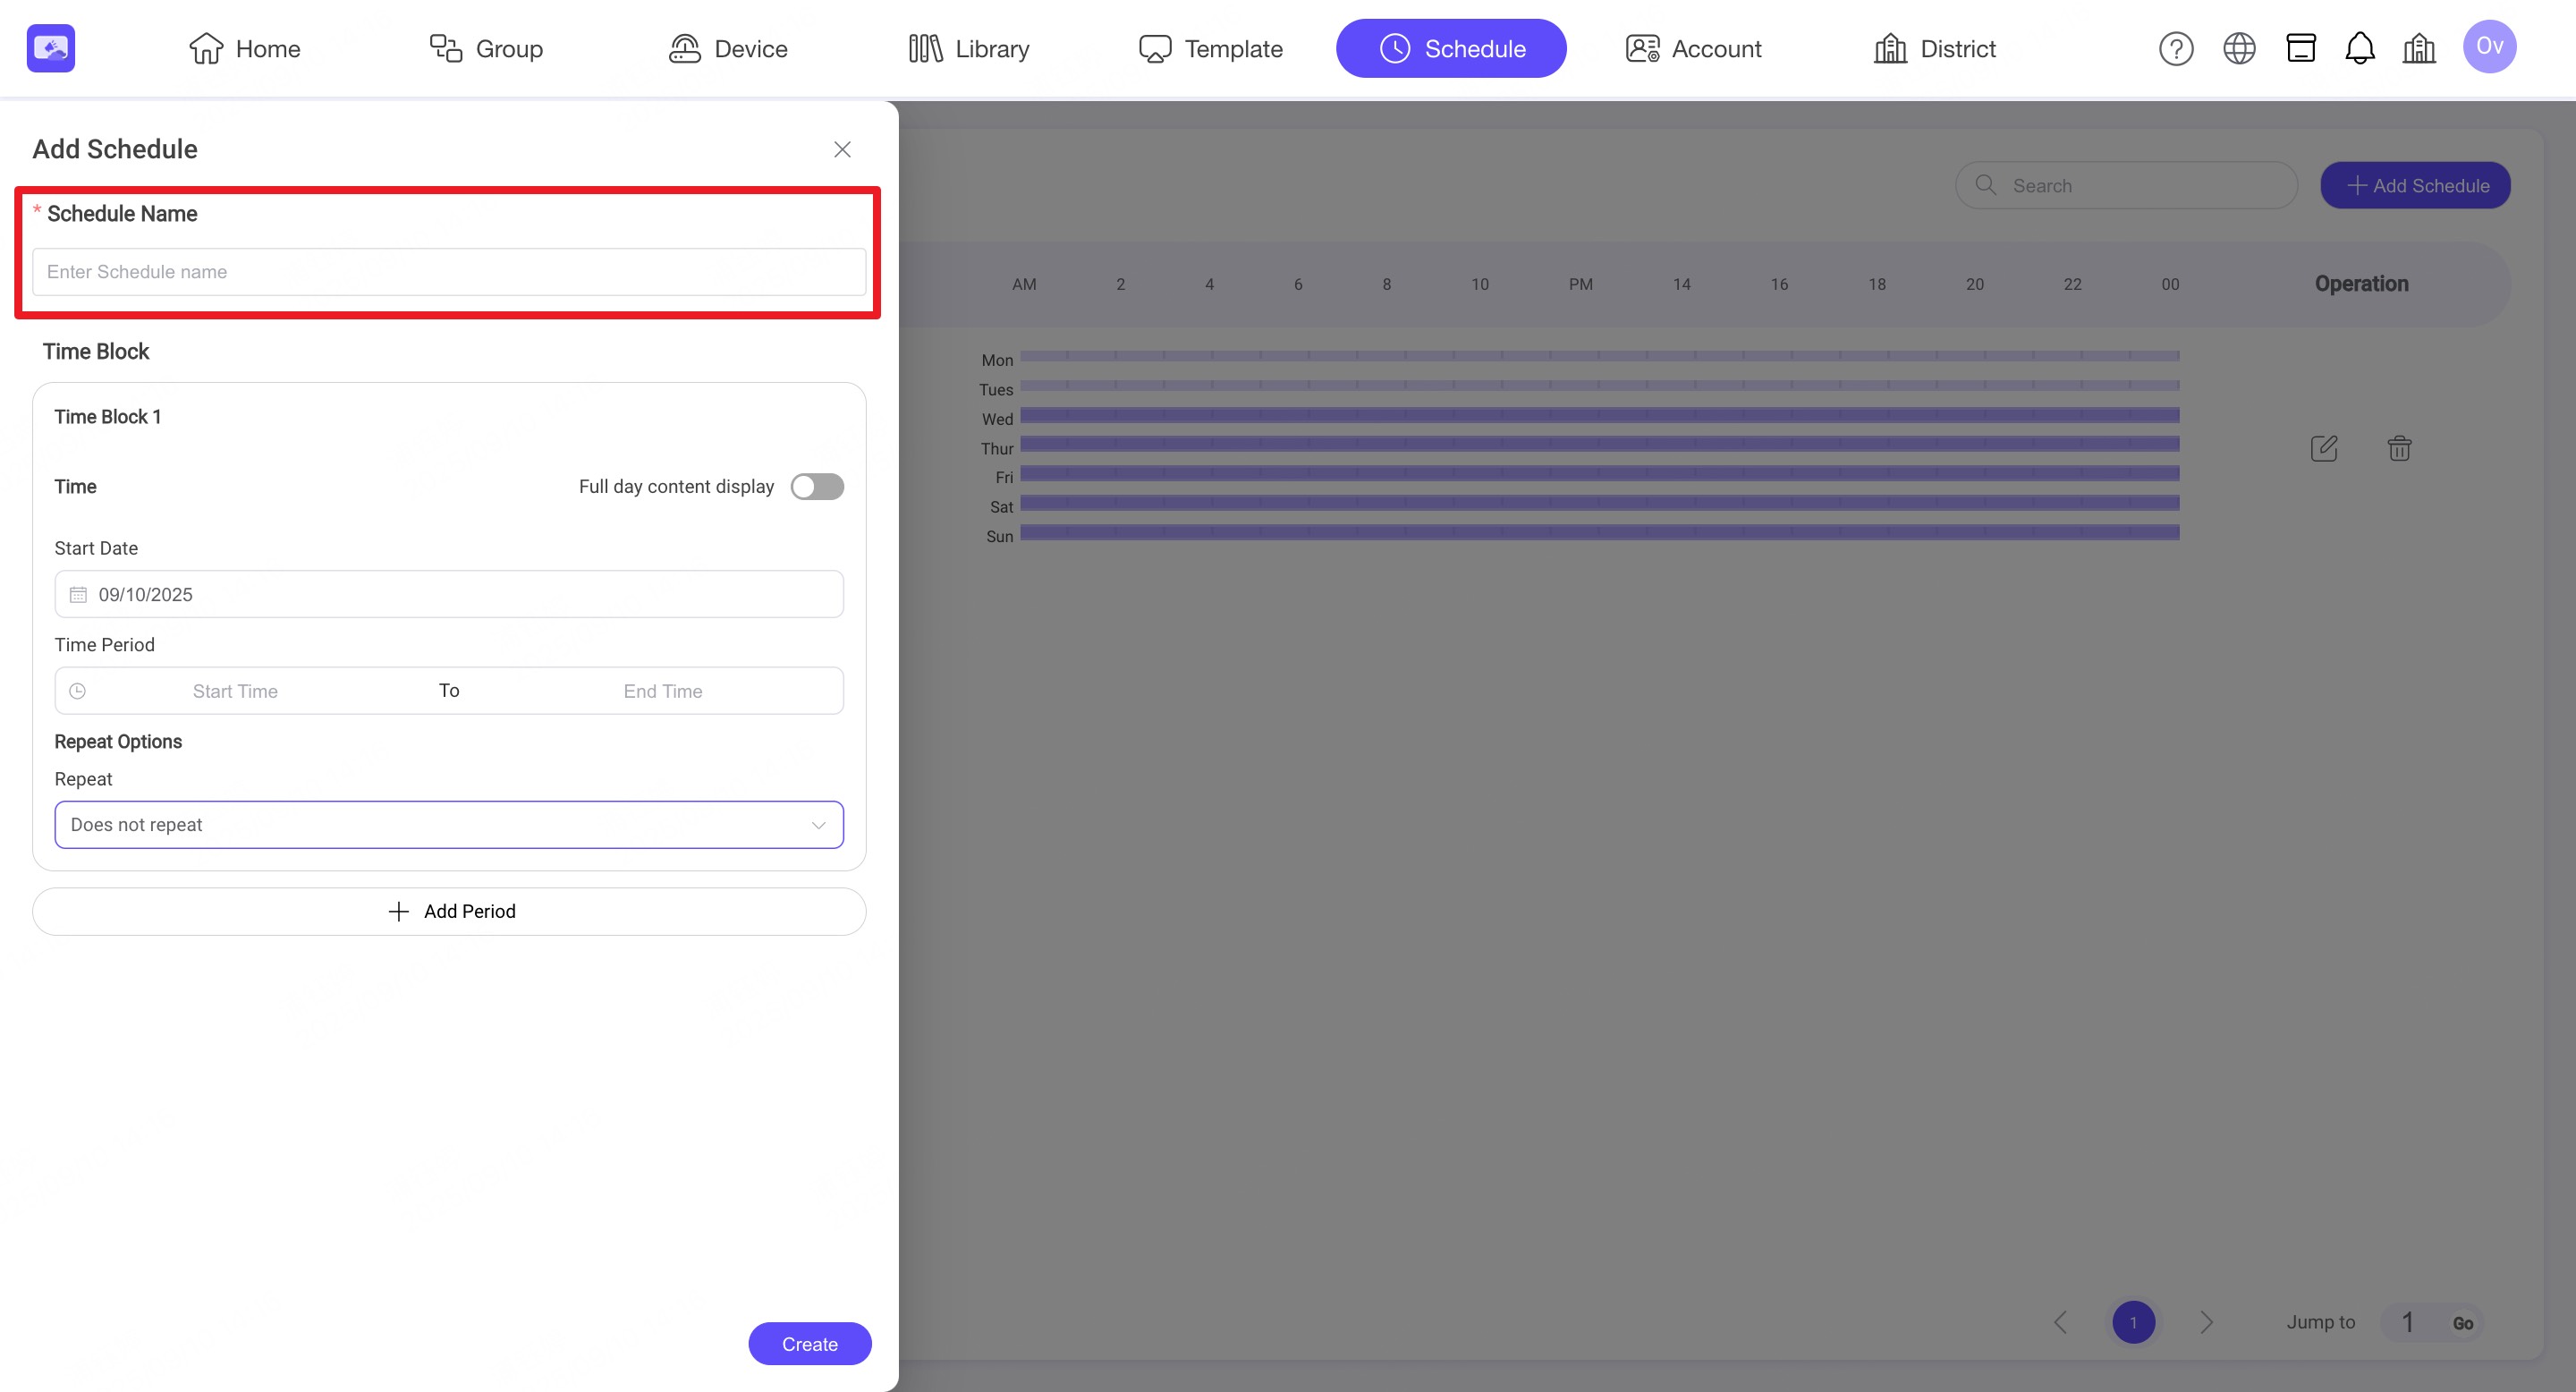
Step3. Add one or more periods and set the repeat option.
8. Account
INFO
The Account allows administrators to invite or create sub-accounts to assist in managing devices, schedules, and content.
Each sub-account can be assigned a specific role with predefined permissions, ensuring proper access control within the organization.
8.1. Preset Roles
INFO
Four roles preset roles are provided to help administrators quickly assign permissions to users.
Each role has different levels of access to devices, groups, library, template, and account management.
Click the Role tab on the left. You can view the preset roles.
| Permission | Device Manager | Content Scheduler | Content Creator | Admin |
|---|---|---|---|---|
| Manage Groups | ❌ | ✅ | ❌ | ✅ |
| Create Devices | ✅ | ❌ | ❌ | ✅ |
| Manage Devices | ✅ | ✅ | ❌ | ✅ |
| Manage Library | ❌ | ❌ | ✅ | ✅ |
| View Template | ❌ | ✅ | ✅ | ✅ |
| Manage Template | ❌ | ❌ | ✅ | ✅ |
| Manage Schedule | ❌ | ✅ | ❌ | ✅ |
| Manage Subaccount | ❌ | ❌ | ❌ | ✅ |
| Manage Roles | ❌ | ❌ | ❌ | ✅ |
| Manage License | ❌ | ❌ | ❌ | ✅ |
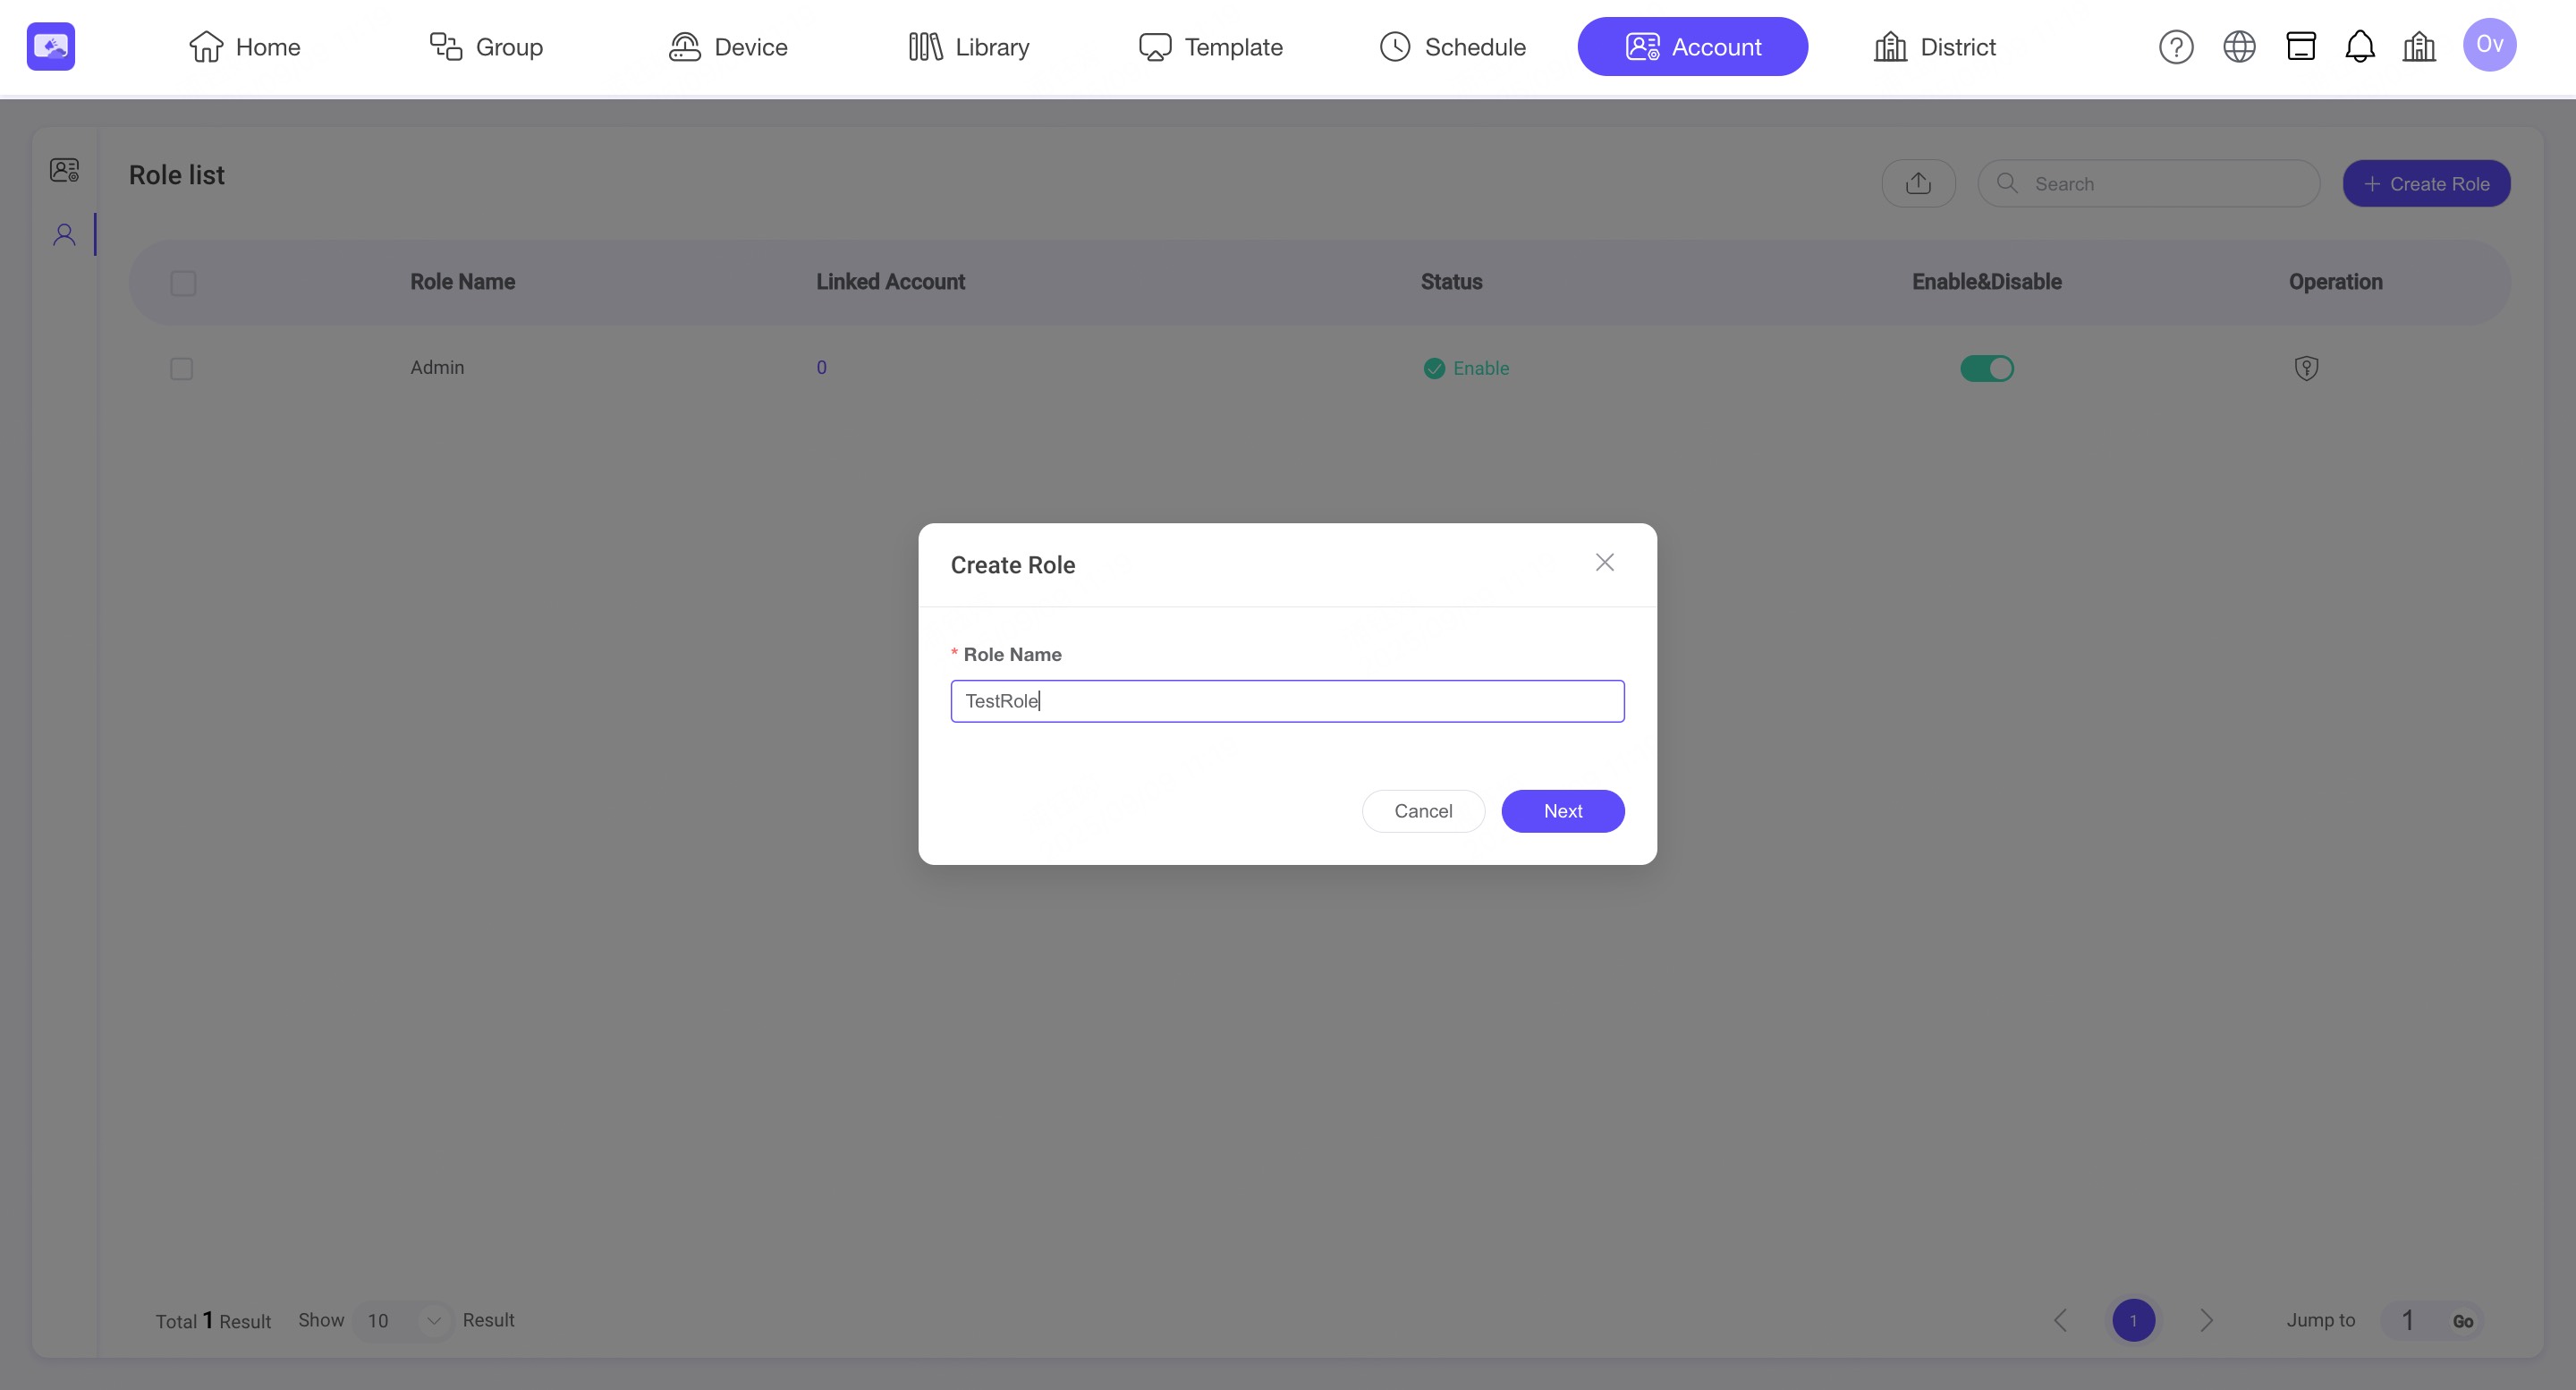
8.2. Create a role
Step1. Click the Role tab on the left and select Create Role.
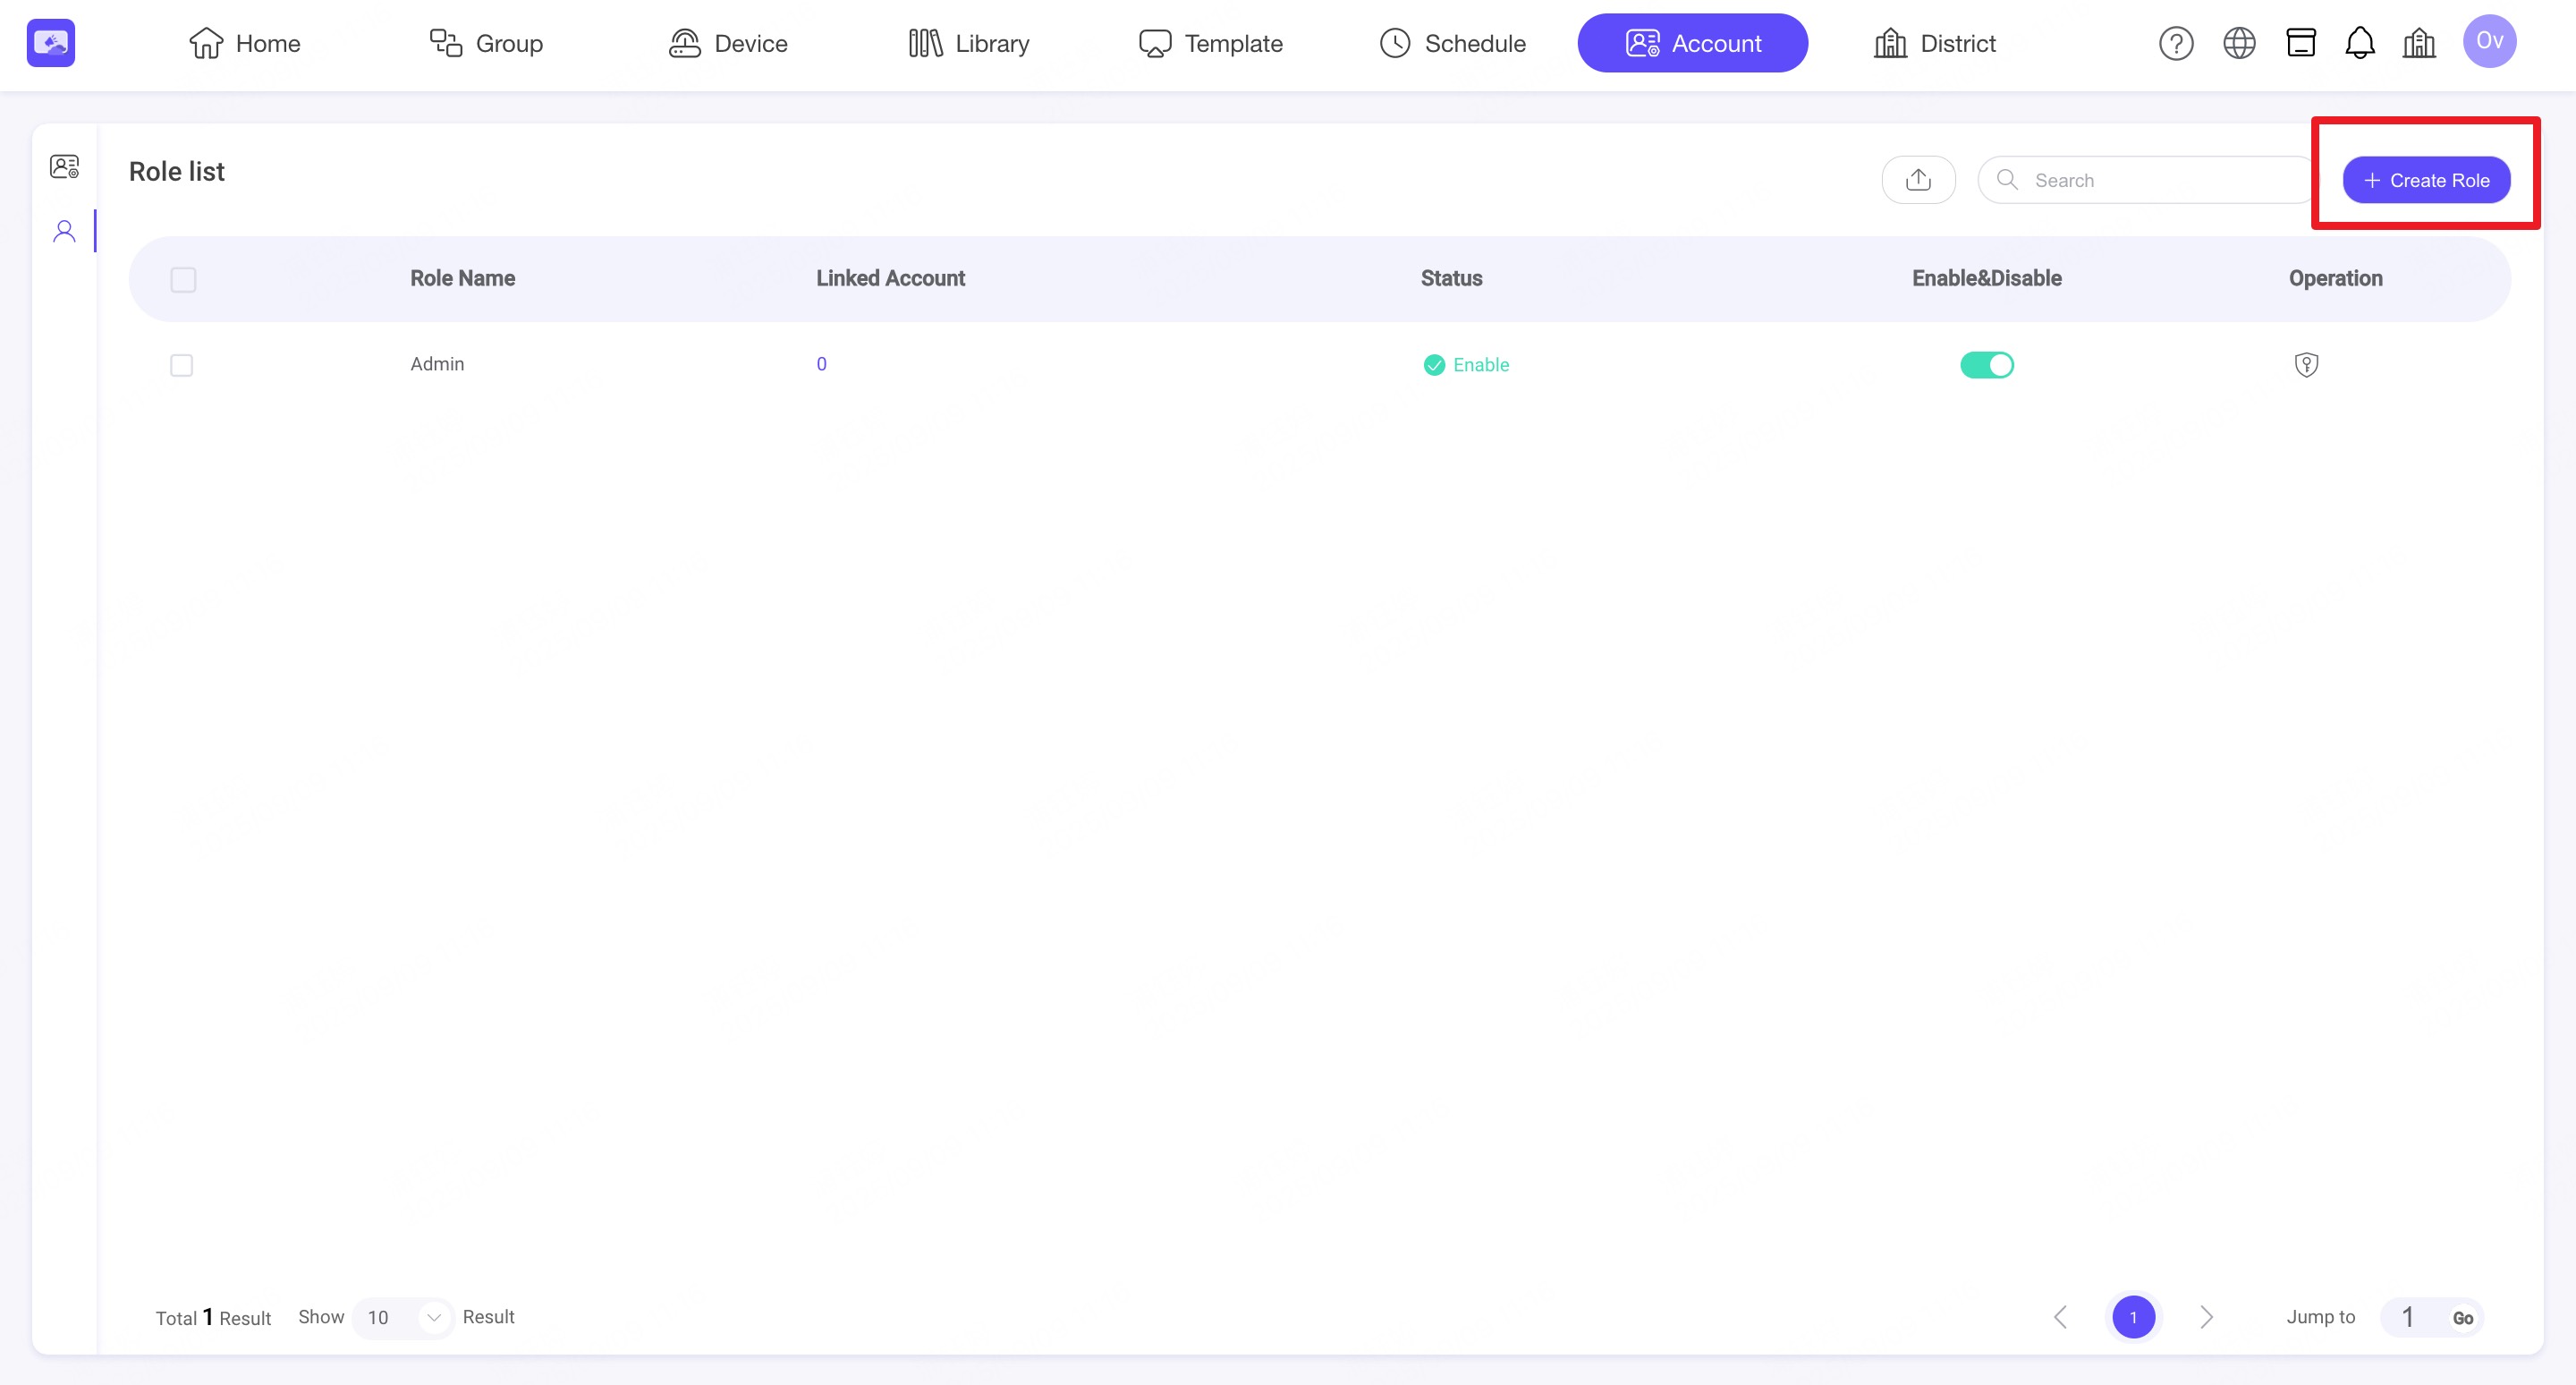
Step2. Enter a Role Name, and click Next to configure permissions (Device, Screen, Schedule, Library).
💡 Role lists for District and Sub Schools are independent.
Step2. Go to the Account tab on the left and click Create to add a sub-account.
8.3. Create a sub-account
Step1. Click the 'Create Subaccount' and 'Create' button.
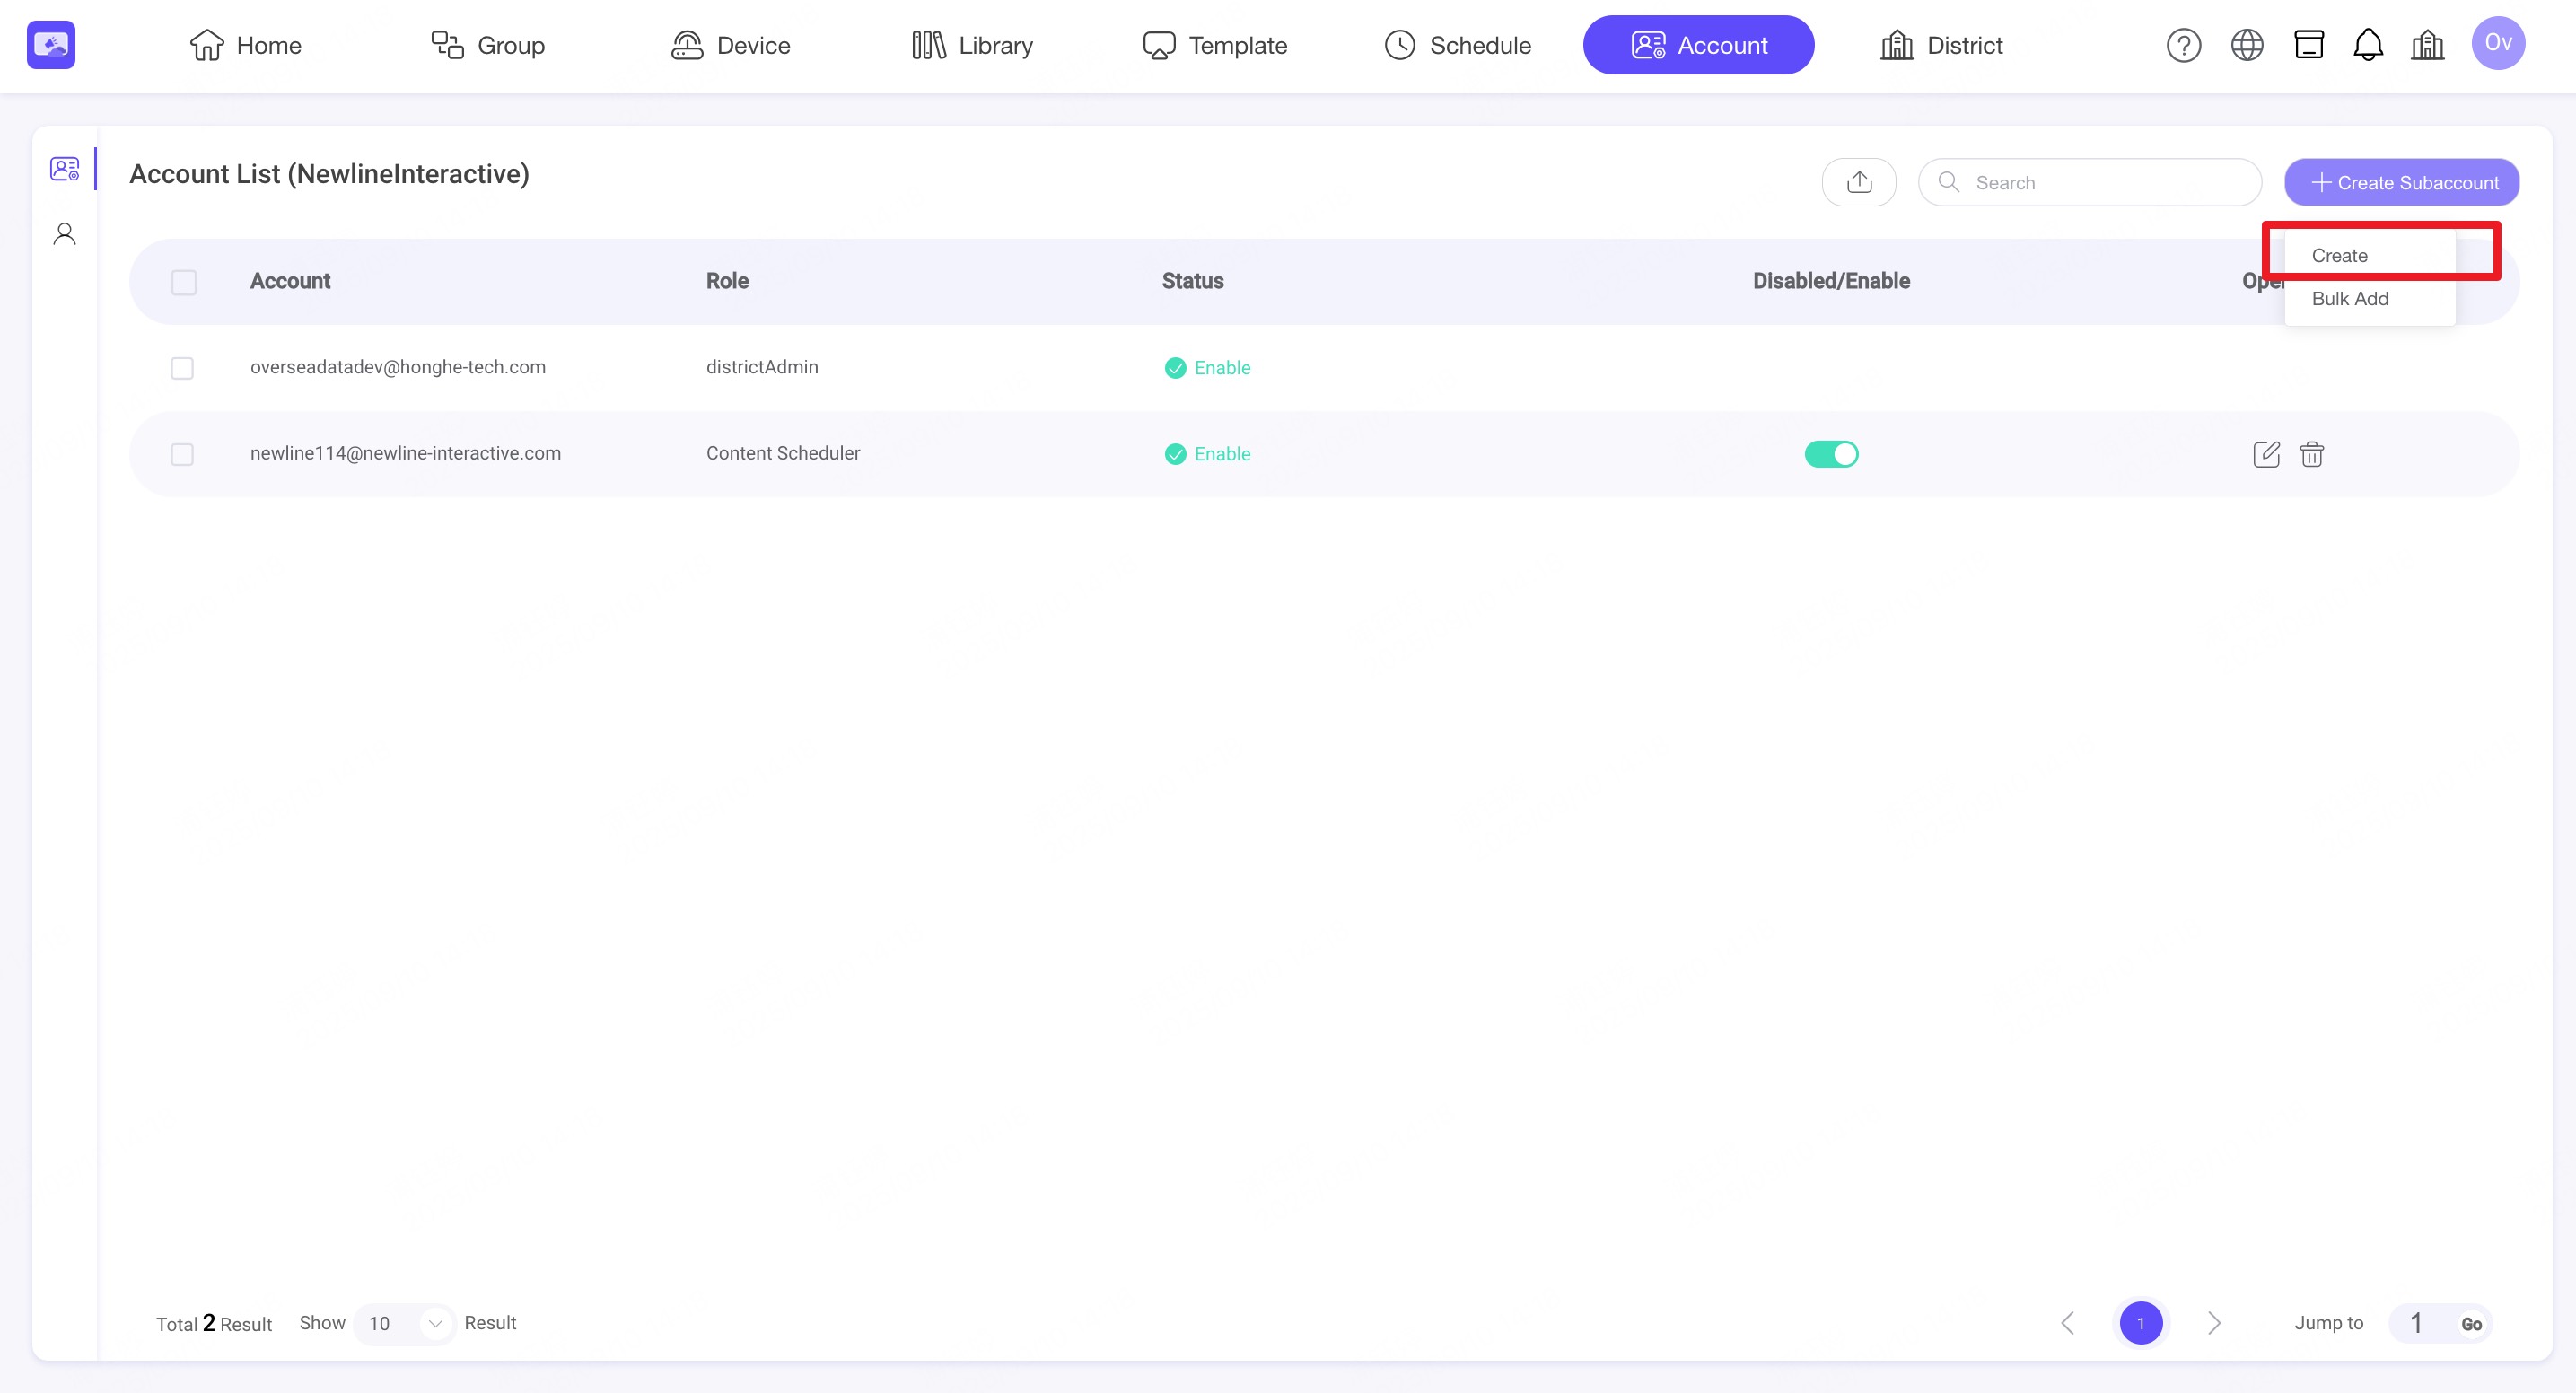
Step2. Enter the Sub-account Email (must not already have an NSP account) and select the Role you just created.
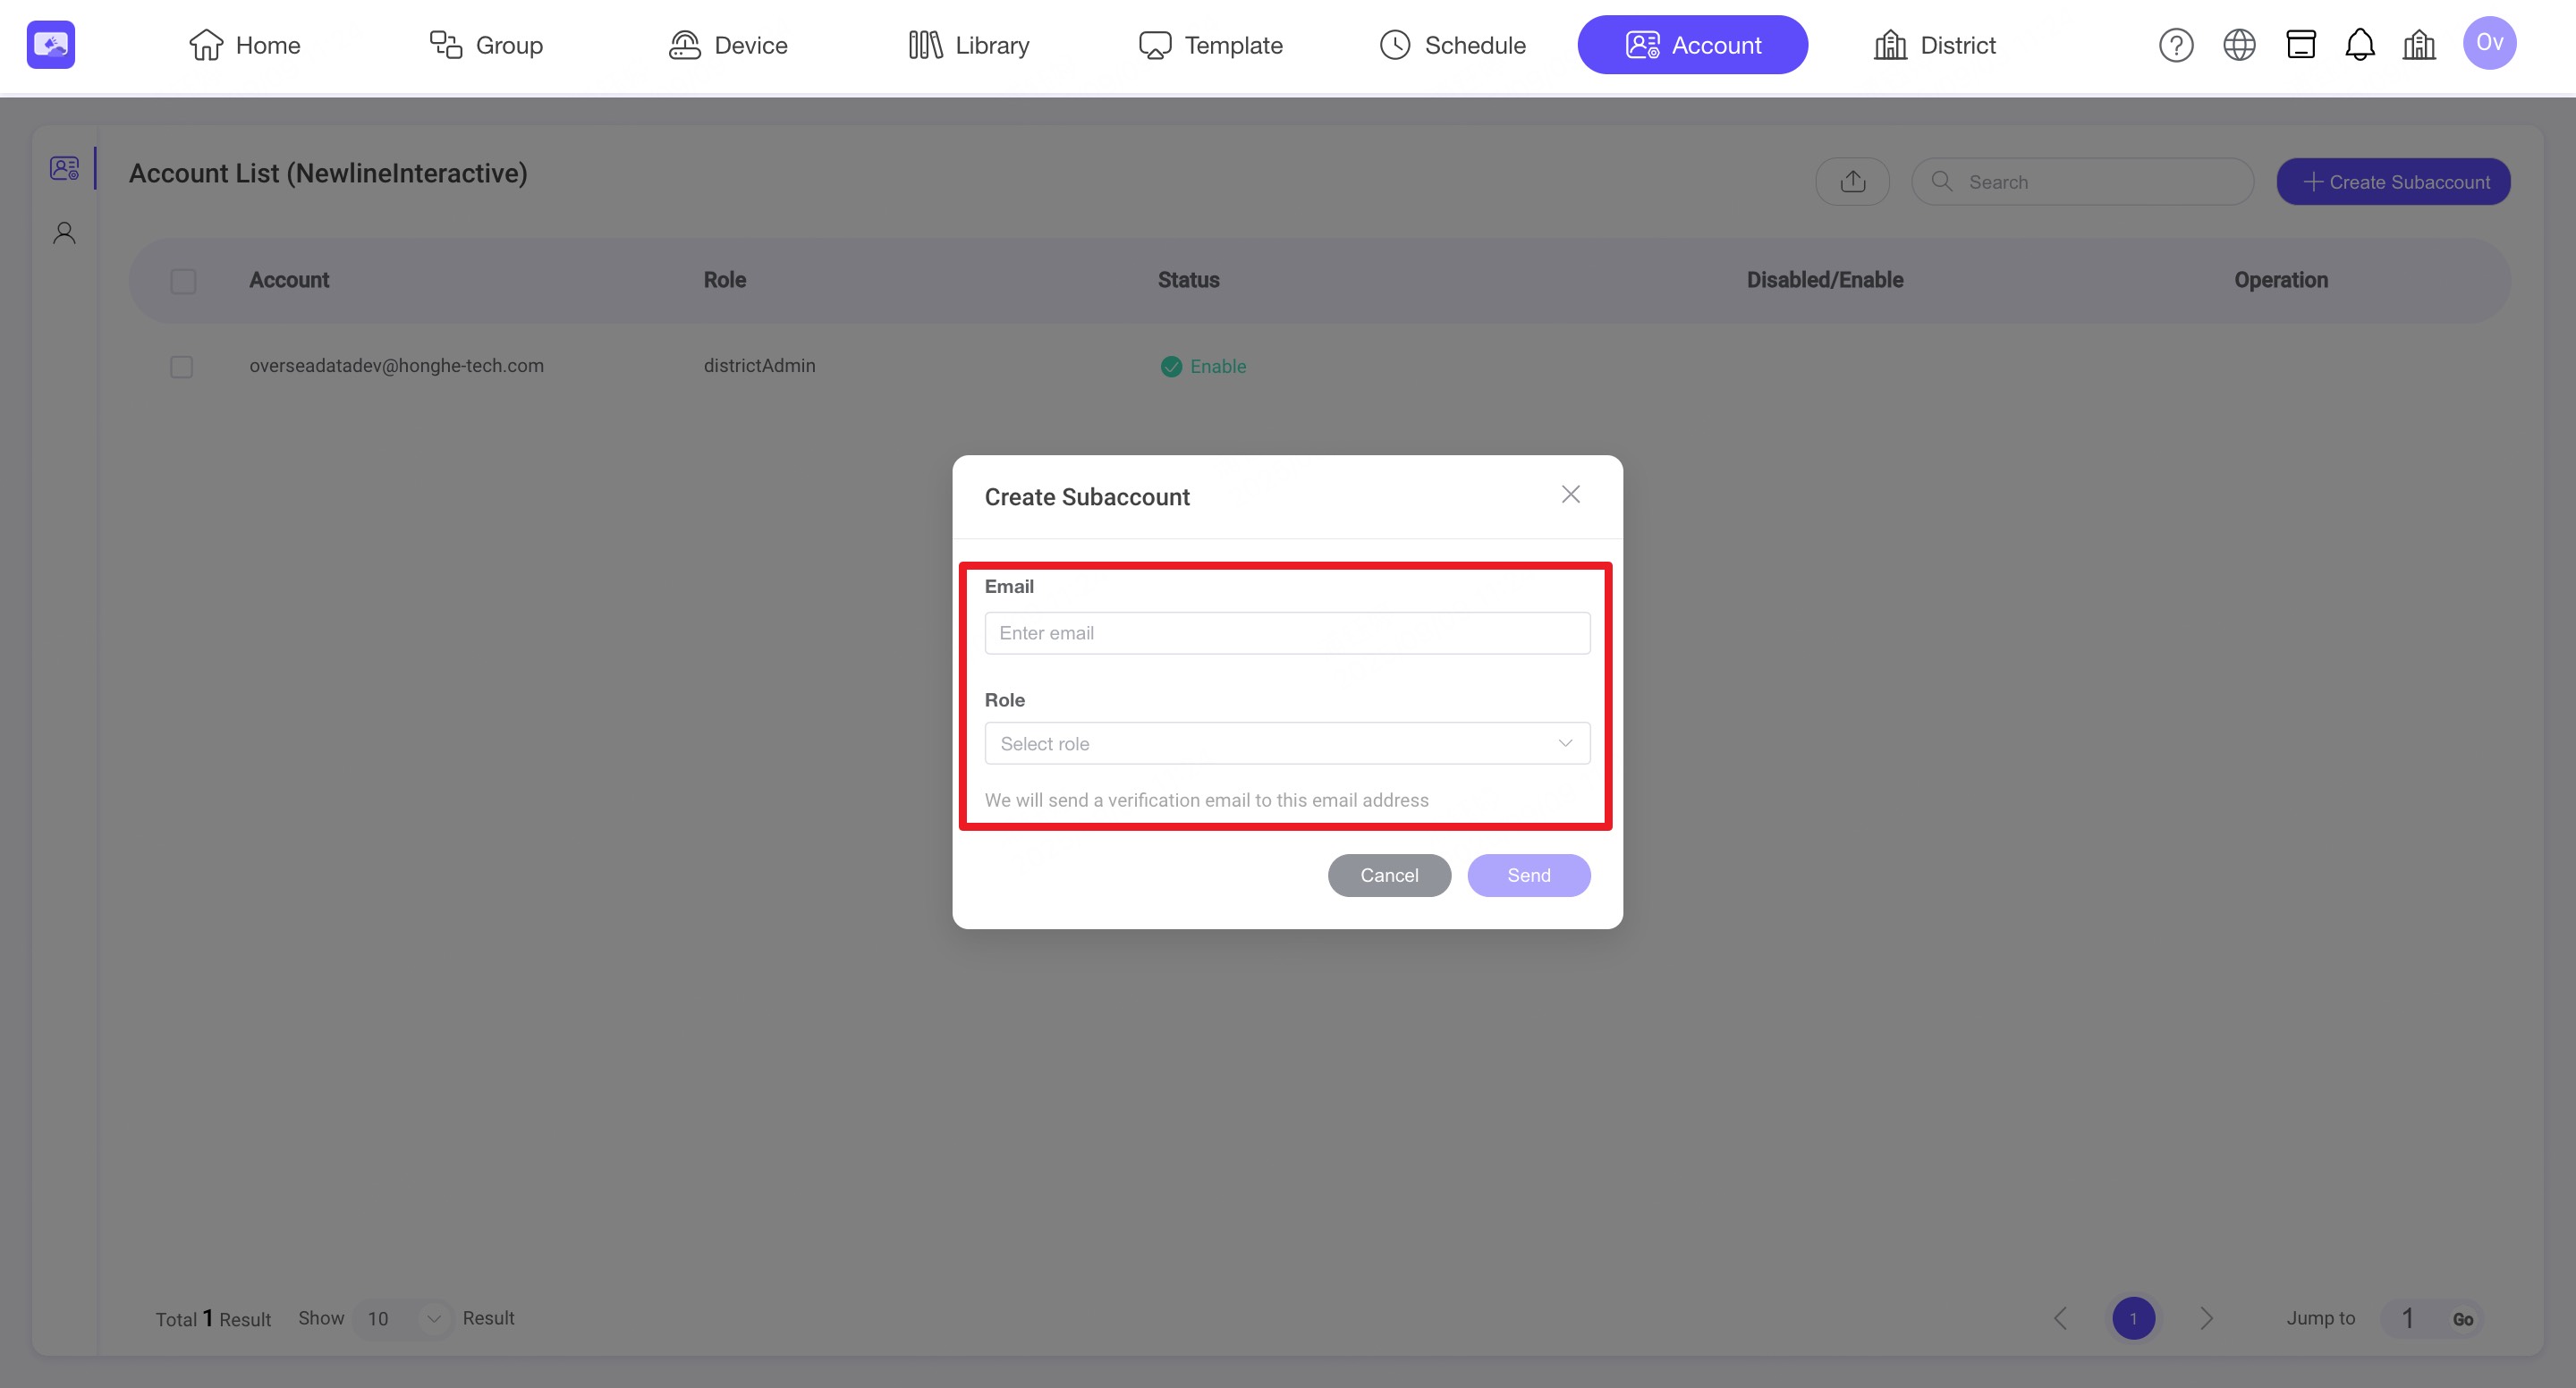
Step3. Click Send. The invited user will receive a verification email to activate the account.
💡 Sub-account lists for District and Sub Schools are independent.
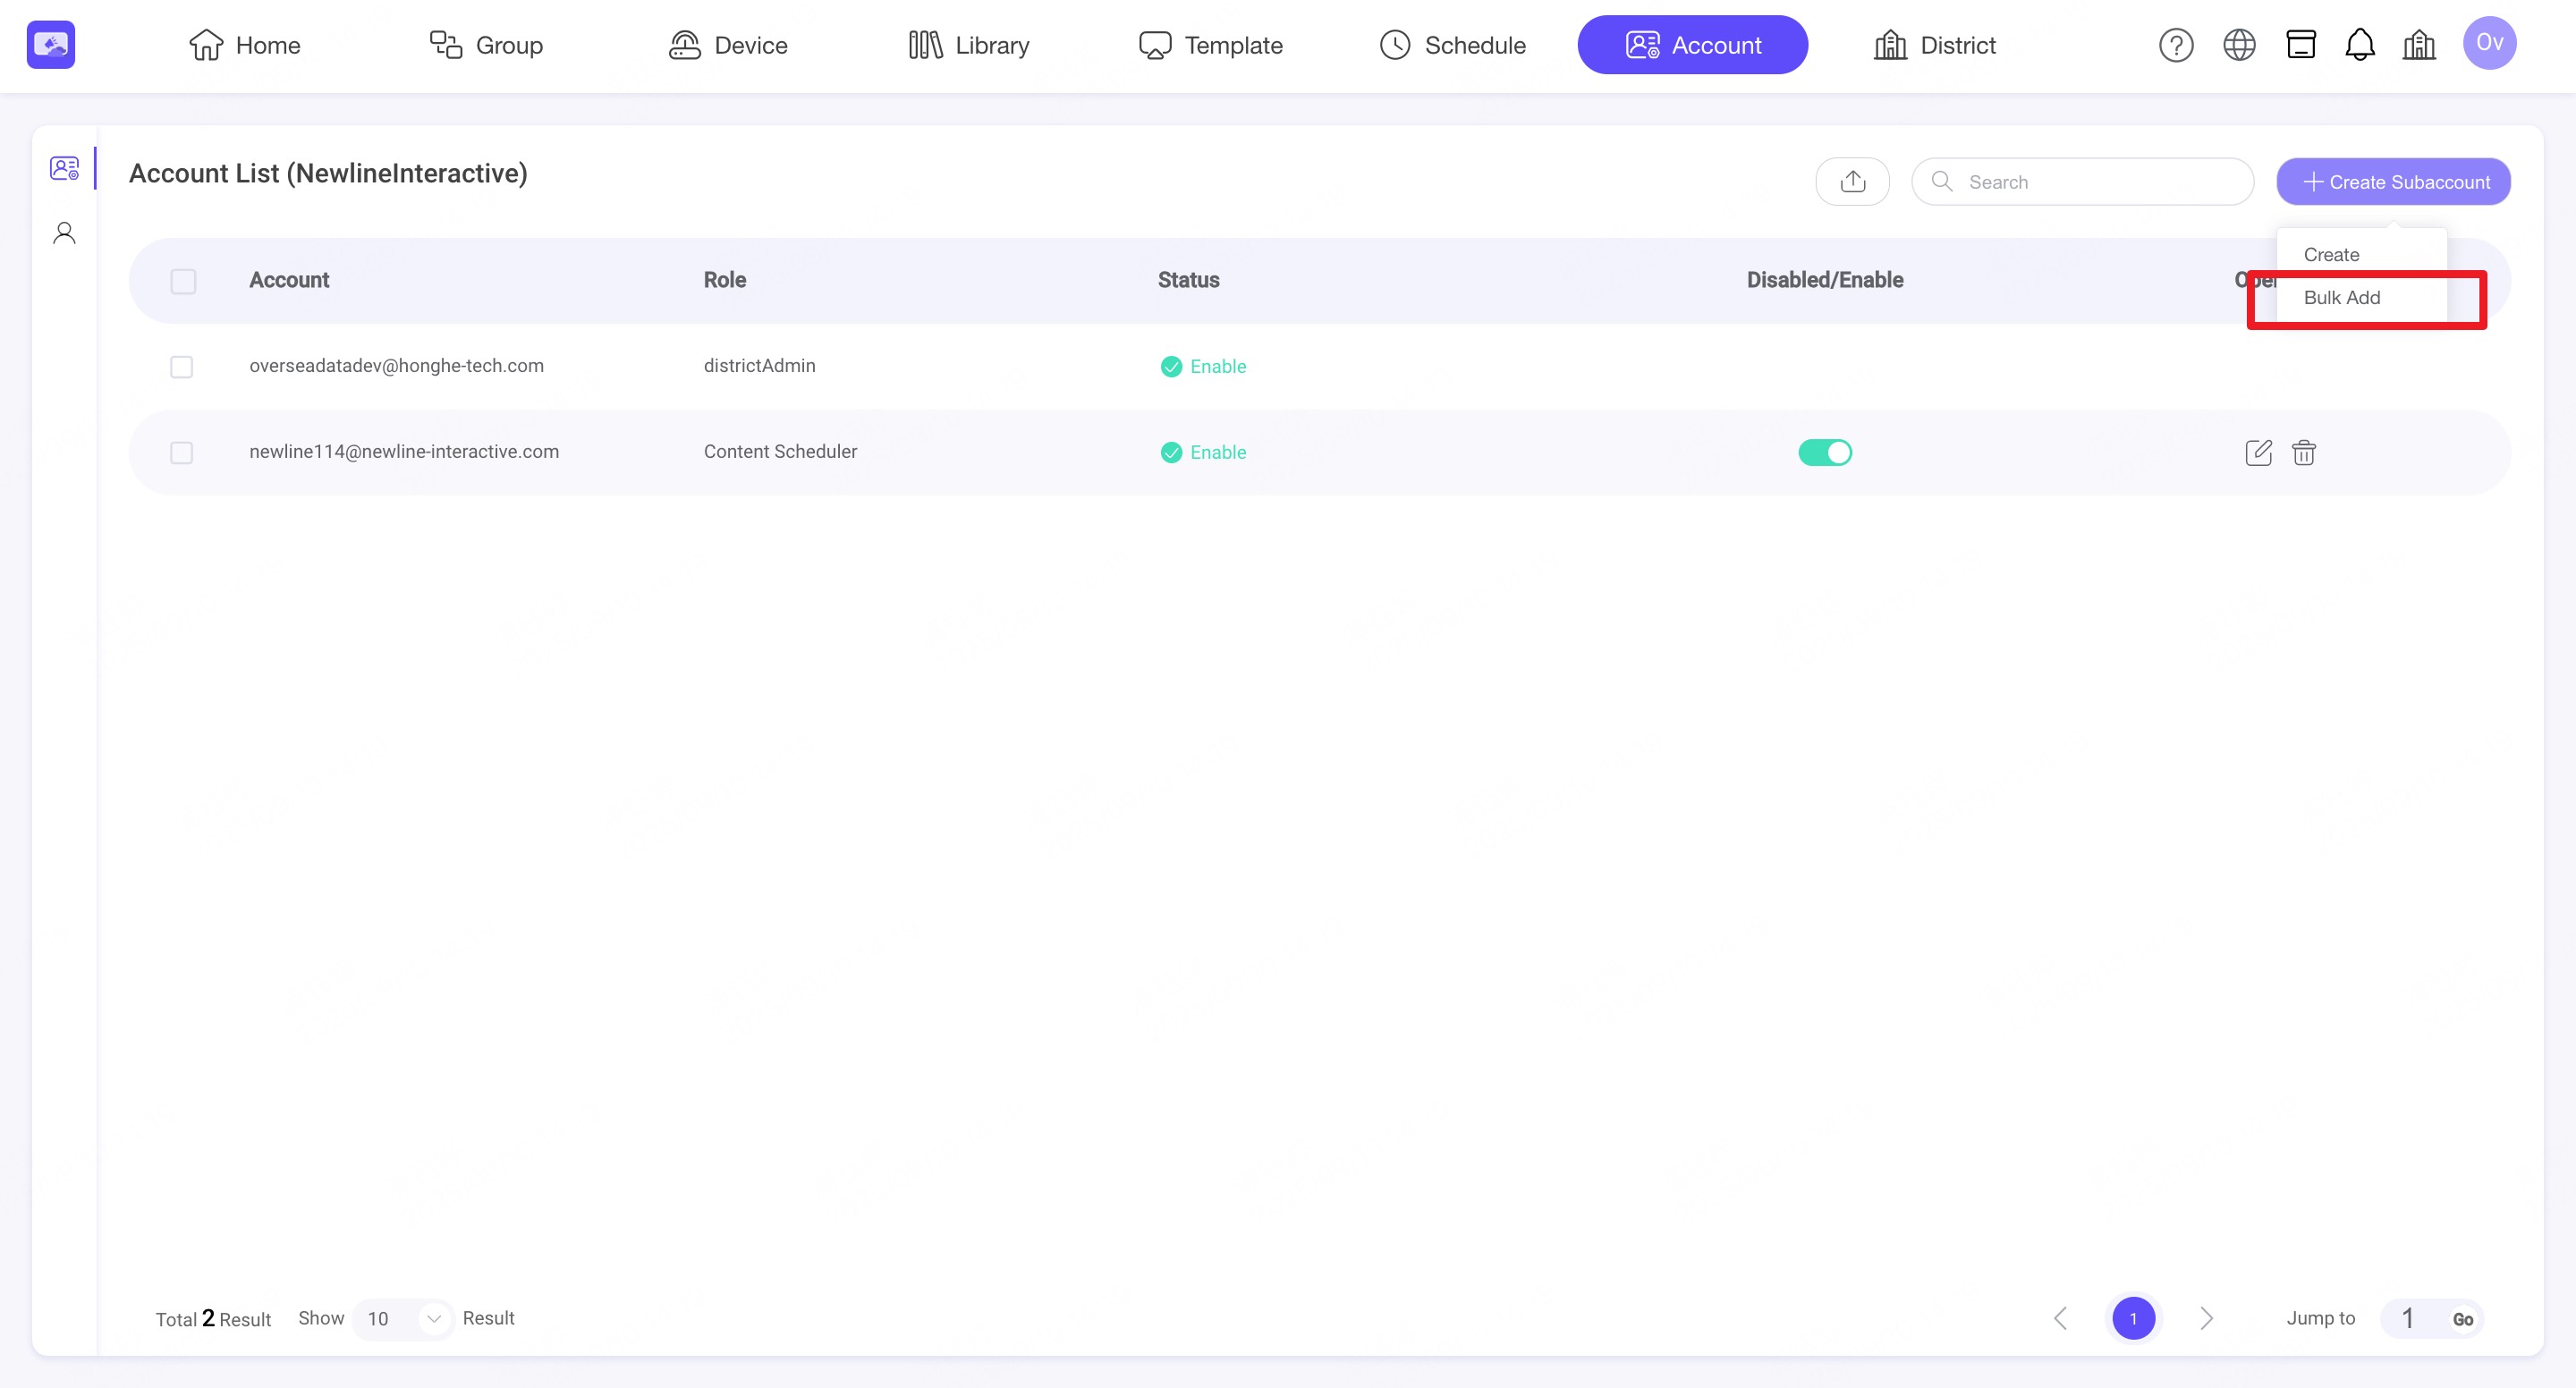
8.4. Bulk add sub-accounts
Step1. Click the 'Create Subaccount' and 'Bulk add' button.
Step2. Download the import template file.
Step3. Fill in the "Subaccount" sheet.
- Sub-account Email – must be unique and not already registered with NSP
- Role – select from roles already created in the system(Device Manager, Content Creator, Content Scheduler)
Step4. Upload the completed file and confirm the import.
Step5. You can view the import result.
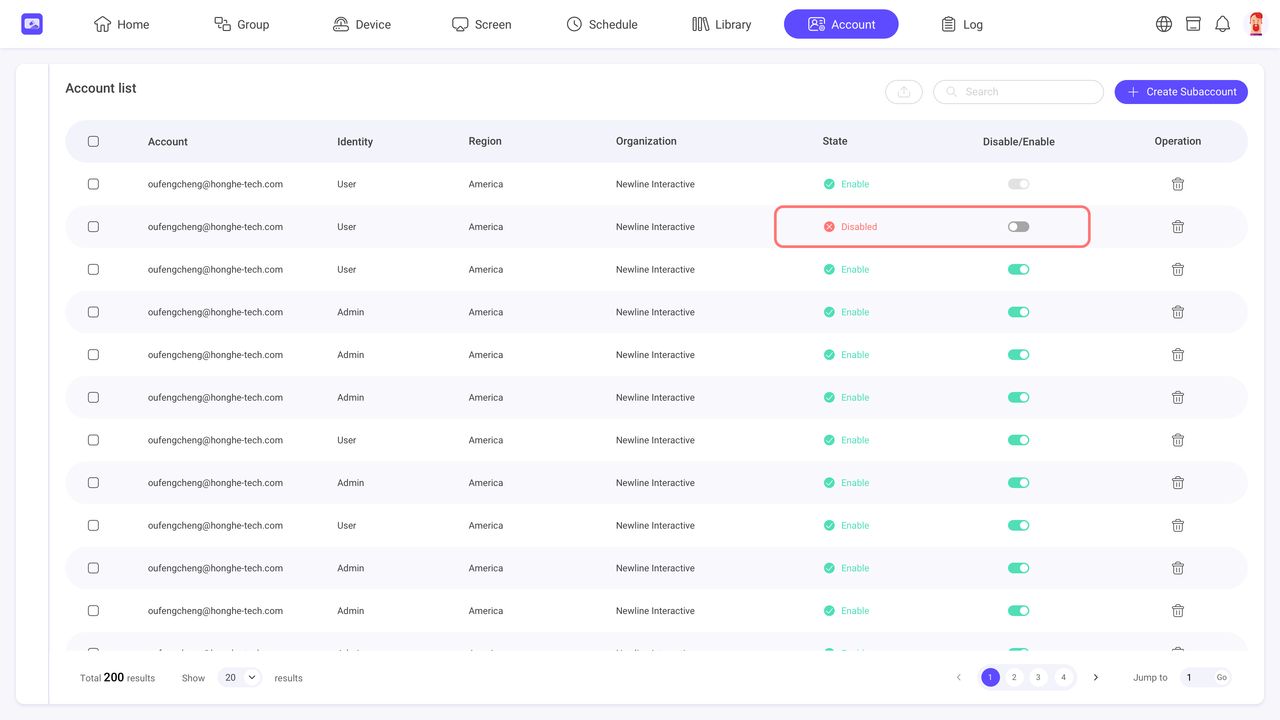
8.5. Disable or enable a account
Admin can disable the user account. They will not be able to log in when the account is disabled.
9. District
INFO
Only available for District user. The District module allows administrators to create schools, assign sub-admins, and add devices for centralized management.
District and School data (roles, sub-accounts, library, devices) are independent from each other.
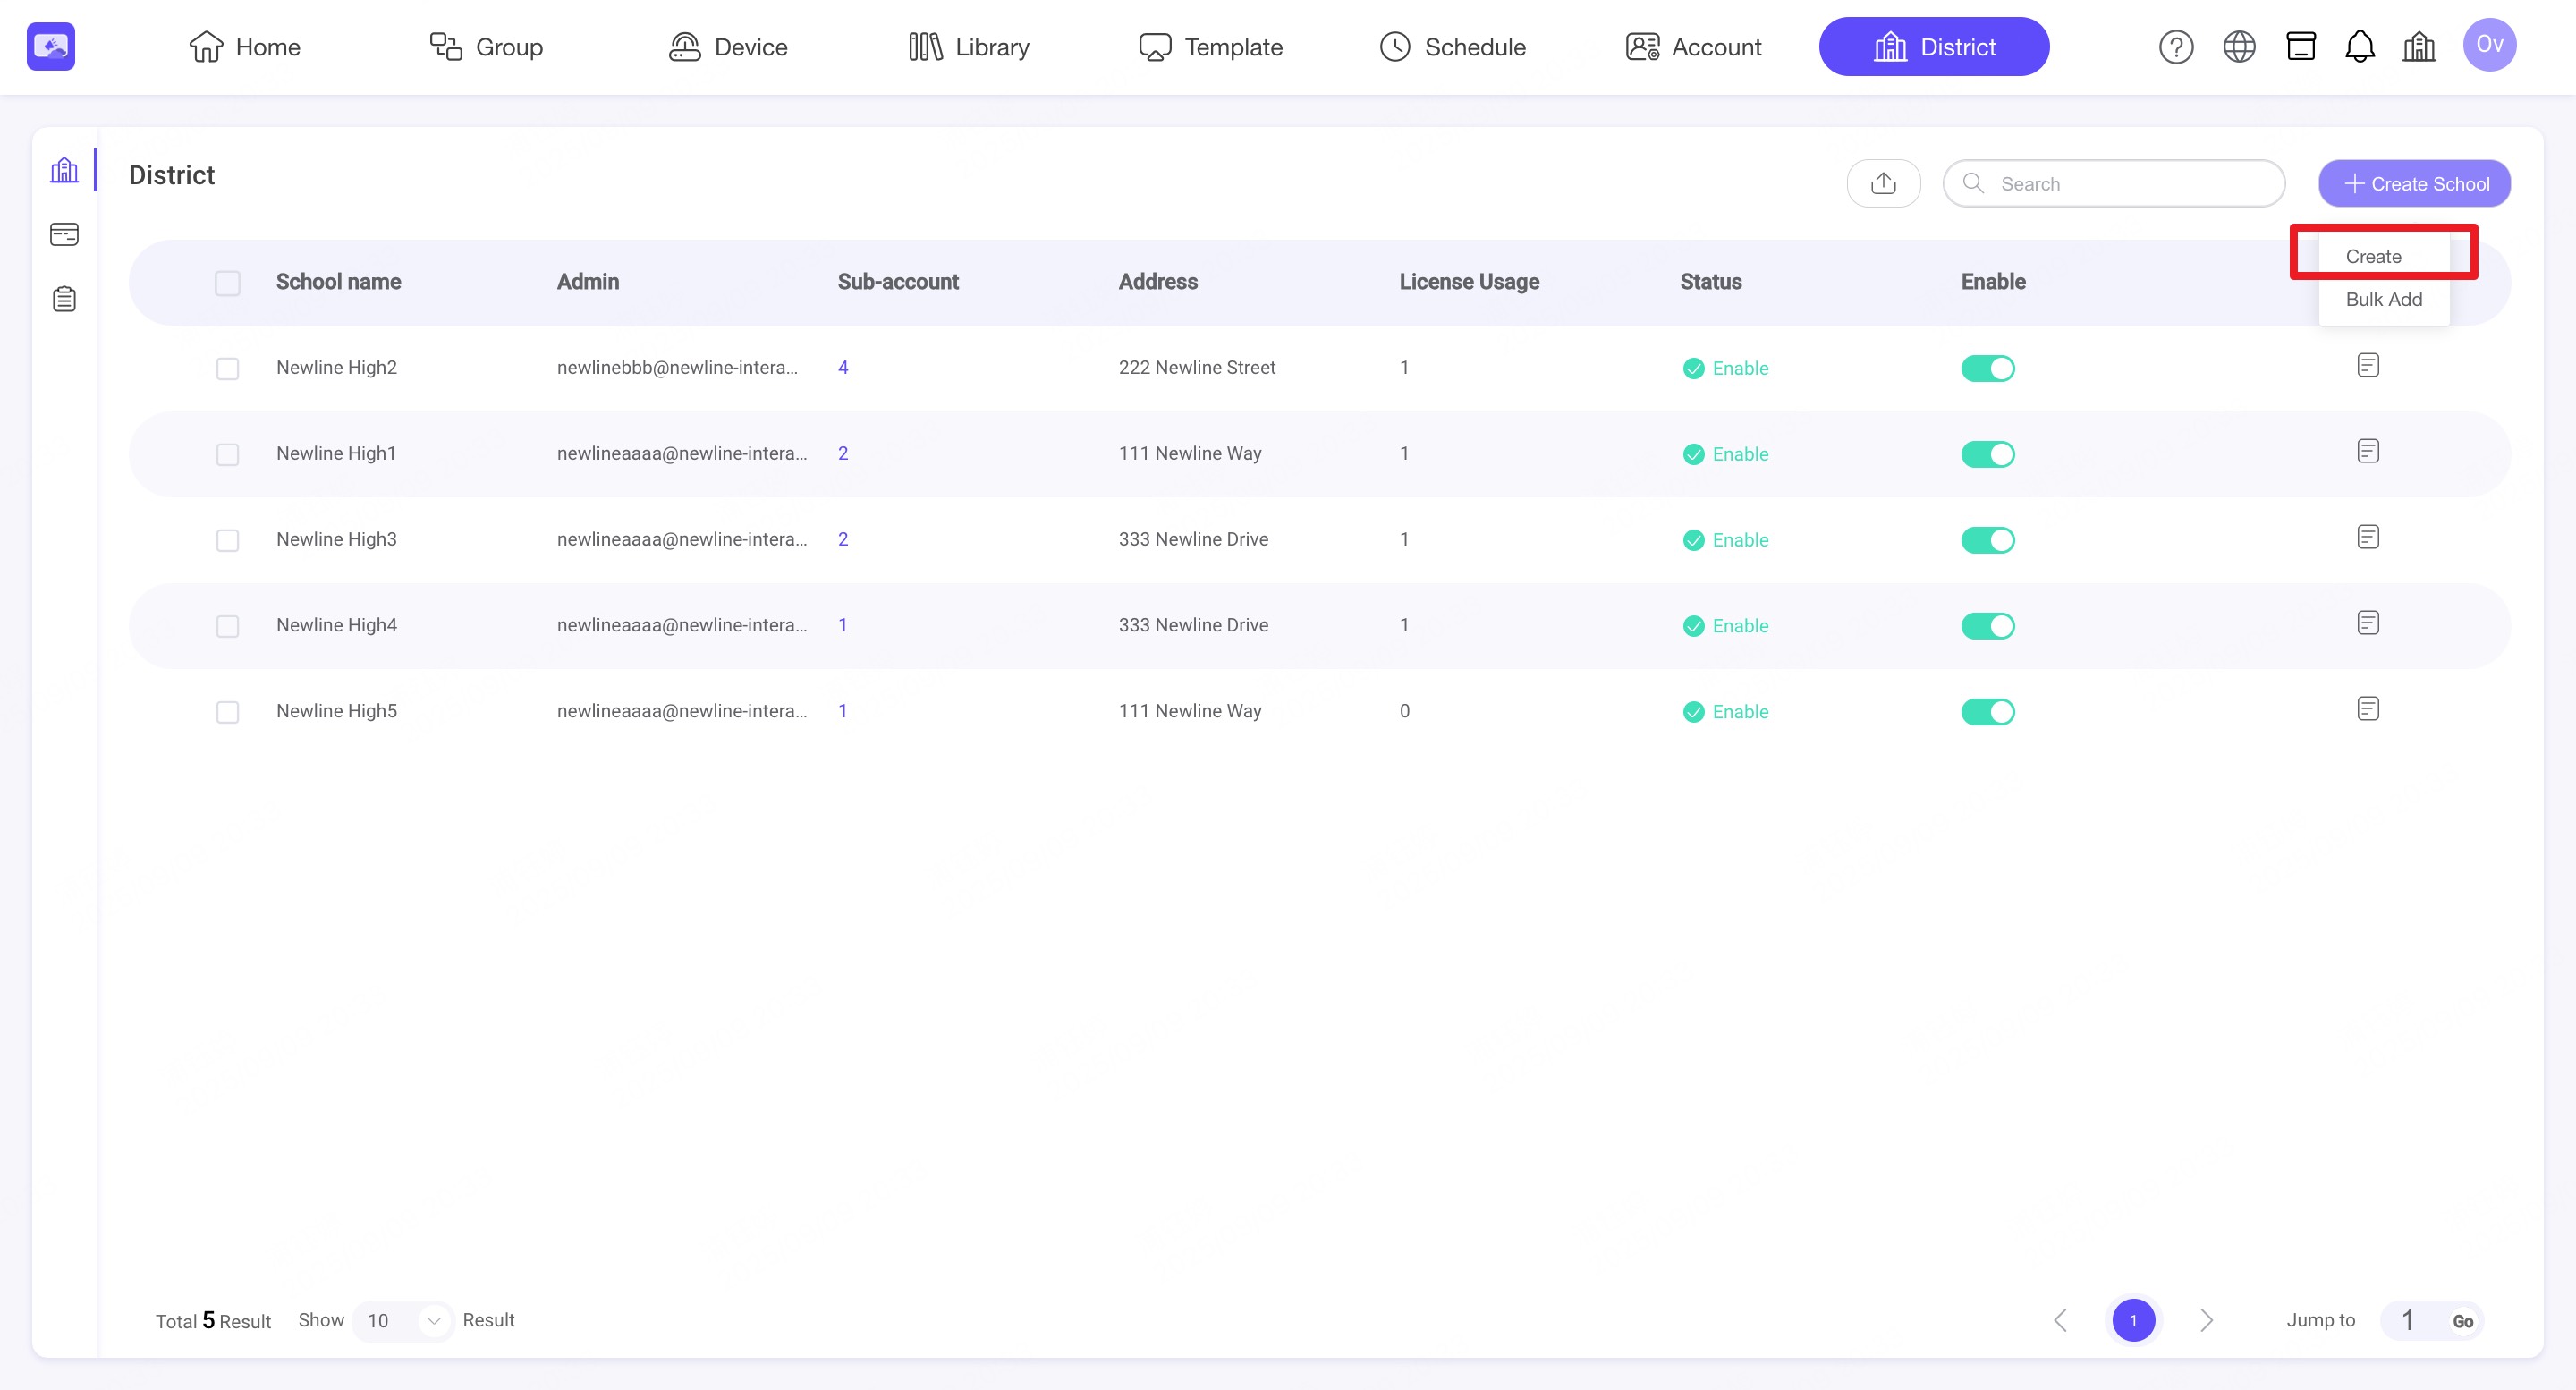
9.1. Create School
Step1. Login to the District Administrator account and navigate to the District tab.
Step2. Click Create School and Create
Step3. Enter the following information:
- Admin Email (must not already have an NSP account; each school requires a unique email)
- School Name
- Address
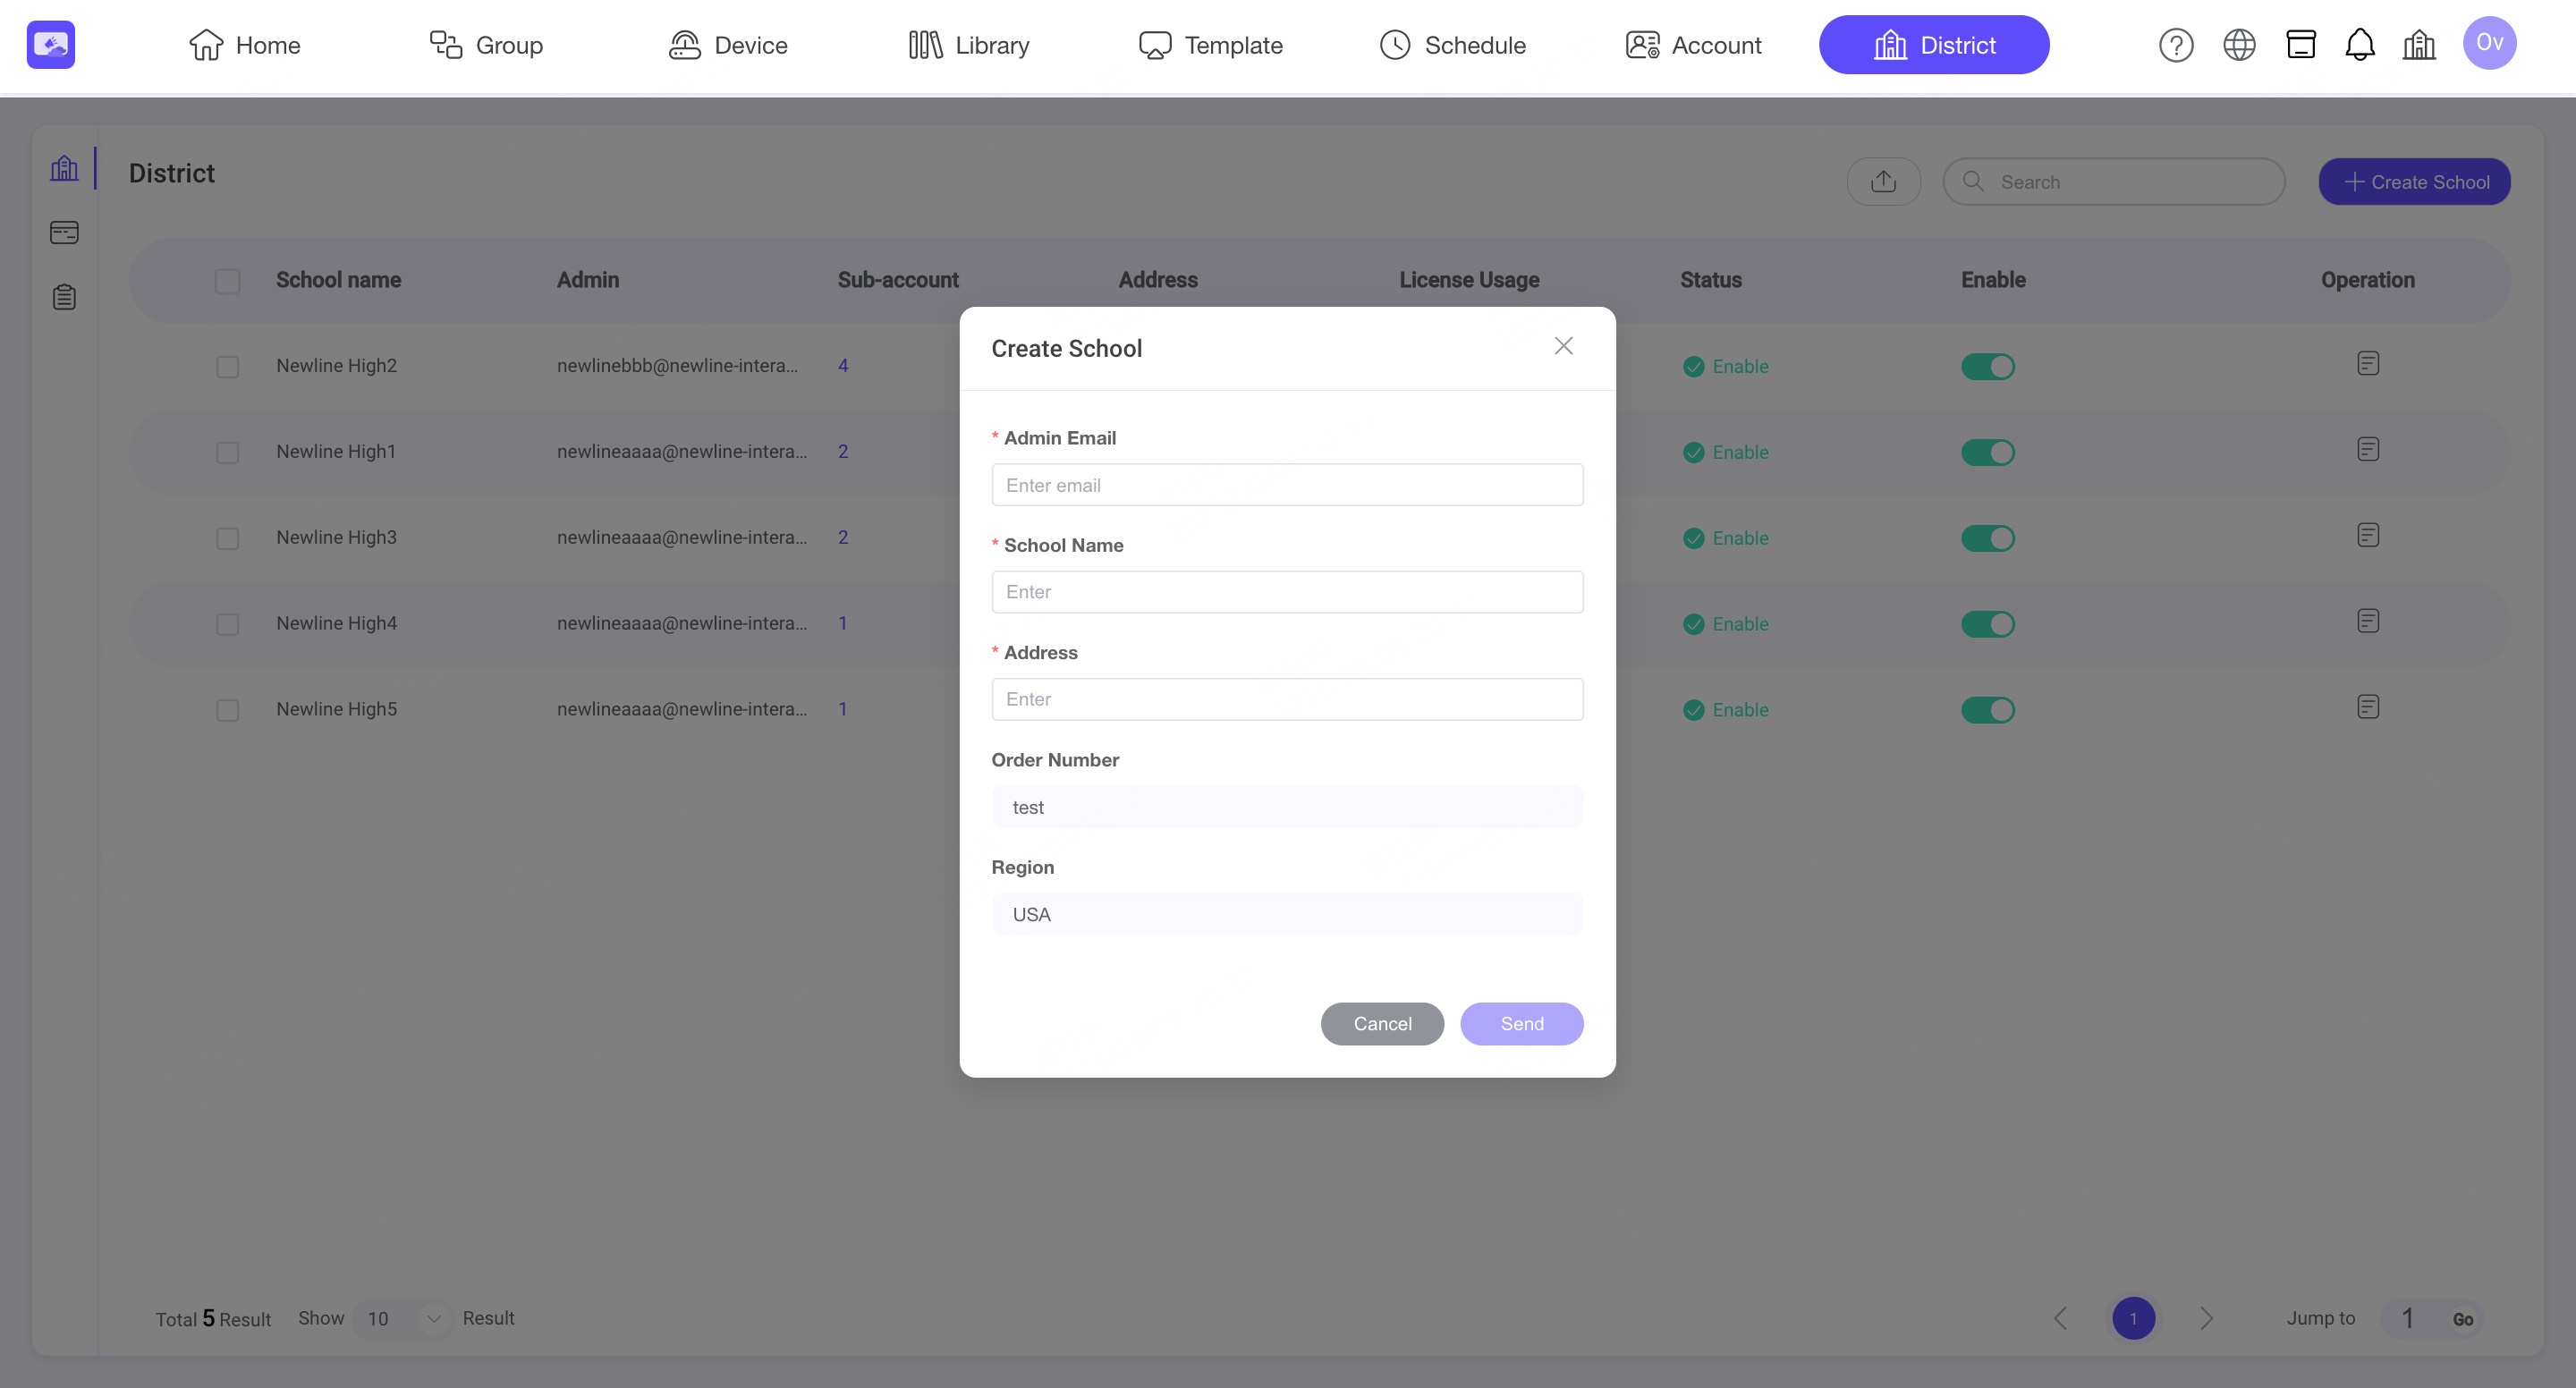
Step4. Click Send. A verification email will be sent to the School Admin.
They will activate the account by setting a password.
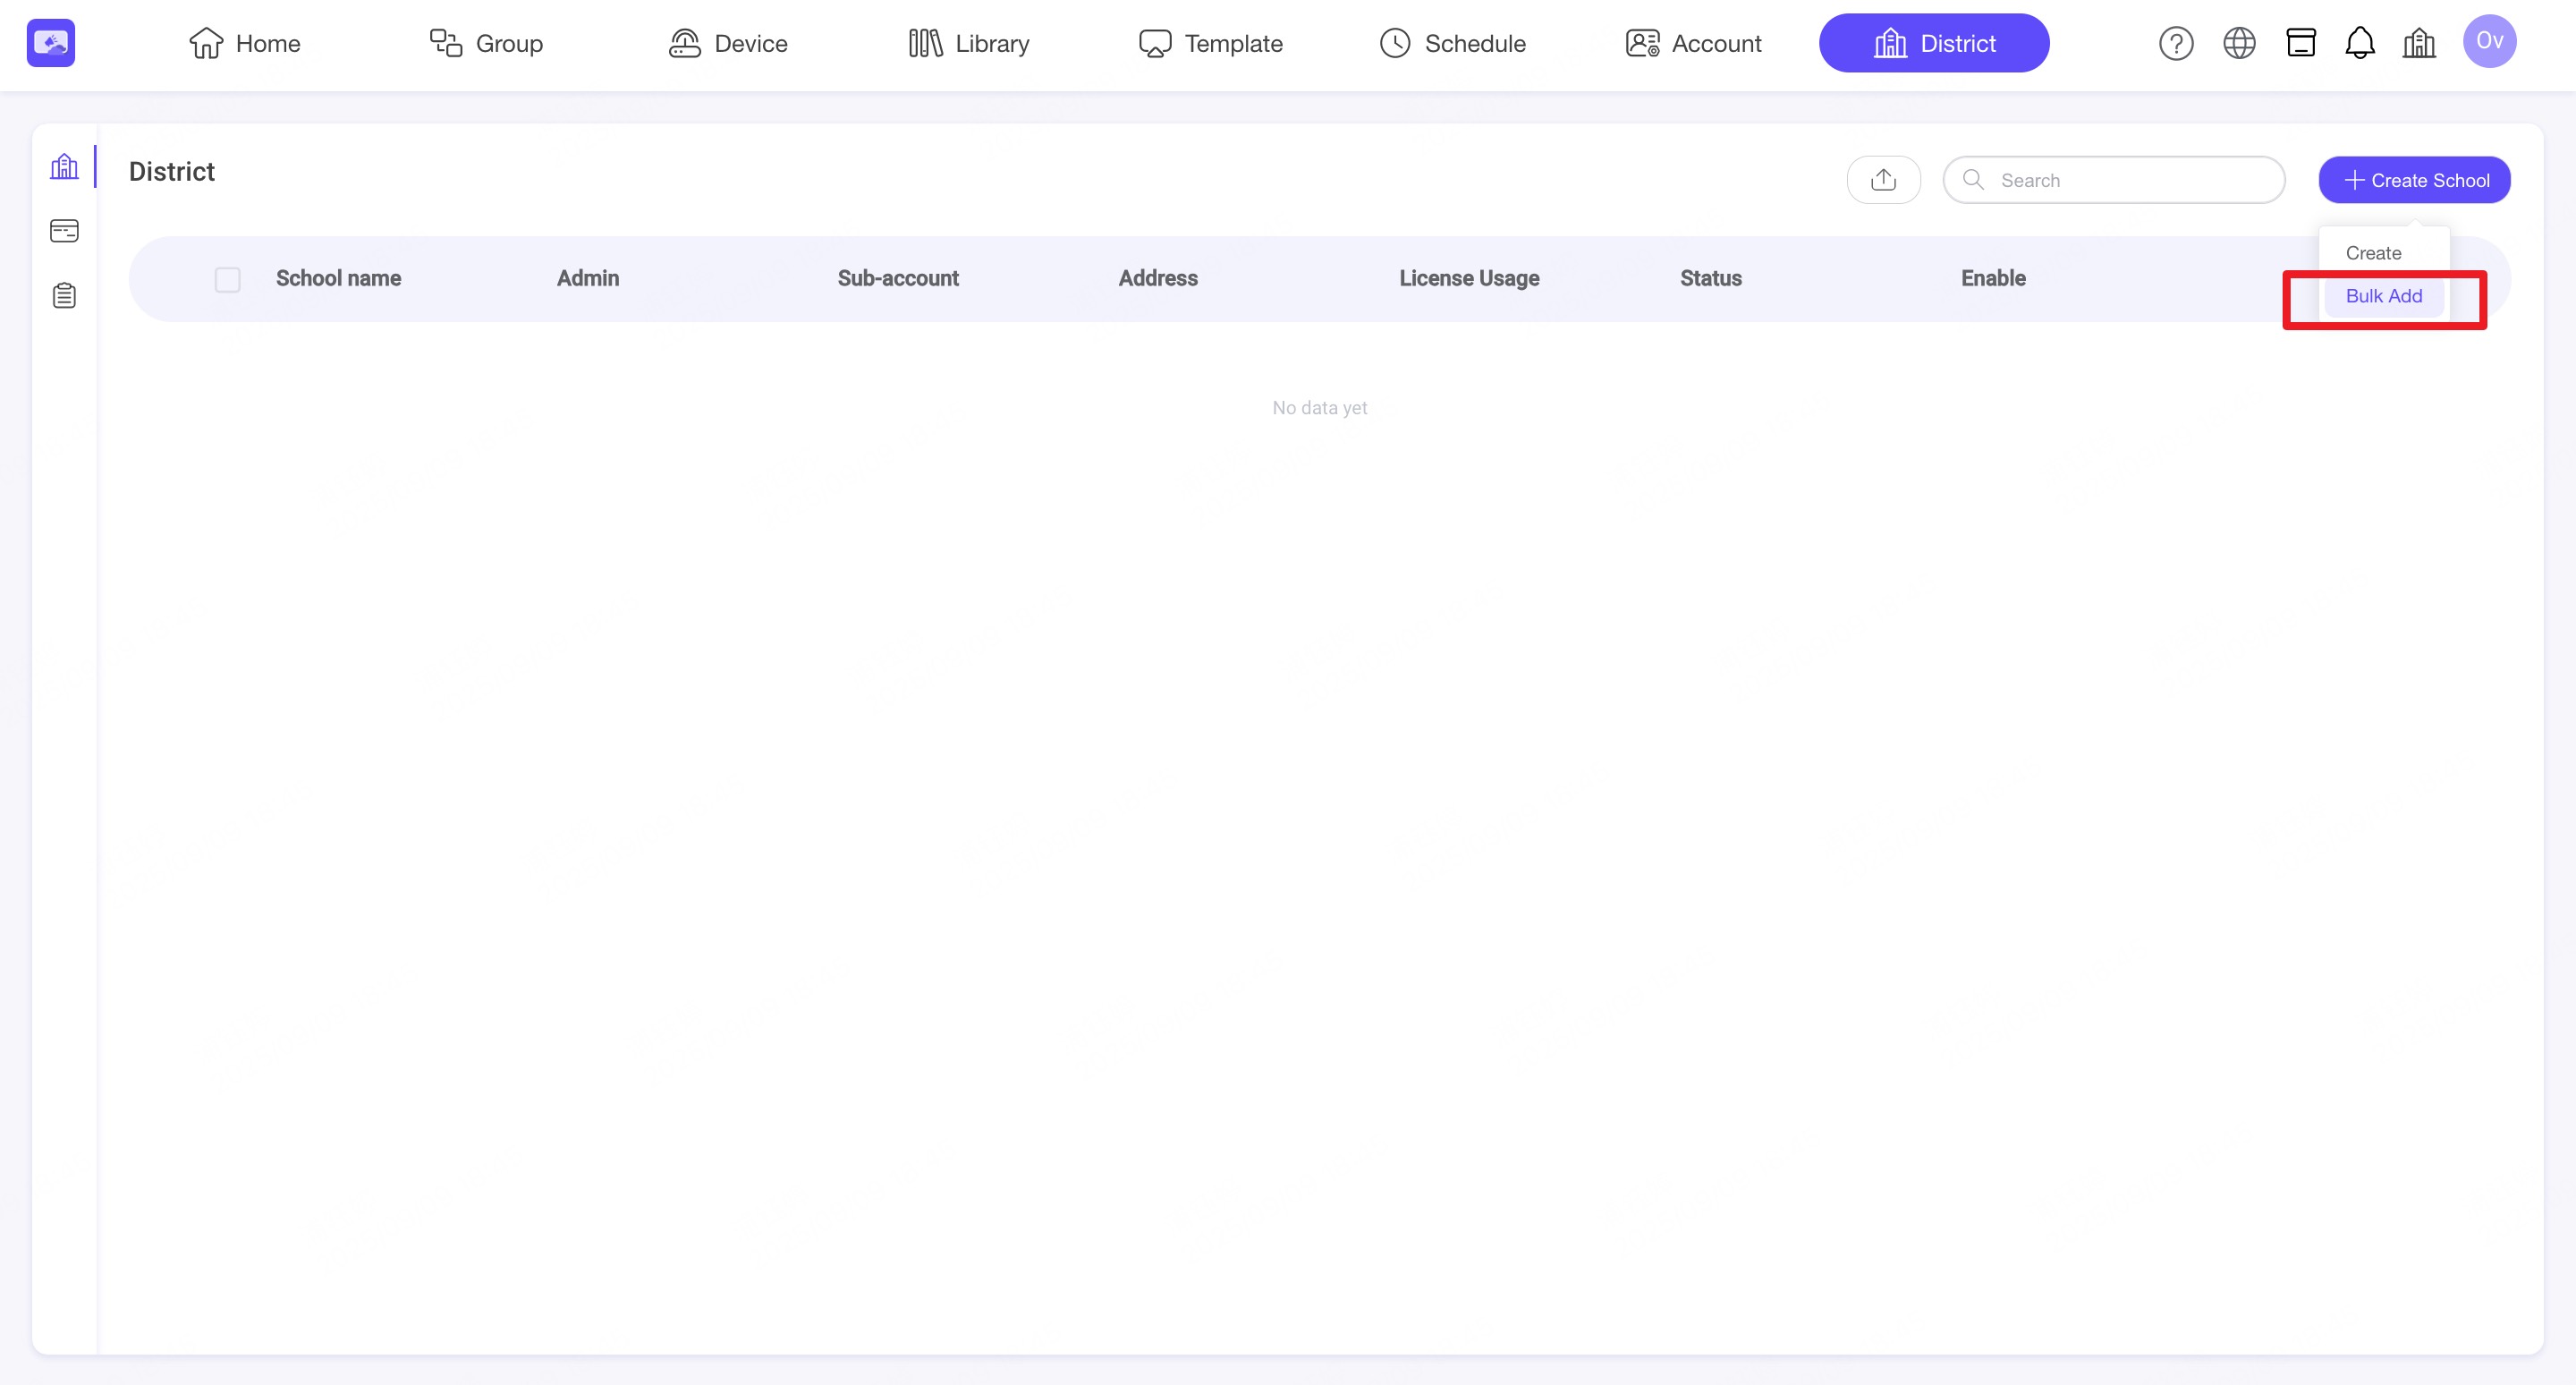
9.2. Bulk import
INFO
The Bulk Import feature allows District Administrators to quickly add multiple schools, school admins, devices, sub-accounts at once using the provided Excel template.
Step1. Click Create School and Bulk Add
Step2. Download the import template file.
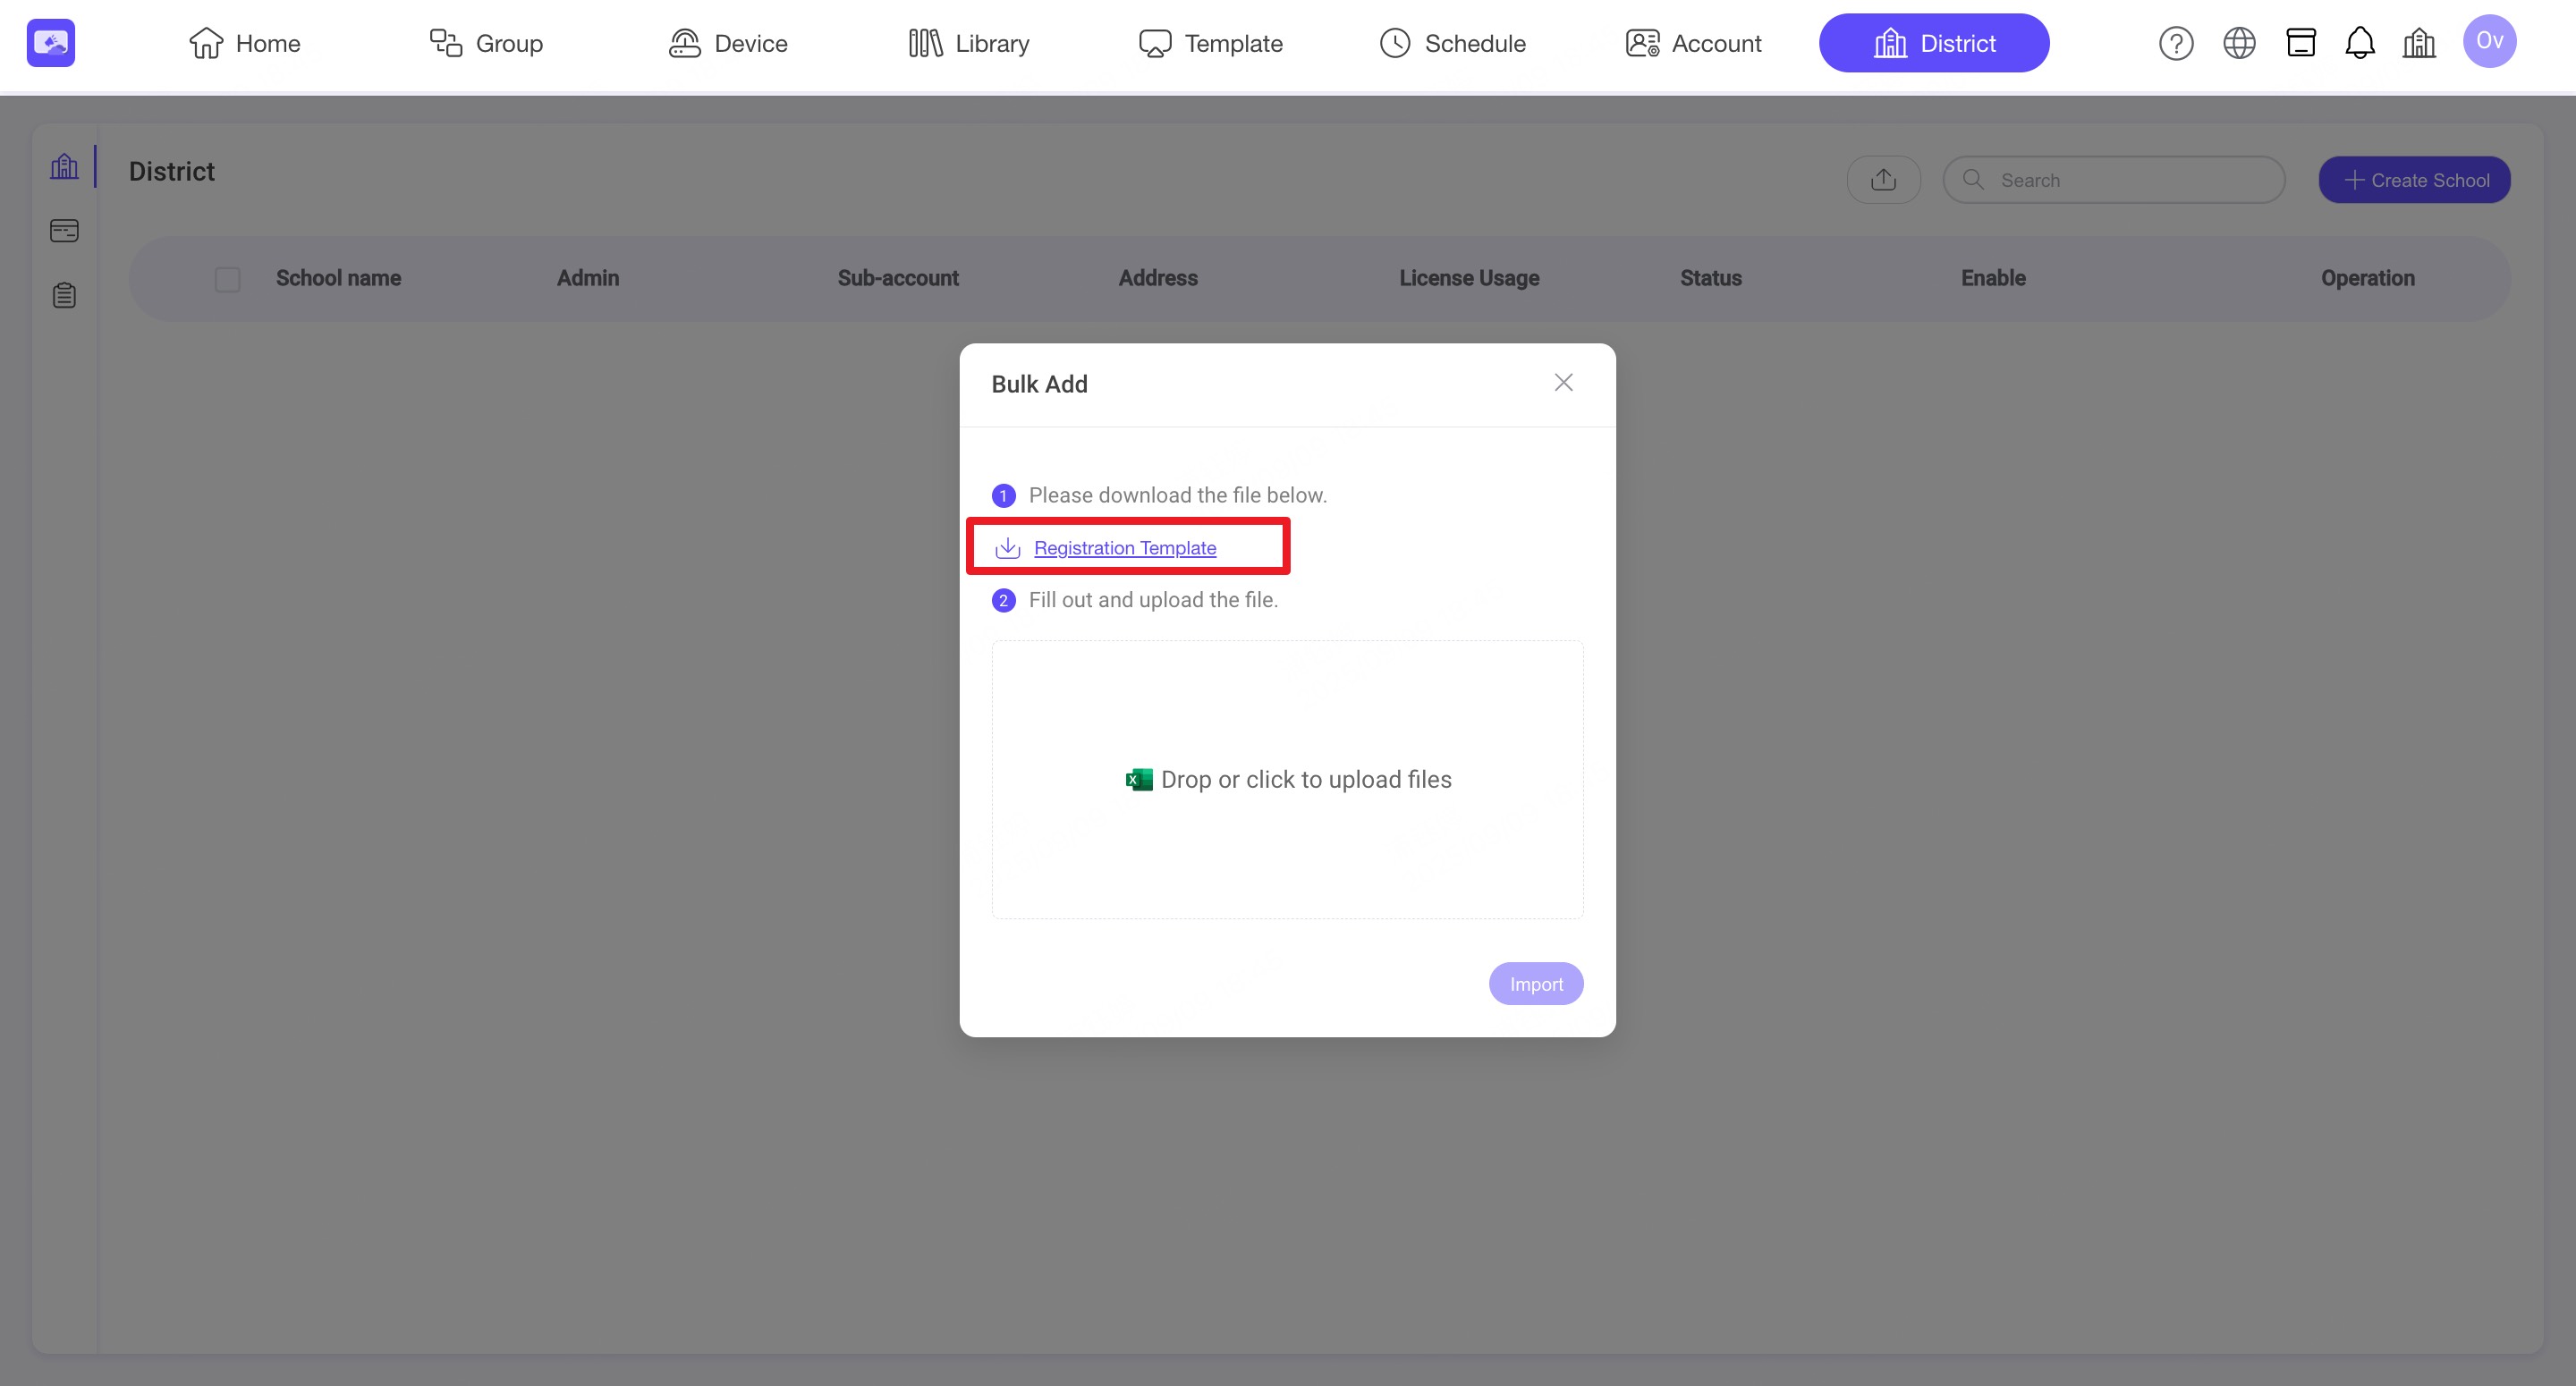
Step3. Fill in the "School & School Admin" sheet.
- Admin Email – Email addresses can be entered multiple times. A single account email can be associated with and manage multiple institutions. must not already be registered with NSP
- School Name – the name of the school/site
- Address – the school’s address
Step4. Fill in the "Devices" sheet.
- Device SN – required, unique identifier of each device
- Device Name – for easier identification in the platform
- School Name – assign the device to a specific school. If left blank, the device will belong to the district.
Step5. Fill in the "Subaccount" sheet.
- Sub-account Email – must be unique and not already registered with NSP
- Role – select from roles already created in the system(Device Manager, Content Creator, Content Scheduler)
- School Name – assign the sub-account to a specific school. If left blank, the subaccount will belong to the district.
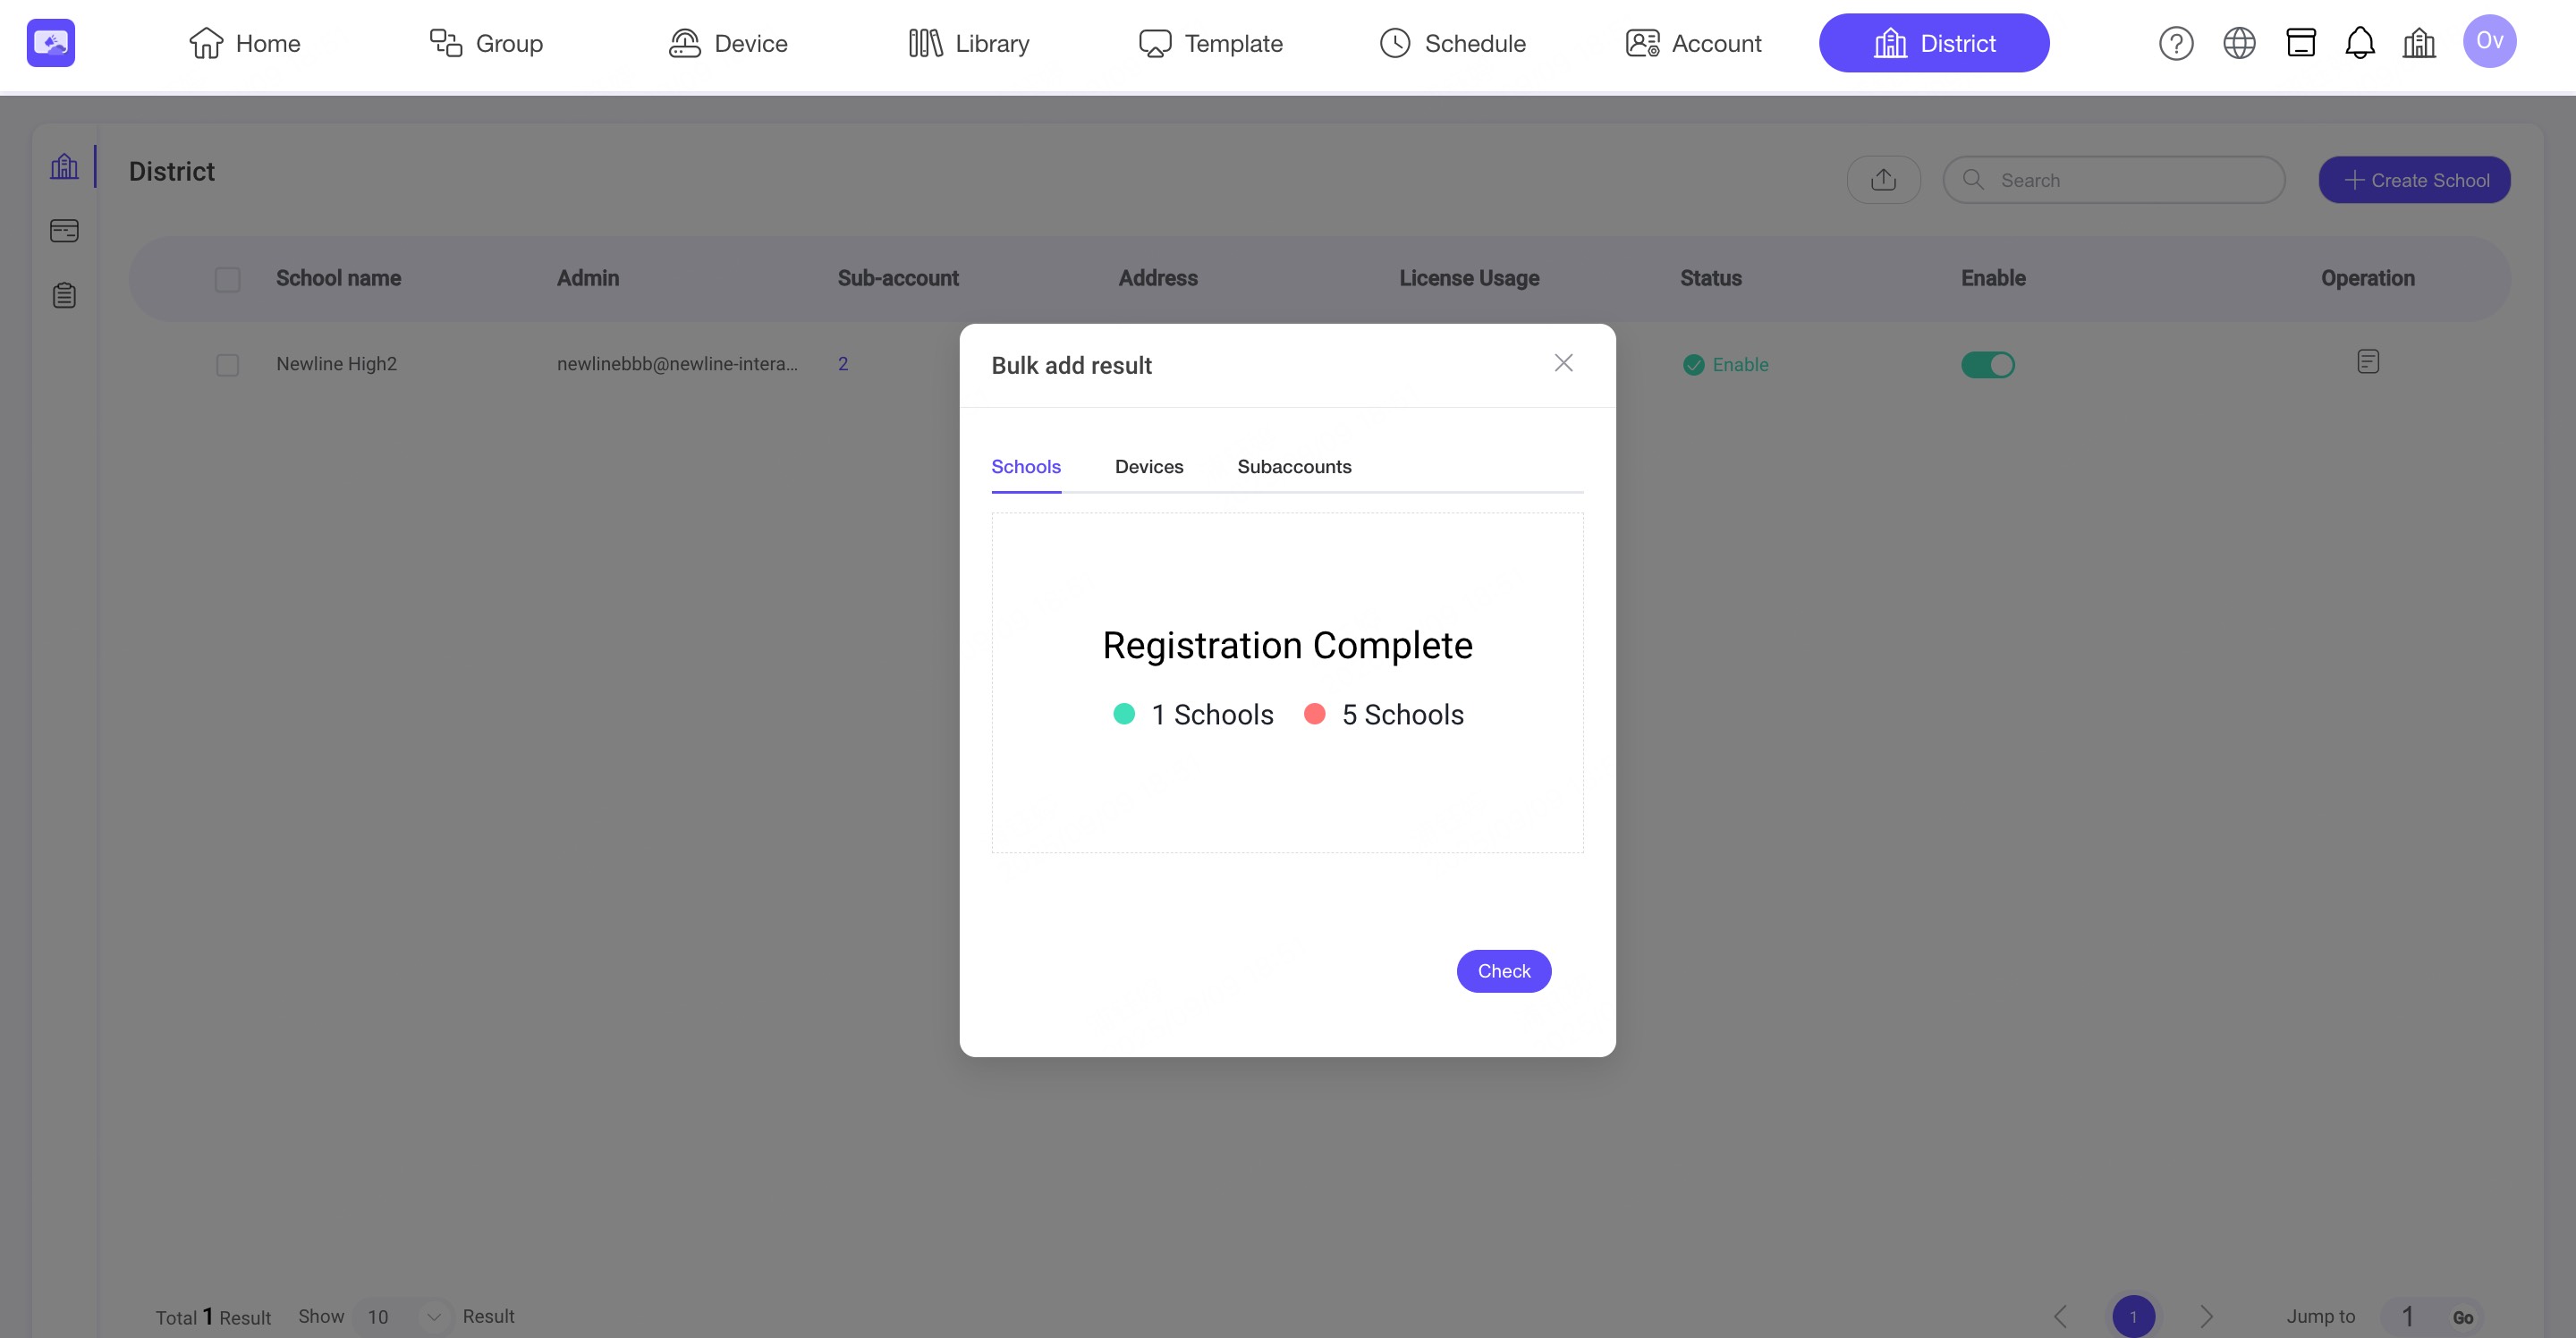
Step6. Upload the completed file and confirm the import.
Step7. You can view the import result.
9.3. Switch to School Workspace
Step1. After activation, the District Administrator can view all schools and switch to a school’s workspace using the top-right dropdown menu. The Site/School Admin can view the relative schools and switch to a school’s workspace using the same top-right dropdown menu.

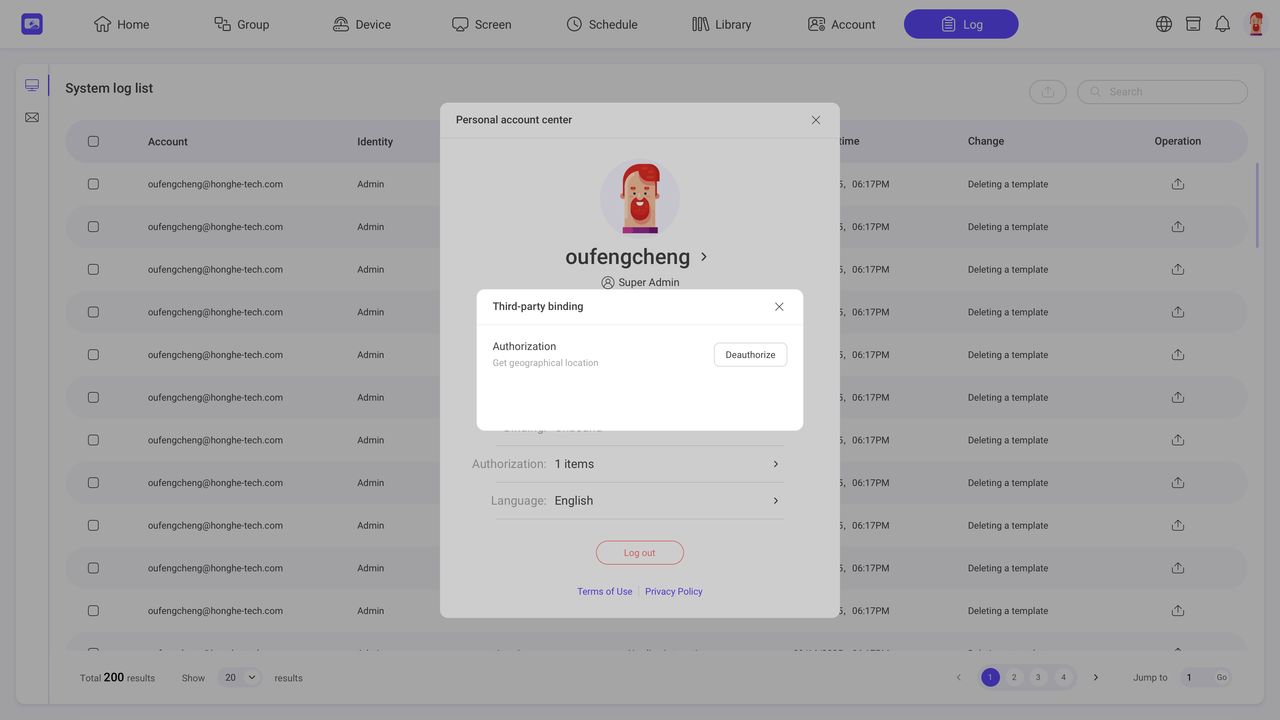
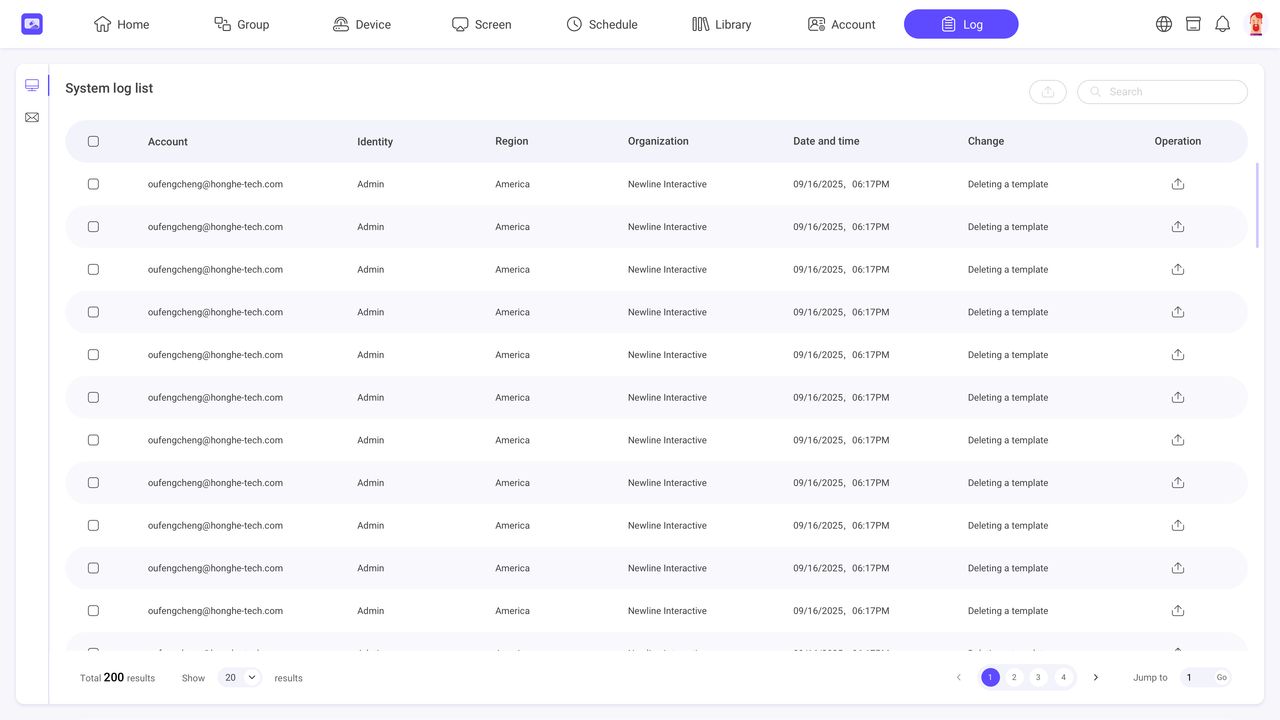
10. Log
INFO
The Log module records all background actions and notifications received. You can also view recent messages by clicking the button on the right side of the top navigation bar.
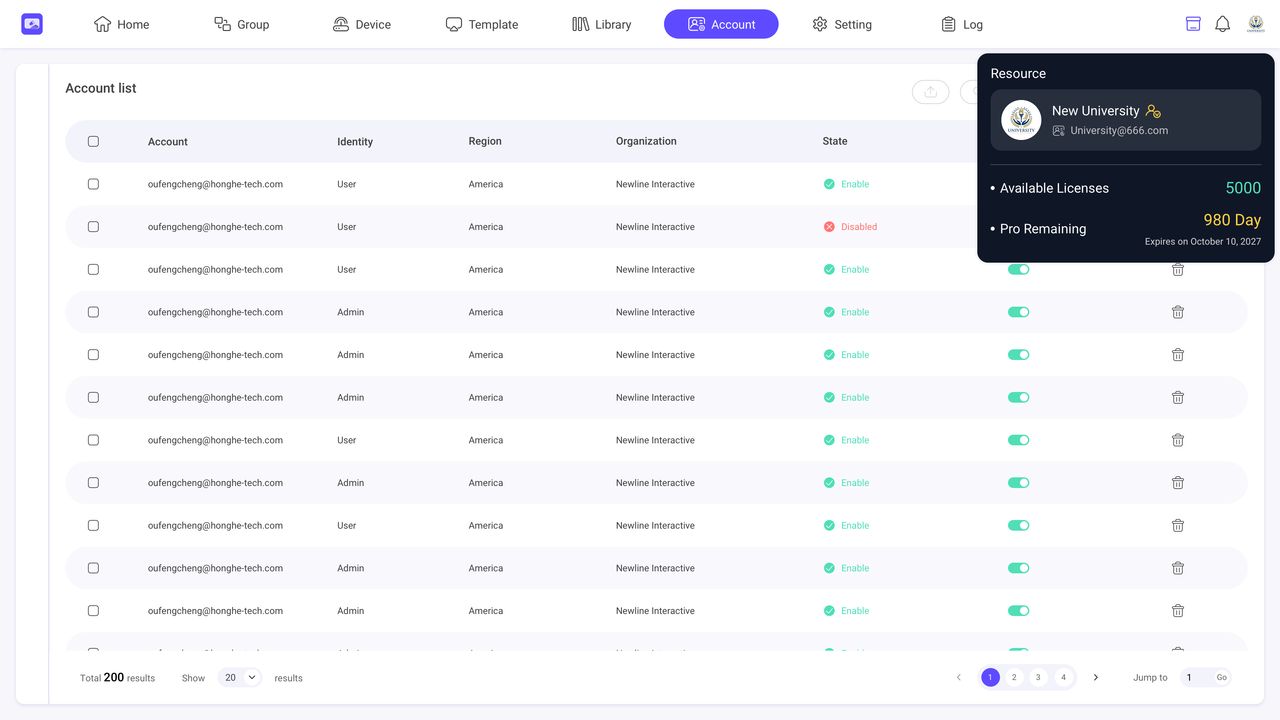
11. License Information
INFO
You can view your current organization's license information by clicking the button on the right side of the top navigation bar. This contains the number of licenses available and their expiration dates.
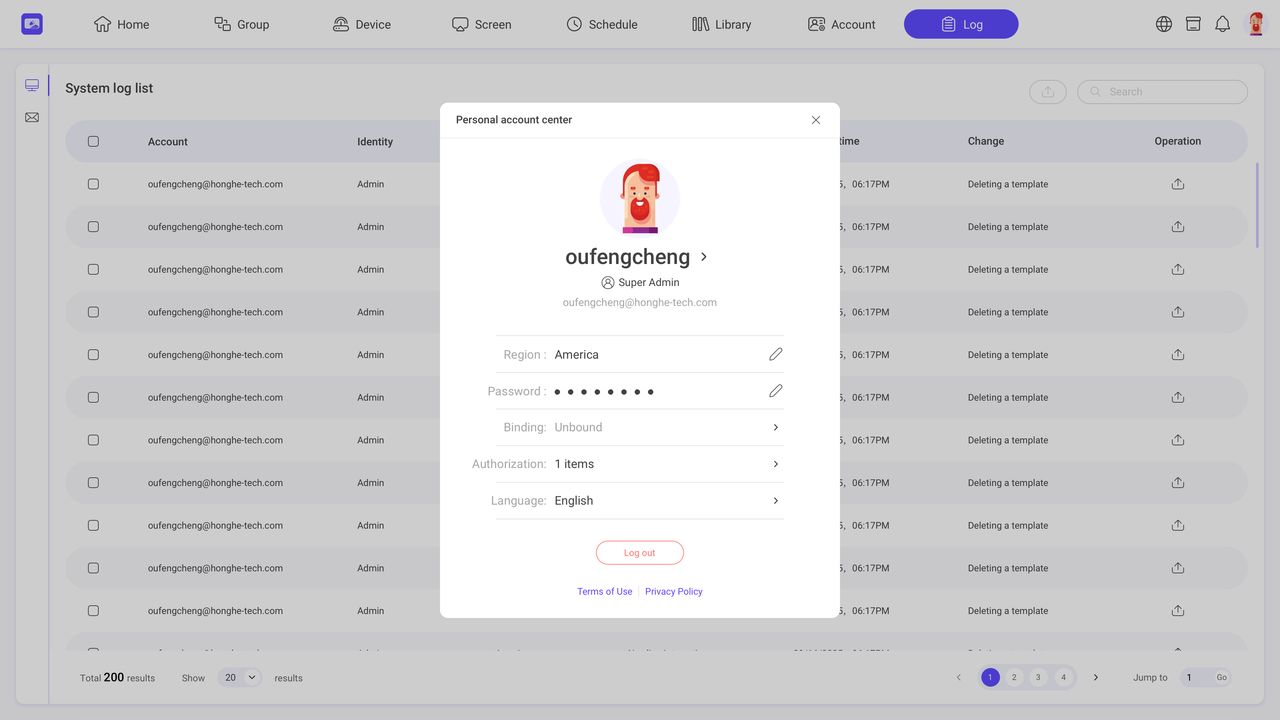
12. Account Profile
INFO
You can edit your personal information, including avatar, region, password, SSO and license management In the account profile.
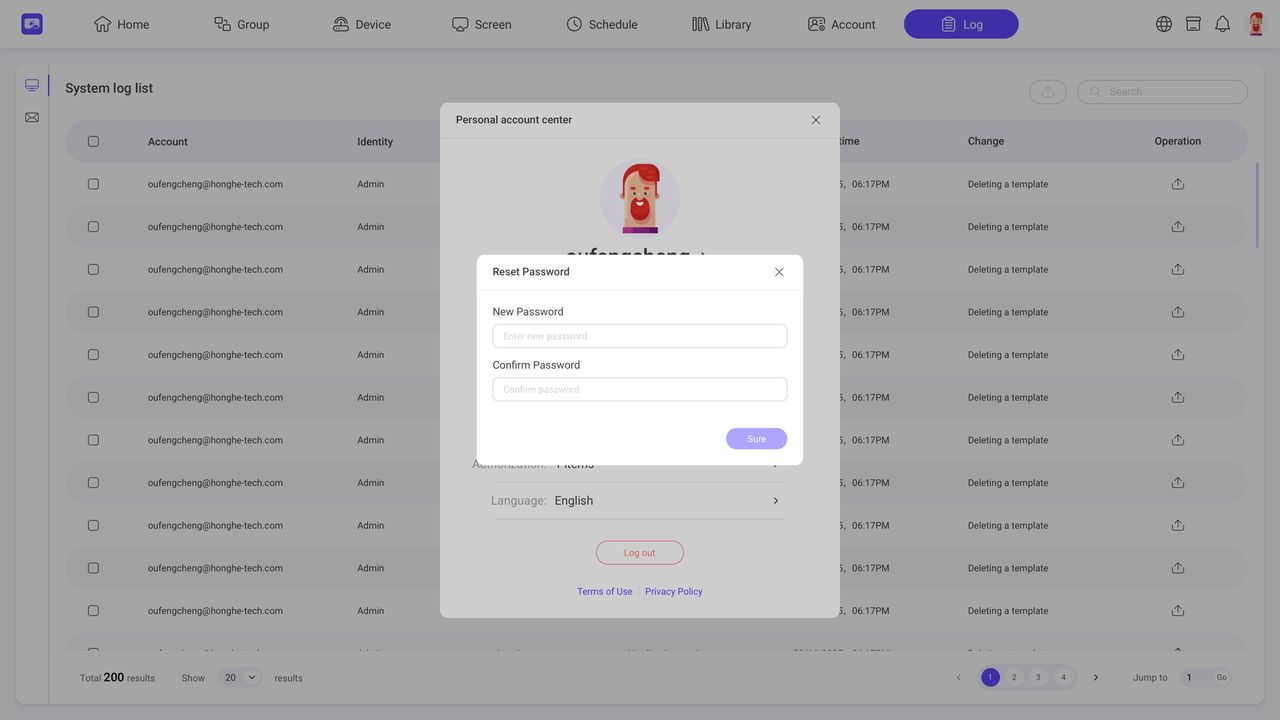
12.1. Change your password
Step1. Enter your current password.
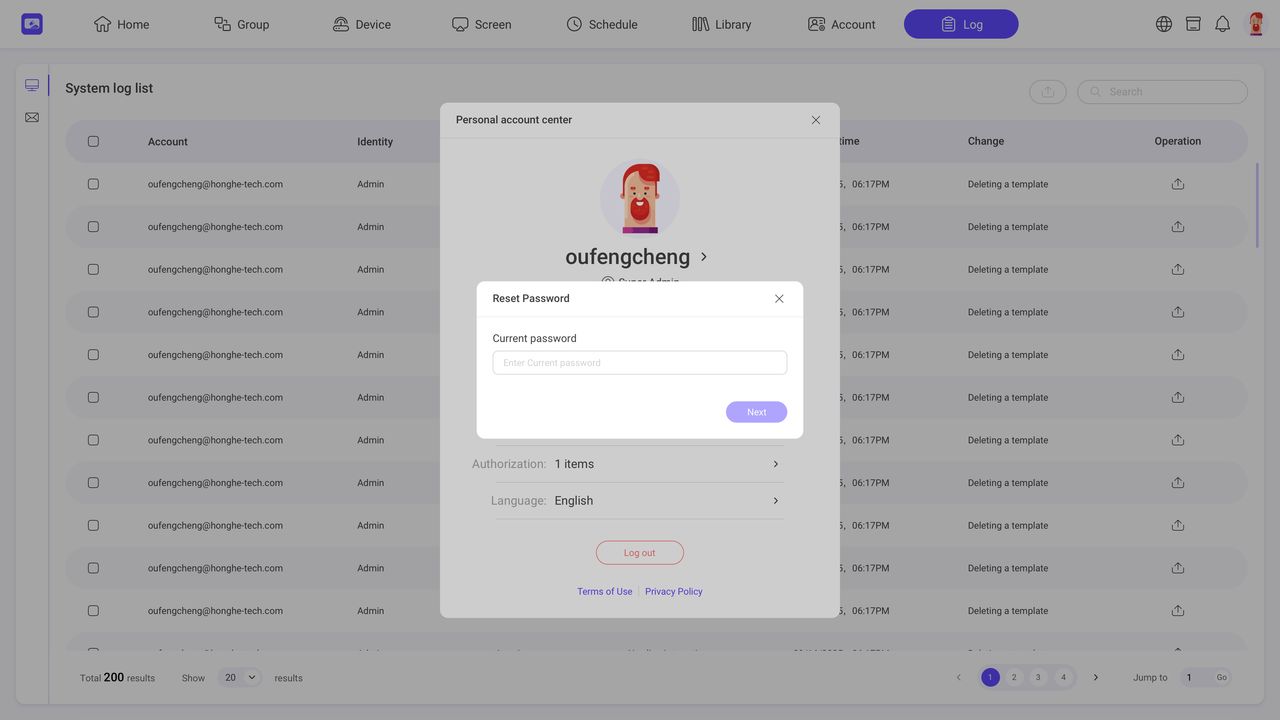
Step2. Enter a new password and confirm it twice.
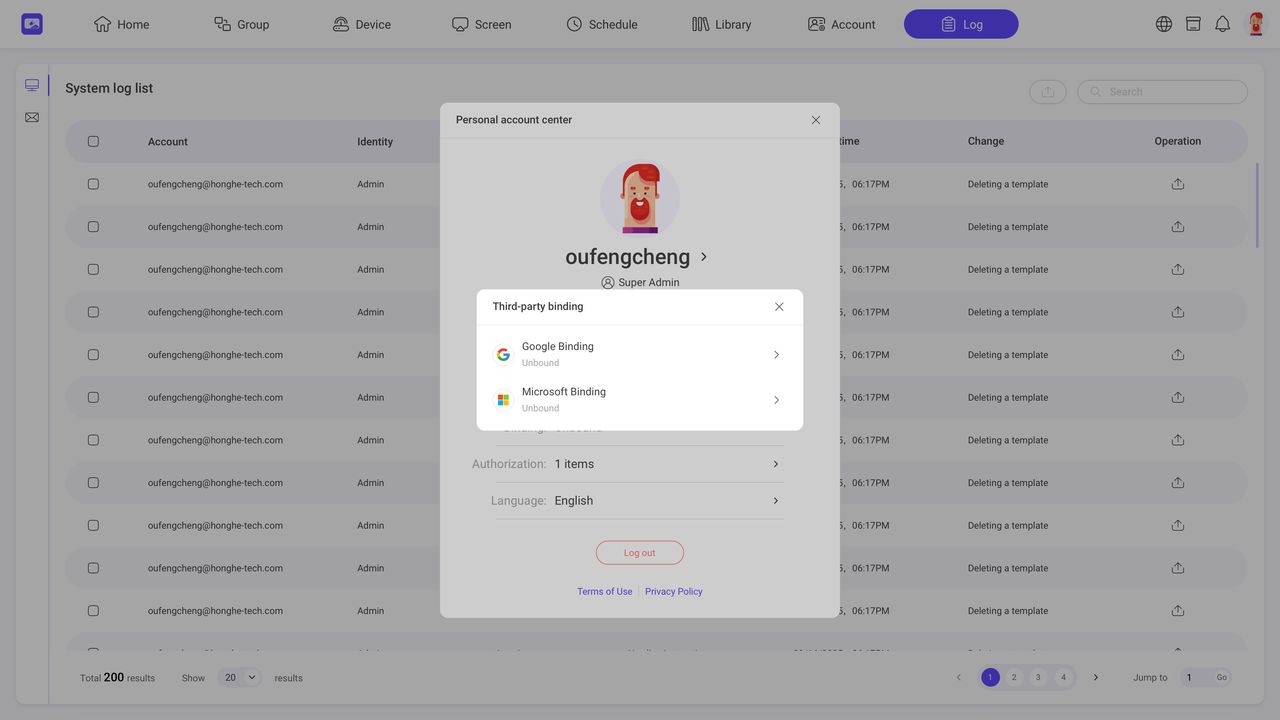
12.2. Edit single sign-on account
You can bind or unbind your Google or Microsoft email account here.
12.3. Edit Authorization
You can authorize us to access your device's location information to show the geographic location of your registered device on Dashboard.